How to edit Sheeting
This document will show you how to Edit hsbSheets.
You can use the edit sheets commands to modify any hsbSheets on walls, roofs or floors.
The best method to edit the sheets is to view the element so that you are looking at the face of the sheet. You can do this by setting an element current so that you will see an elevation view of the element.
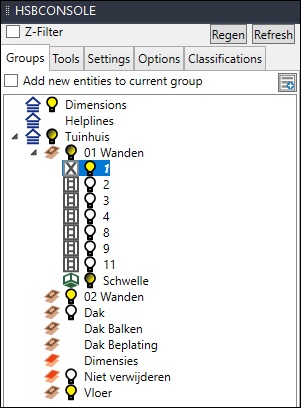
Make sure that the UCS and View update settings are turned on in the console.

Edit sheet tools
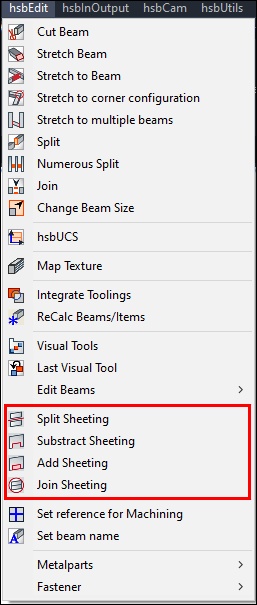
Tools for editing sheets can be selected from the hsbEdit drop-down menu.
Split sheeting
The split sheeting command will allow you to select sheet(s) to be split and define a plane to split sheets by entering an Autocad plane or selecting points.
To split sheeting select hsbEdit\Split Sheeting, select the sheets to be split and then select a splitting option.

Subtract sheeting
The subtract sheeting command will allow you to select sheet(s) to be subtracted from and select an area to be subtracted. You have different options when using the subtract sheeting.
To subtract sheeting select hsbEdit\Subtract Sheeting and select an option from the list of options above.
Add sheeting
The subtract sheeting command will allow you to select sheet(s) to be added to and select an area to be added to the sheets.
You have different options when using the add sheeting.
Join sheeting
Join sheeting is used where you want to create 1 sheet, from 2 existing sheets.
To join sheeting select ‘hsbEdit\Join Sheeting’ when prompted to select sheets, select 2 sheets only.
The sheets will be joined into 1 with the location and size of the first sheet selected taking preference.

