How to set the ''Ini Settings''
hsb-Wand ini
This document will provide you information on how to set the hsb Wand ini.
The ini file can be found in hsbGeneral/hsbSettings/Wall Stick frame Module tab
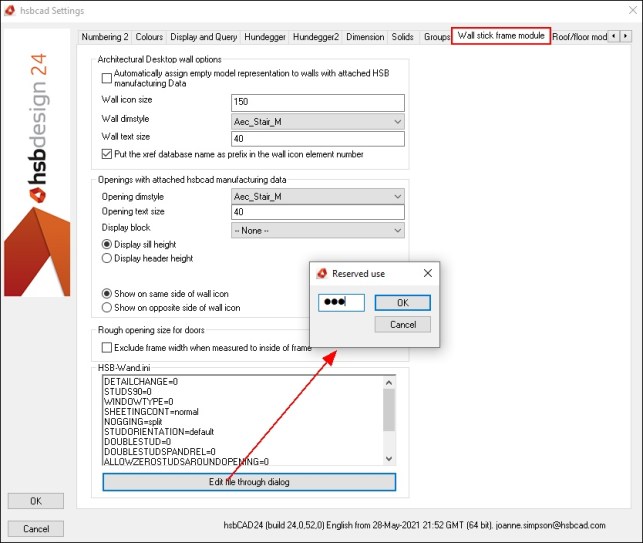
- Select Edit file through dialog
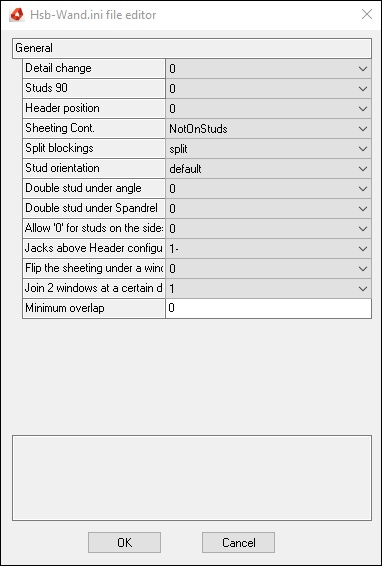
A password is required, enter hsb and select OK, this will open the Hsb-Wand.ini file editor dialog box.
Detail Change
The function of this command is to create a text description of a header based on descriptions in a database.
You have the choice between 0, 1
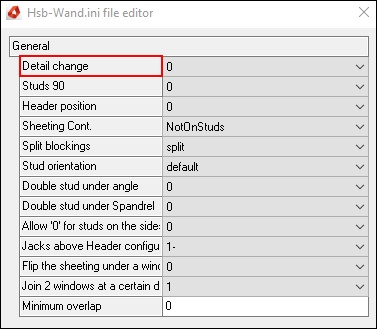
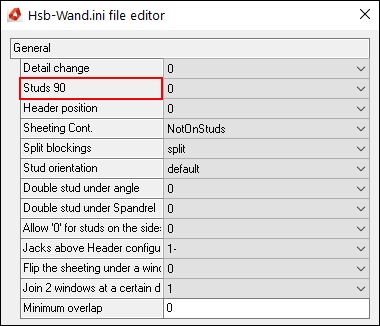
Studs 90
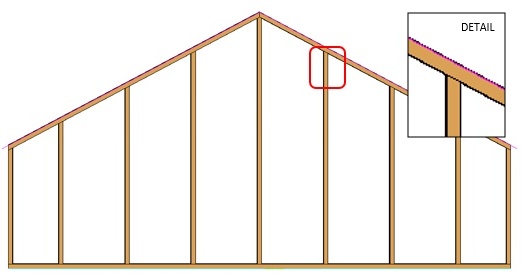
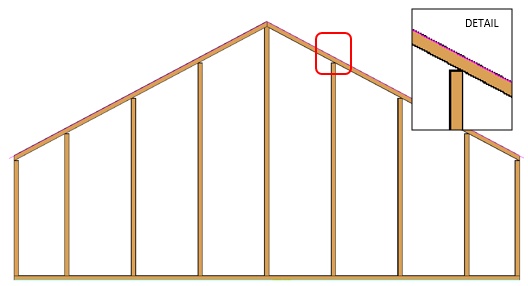
The function of this command is to remove the bevels on top of the beam.
You have the choice choice between 0, 1
Header position
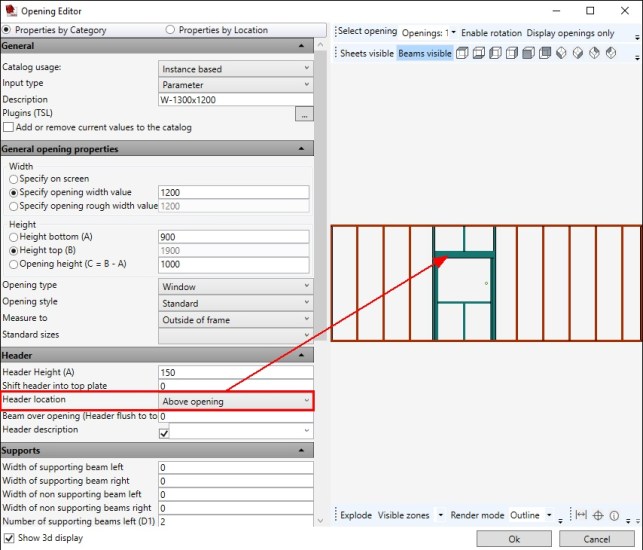
The function of this command is to put the header above an opening.
You have the choice between 0, 1
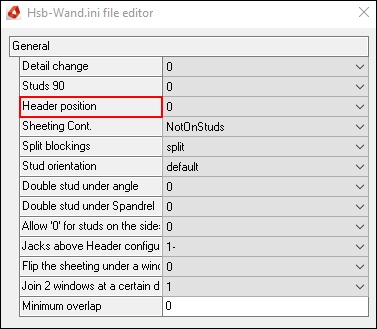
This option has been replaced by Header location ”Above opening” in the Position Opening command, (Opening Editor dialog box)
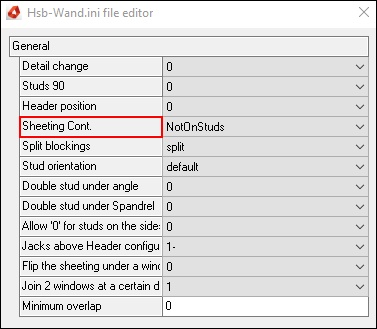
Sheeting Cont.
The function of this command is when you have chosen Continuous sheeting to have the sheeting stop at a stud or have the sheeting Not stop at a stud.
You have the choice to select Normal, NotOnStuds
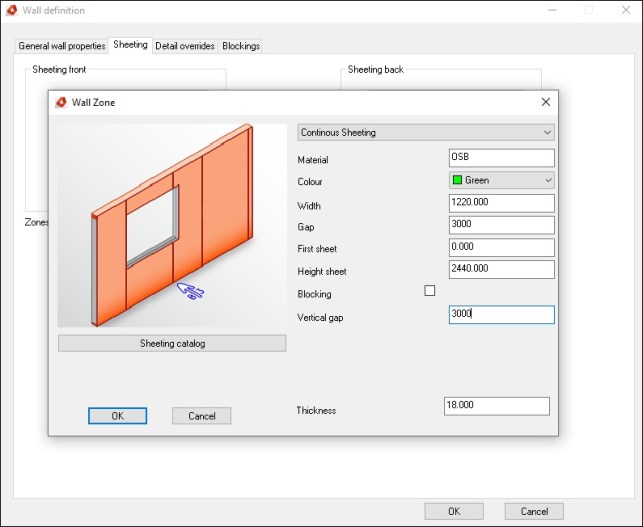
Then you select Continuous Sheeting in the Wall definition dialog box the sheeting normally stops on a stud.
When you select Normal in the hsb Wand ini command, the sheeting WILL stop on a stud.
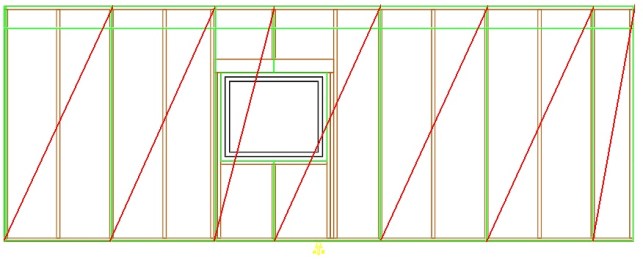
When you select NotOnStuds in the hsb Wand ini command, the sheeting will NOT stop on a stud. Is only made for Continuous sheeting.
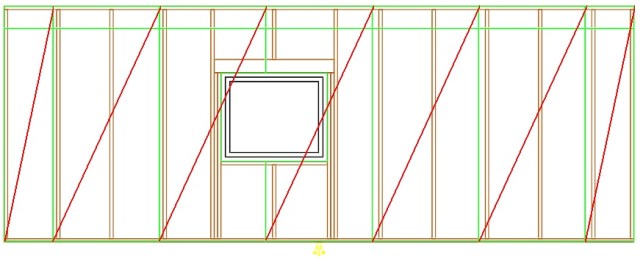
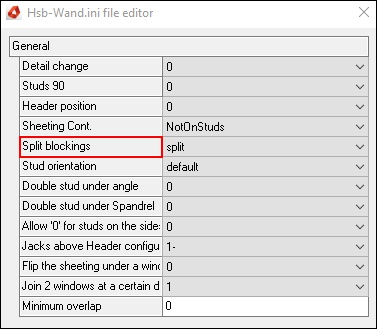
Split Blockings (noggins)
The function of this command is to split the blockings or have them not split at all.
You have the choice to select Split, No split
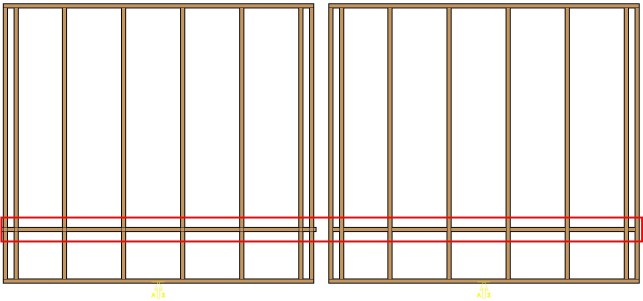
When you select No Split, the blockings WILL NOT be split When you select Split, the blockings WILL be split.
BLOCK_WARNING_START
IMPORTANT:
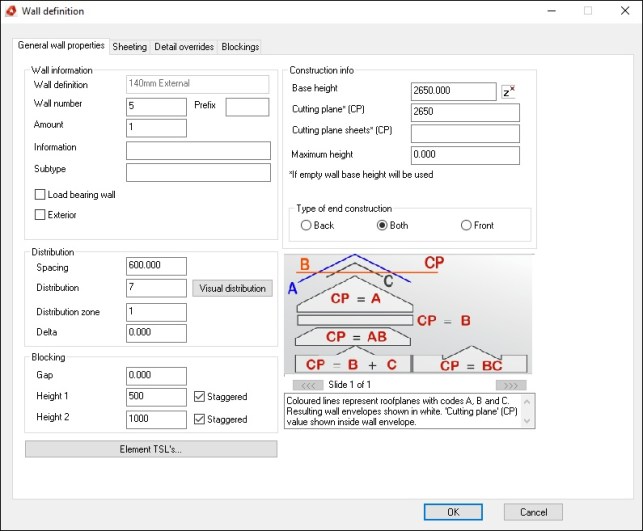
When using the Blocking (Noggins) in the Place Wall definition and the NO SPLIT is selected in the hsb Wand ini then the blockings (Noggins) aren’t staggered.
BLOCK_WARNING_END
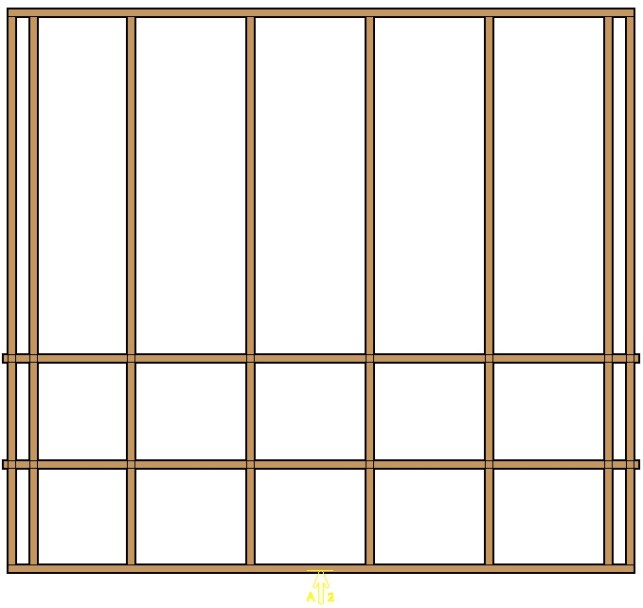
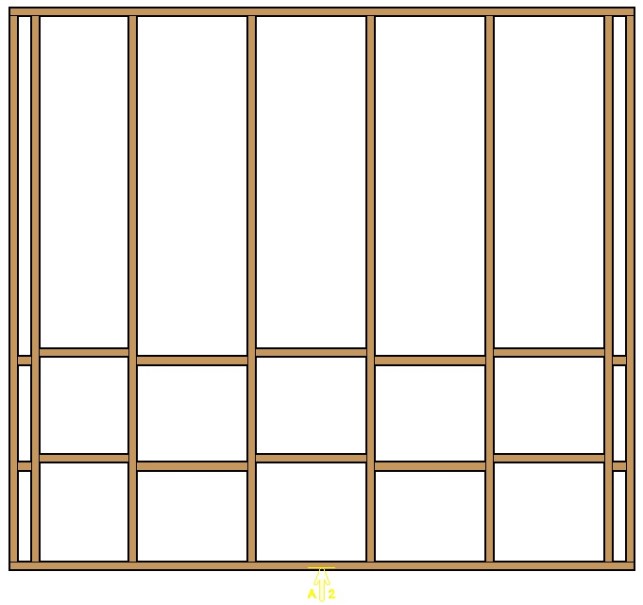
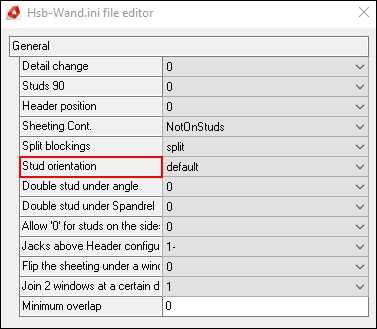
Stud orientation
The function was especially made for a specific Customer.
For steel frame C sections, sets the orientation direction of C studs.
You have the choice to select default, Plan1, plan2
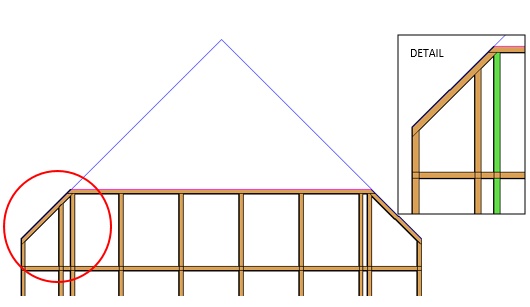
Double stud under angle
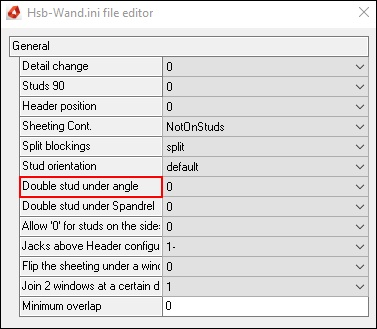
The function of this command is to have 1 or 2 studs under an angle.
You have the choice to select 0, 1, and 2
Extrusion profile doesn’t work with this?
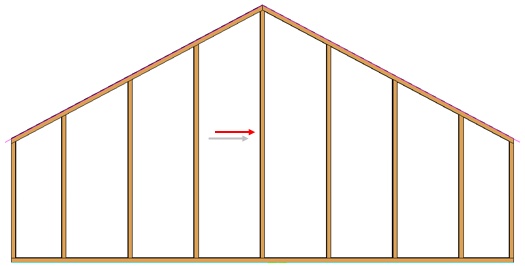
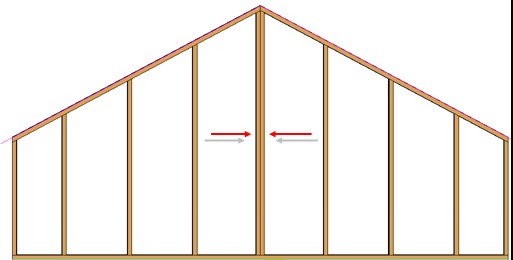
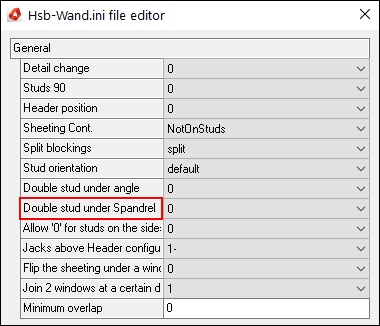
Double stud under spandrel
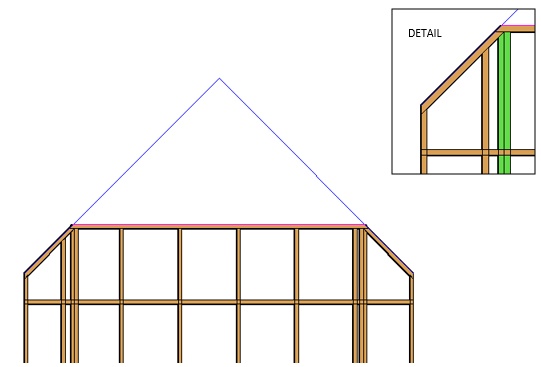
The function of this command is to create double stud at a spandrel peak.
You have the choice to select 0, 1, and 2

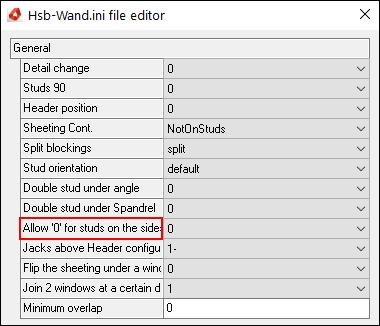
Allow ‘0’ for studs on the side
The function of this command is to allow studs on the side of an opening.
You have the choice to select 0, 1
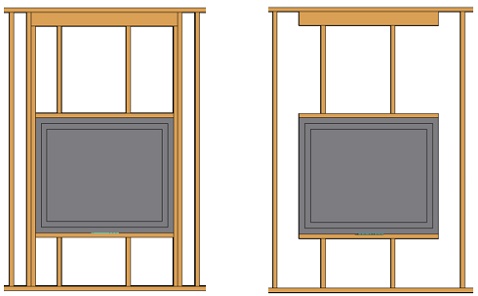
When you select 0 you will get studs.
When you select 1 you wouldn’t get side studs.
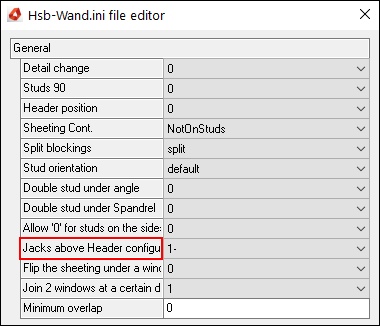
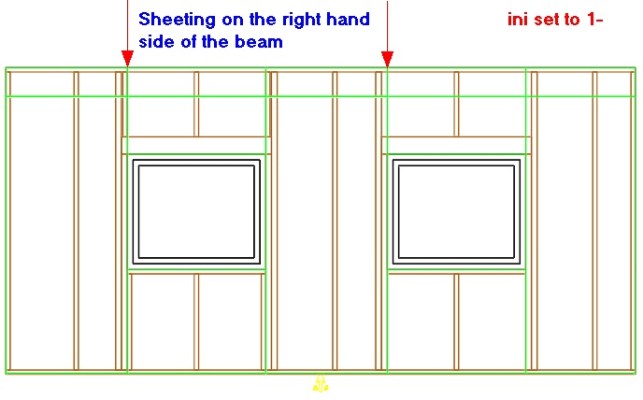
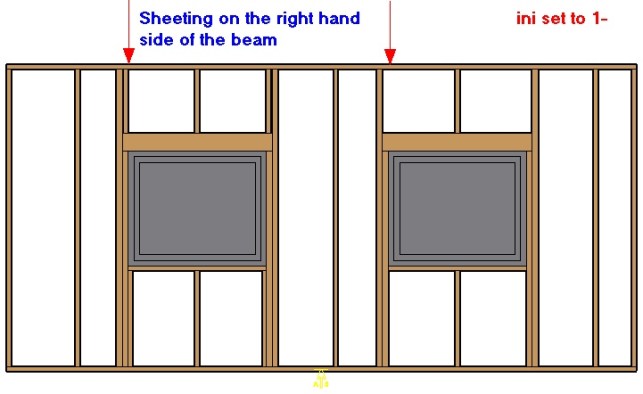
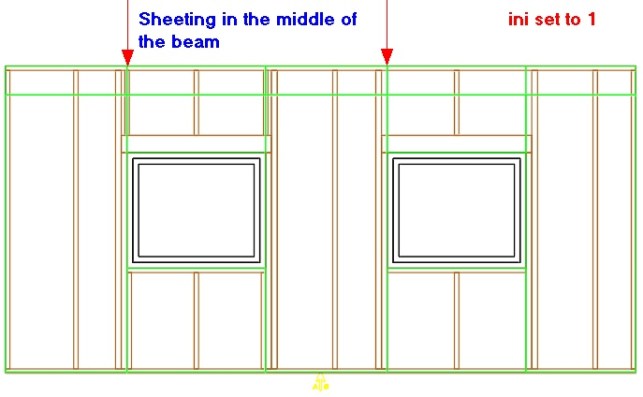
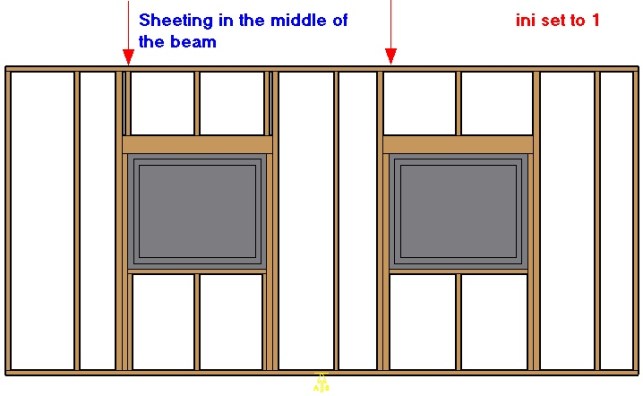
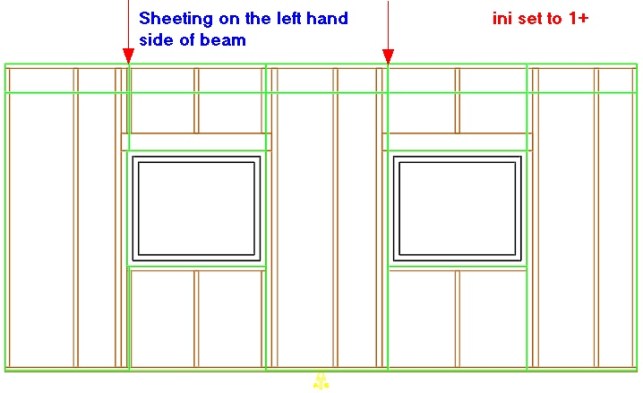
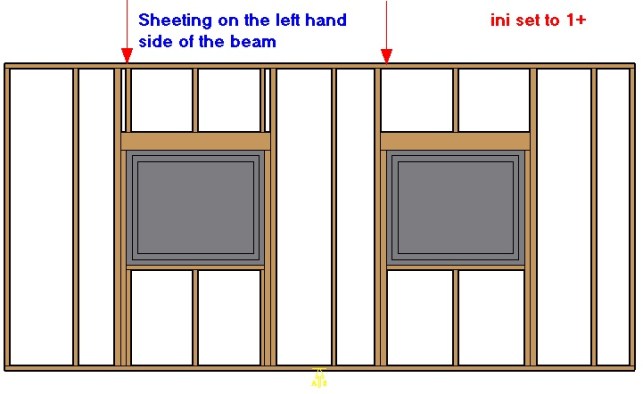
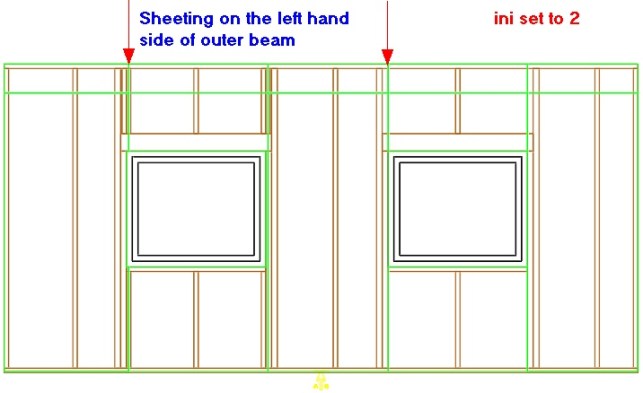
Jacks above Header configuration
The function of this command is to have jacks above the header.
You have the choice to select 1-, 1, 1+, 2
- Inserting an opening/Window/Door
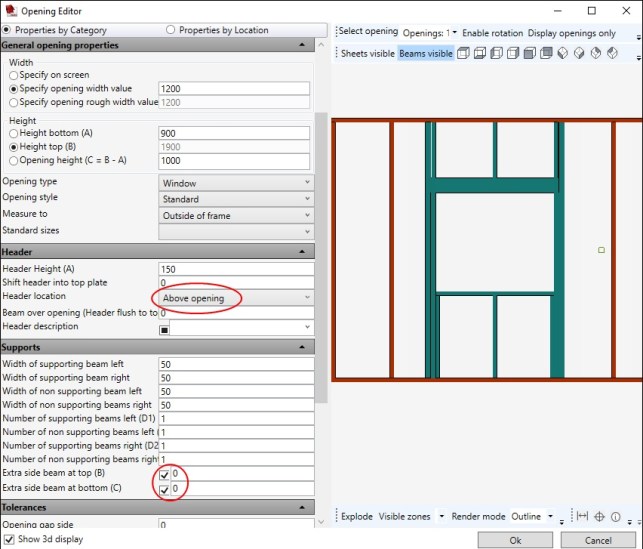
- When inserting an opening,
- Select the Support tab and fill in the appropriate information.
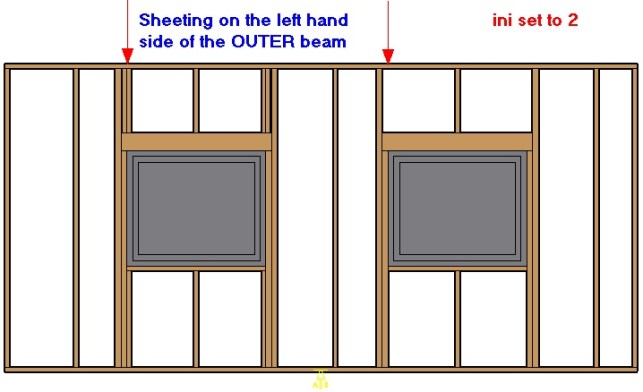
In this case we made the width of the beam 50mm and the extra beam on the side 38mm (Default 0) so you can see the difference.
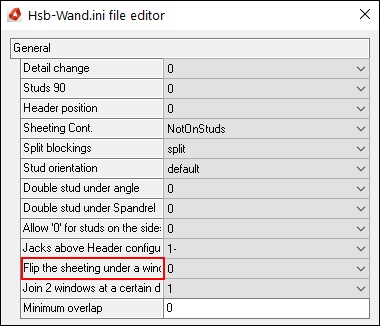
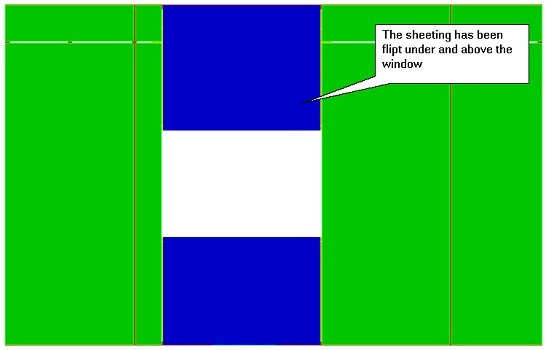
Flip the sheeting under a window
The function of this command is to flip the sheeting under a window if possible, works only with vertical sheeting.
You have the choice to select 0, 1
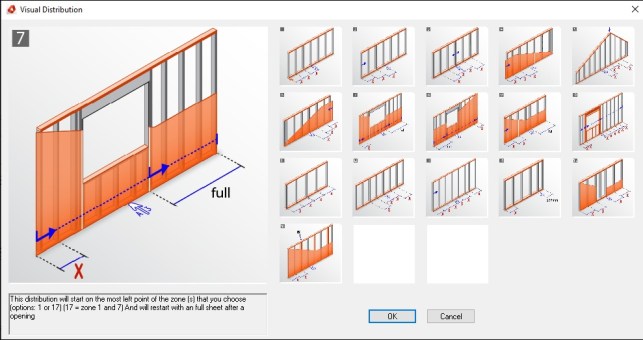
When you select 0 you will get the following result (this example is made with a visual distribution No 7)
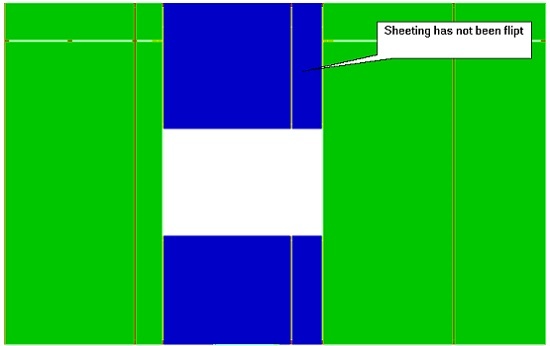
When you select 1 the sheeting has flipt horizontally (this example is made with a visual distribution No 7)
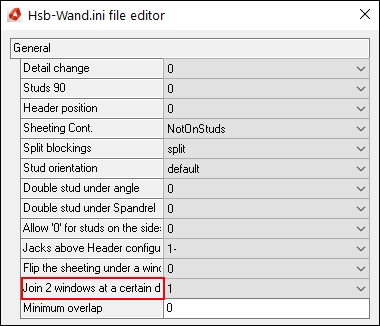
Join 2 windows at a certain distance
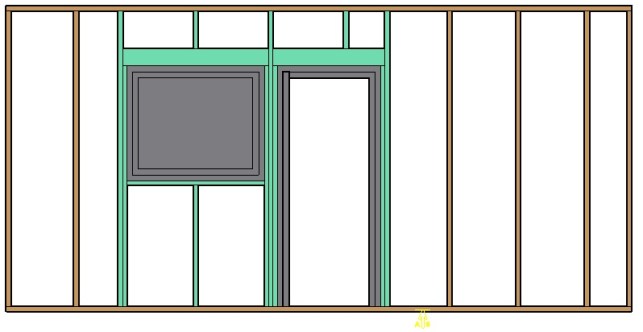
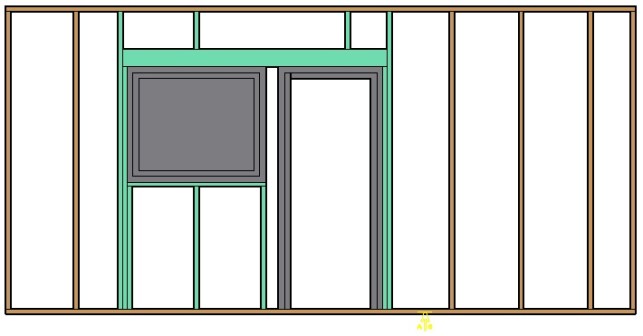
The function of this command is to join 2 windows with the same header as soon as they are close enough to each other.
BLOCK_CHECK_START
NOTE:
You need to select a header in the opening Editor.
This means, if you select a 4 in this option the header will be split in 2 if the distance between 2 window’s is more than 4 beams wide from each other, if it’s less than 4 beams from each other the header will fuse together.
BLOCK_CHECK_END
You have the choice to select 1,2,3,4 beams
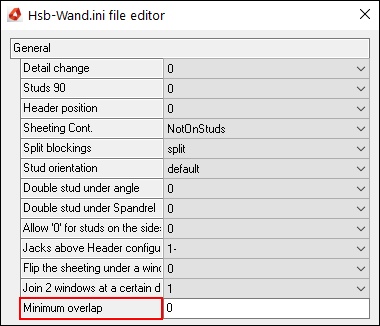
Minimum overlap
