hsbExport | Export to H&M
For general export settings please read the hsbExporter document first.
BLOCK_INFO_START
Before you start exporting don’t forget to number all your entities. More information about numbering entities can be found in the article: Add numbering. > hsbInOutput\Apply Numbering
BLOCK__END
- Select the option hsbCAM\Element export\Cnc Exporter.
BLOCK_WARNING_START
A folder needs to be created in C:\Program Files\hsbcad\hsbdesign20...\Export\Interfaces and the hsbSoft.Cad.IO.HM.dll needs to be installed in this folder. (This hsbSoft.Cad.IO.HM.dll has to be given to you by your hsbcad support center).
BLOCK__END
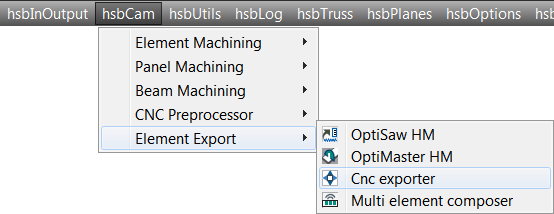
- OR select the Exporter in the Ribbon

- Select all Entities in drawing option to export.
- The destination location (default is will be stored in the folder where the drawing is situated).
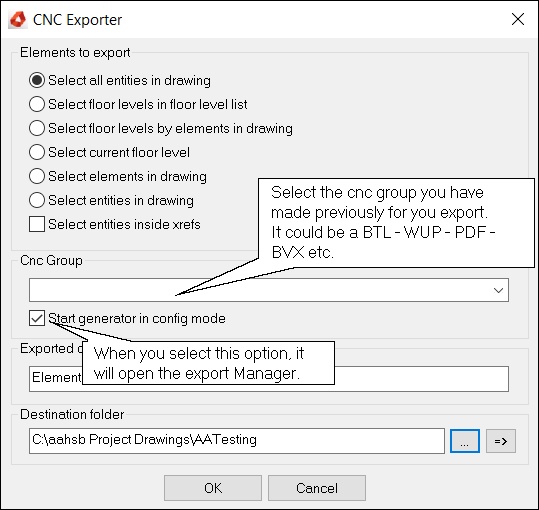
Select all entities in drawingThis will generate your entire drawing.Select floors levels in floor level listThis will generate the floor levels that you have picked in the floor level list.Select floors levels by elements in drawingThis will generate the floor levels when you pick one of the elements in a certain floor level.Select current floor levelThis will generate the floor levels that you are in.Select elements in drawingThis will generate all elements that you select.
- Select a Cnc Group (if you haven’t made a group yet see How to create an Export\group in the hsbExporter document).
- Deselect the Start generator in config mode (config mode means that the Export manager will open, in the Export Manager you can set all your settings and create a group, you don’t need to select the config mode (Export manager) all the time) Read the hsbExporter document.
- Select the destination location (default it will be stored in the folder where the drawing is located).
- Select OK.
- Your H&M file has been created in the folder of your destination.

Settings Tab
- In the Export Settings tab you can find all kinds of information on the machine export.
- You can set your specific options.
Decimals
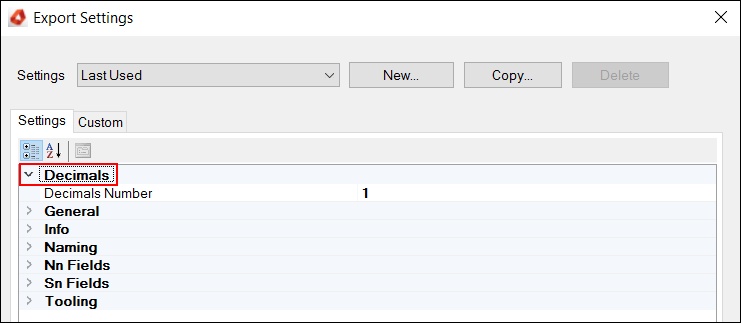
Decimals NumberSpecifies the decimals behind the comma.
General

Beam orientationSpecifies the orientation of the beam.Custom inputHere can be filled in some hardcoded manipulations. eg: 1;2.Group on ElementSetting this flag will group the output by PosNum and Element.GroupingThe way in which the beams will be grouped.
Info
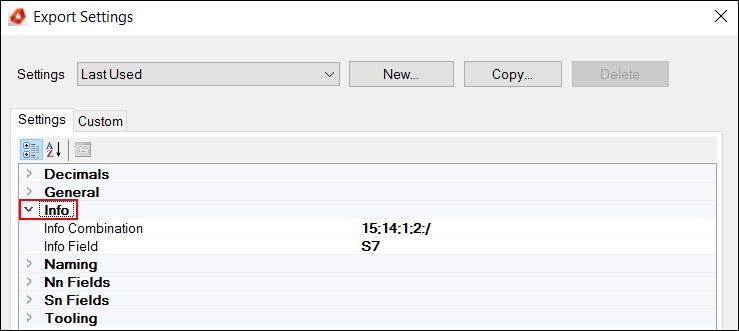
Info CombinationSpecifies if beams which are not gluelams will be exported.Info FieldSpecifies which 'S' field will be used for the info field.
Naming
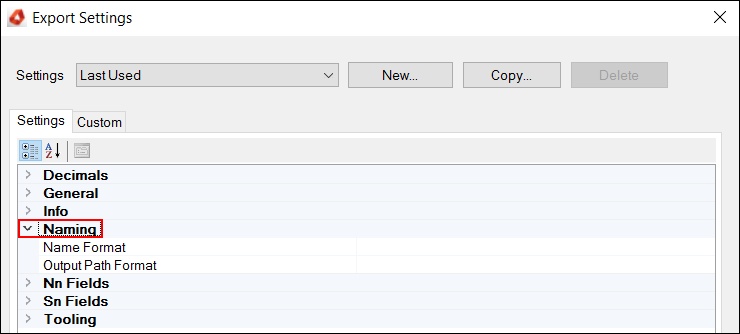
Name FormatSpecifies the format used for the cutting list file name.Output Path formatThe relative path under which the export data will be created. The parent path is controlled by the exporter itself.
Nn Fields
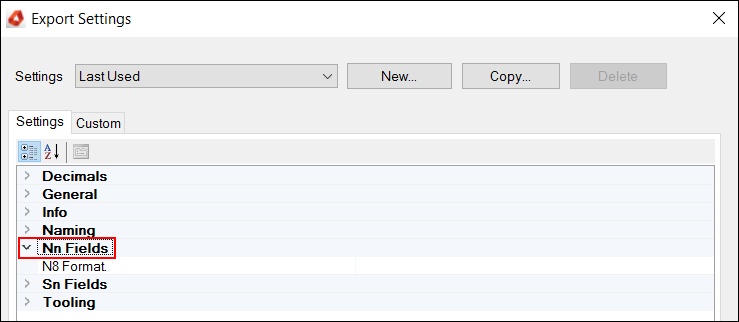
N8 FormatFormat to specify the contents of the N8 field. If left blank then the default will be used.
Sn Fields
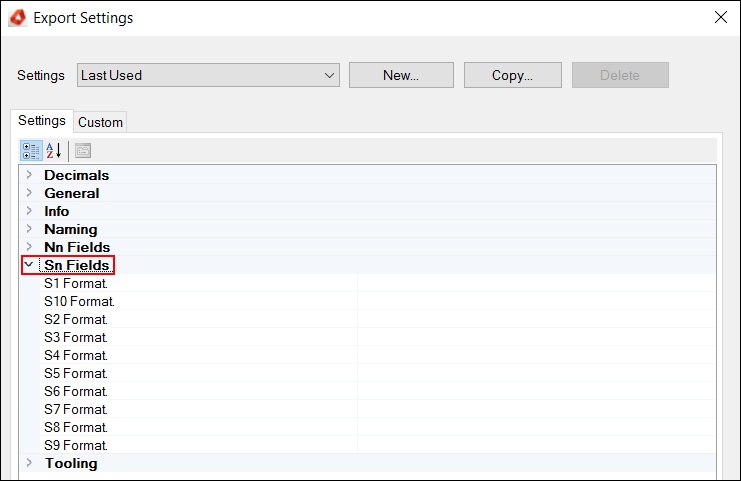
S1-S2-S3-S4-S5-S6-S7-S8-S9-S10 FormatFormat to specify the contents of the S1-S2-S3-S4-S5-S6-S7-S8-S9-S10 field. If left blank then the default will be used.
Tooling
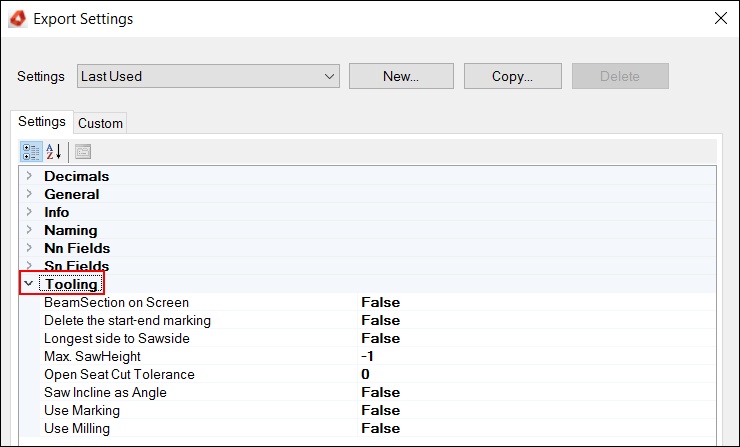
BeamSection on ScreenThis function will add the section line to the file, (needed = TSL, and setting must be change in the saw for showing).Delete the start-end MarkingSpecifies if the start and end mark needs to be deleted.Longest side to SawsideSpecifies that longest saw length is on the side of the saw especially for rabbat.Max. SawHeightSpecifies the height what can be saw at maximum.Open Seat Cut ToleranceSpecifies the tolerance used when processing Open Seat Cuts.Use MarkingSpecifies whether marking should be placed.Use MillingSpecifies whether milling should included in the cutting list.
Custom Tab
In the Custom tab you can add extra settings, like Beam Filter.
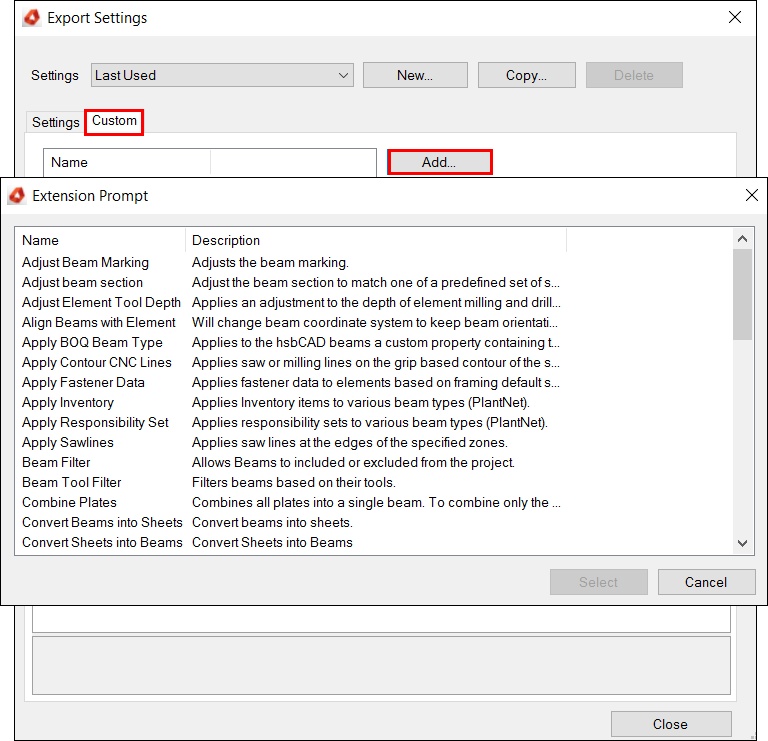
Once you have set everything in the Setting/Custom/Tool Modifiers tab you can save these settings and recall them later on in the Export Settings dialog box. (See ’’Save your Settings’’).
Save your Settings
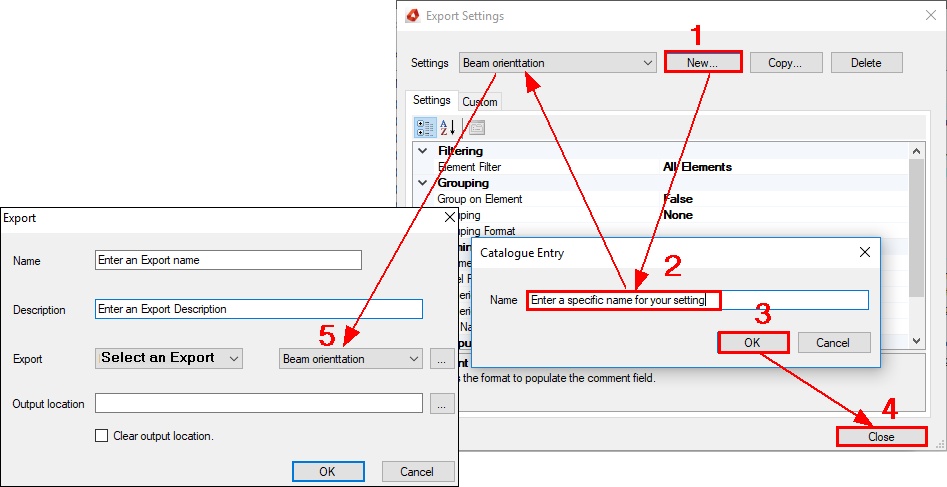
Once you have set everything in the Setting/Custom/Tool Modifiers tab you can save these settings and recall them later on in the Export dialog box.
Step 1. Select the New button and the catalogue Entry dialog box will open, enter a specific name to your settings.
Step 2. Select OK and the Entry will appear in the Export Settings dialog box.
Step 3. You can create several exports if you want.
Available Video’s of the Exporter
hsbExport | How to create an Export /Group (Video)
hsbExport | How to Import PDF Settings in the Exporter (Video)

