
Sprung zum Abschnitt
Brauchen Sie Hilfe?
Sie können die gesuchte Antwort nicht finden? Keine Sorge, wir sind hier, um zu helfen!
Kontakt zum SupporthsbShare | Upload from Revit®
This article is about uploading a model from Revit® to hsbshare.
How to upload a model from Revit®
Step 1. Select hsbshare → hsbshare console to open the hsbshare console.

Step 2. Log in with the credentials of your hsbshare account.

Step 3. Set your project name and the Team connected to this project and press create.

Step 4. Select what to export to hsbshare.
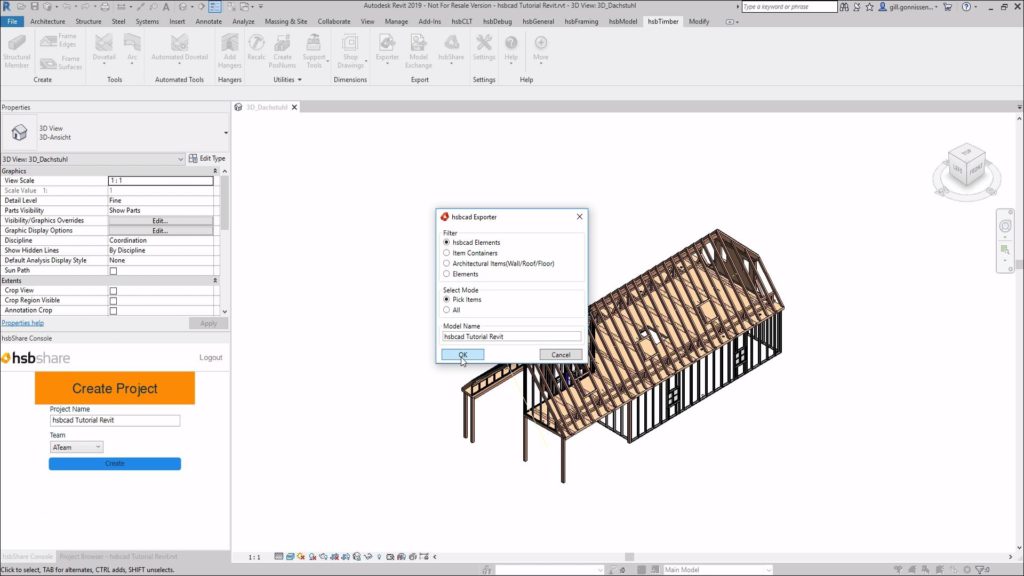
Step 5. Select Model and press finish.

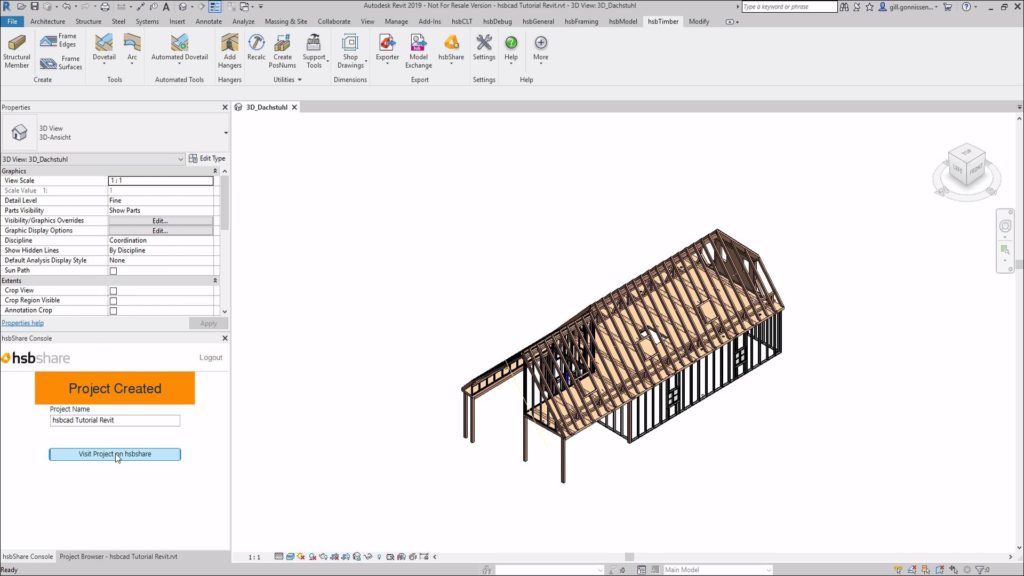
Step 6. After that, the console will have a button where you can see the model in the Browser.

hsbshare,Projects,upload a model from Revit,upload project