Revit® | How to install hsbDesign23 for Autodesk Revit®(Video)
This article will guide you through the setup and installation of hsbDesign23 for Autodesk Revit
BLOCK_ALERT_START
Prior to installation please note that hsbDesign23 for Revit is only compatible with the following versions of Autodesk Revit 2020 & 2021. Please ensure that you have installed one of these versions of Autodesk Revit.
BLOCK__END
BLOCK_WARNING_START
hsbDesign23 only works on a Windows10 or 11
BLOCK__END
Step 1: Download hsbDesign23 for Revit Setup File
BLOCK_INFO_START
Before you can download the setup file you will need to create an account in Myhsbcad.
BLOCK__END
BLOCK_INFO_START
After you have created your Myhsbcad.com credentials, you can download the hsbDesign23 for Revit setup file in Myhsbcad or in the Autodesk App Store.
BLOCK__END
Step 2: Start the Installation
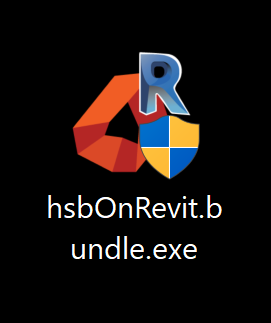
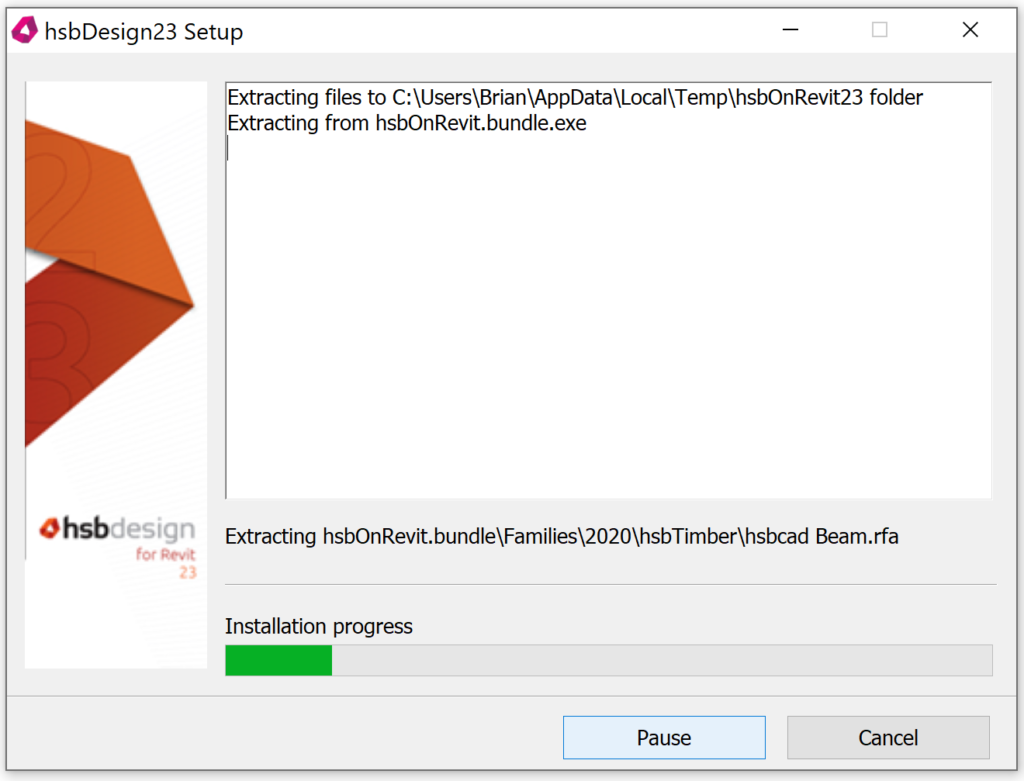
Once you have downloaded the setup file, open it, and your installation will begin. You will see the dialog box that confirms the extraction of the installation files.
Step 3: Installation is complete
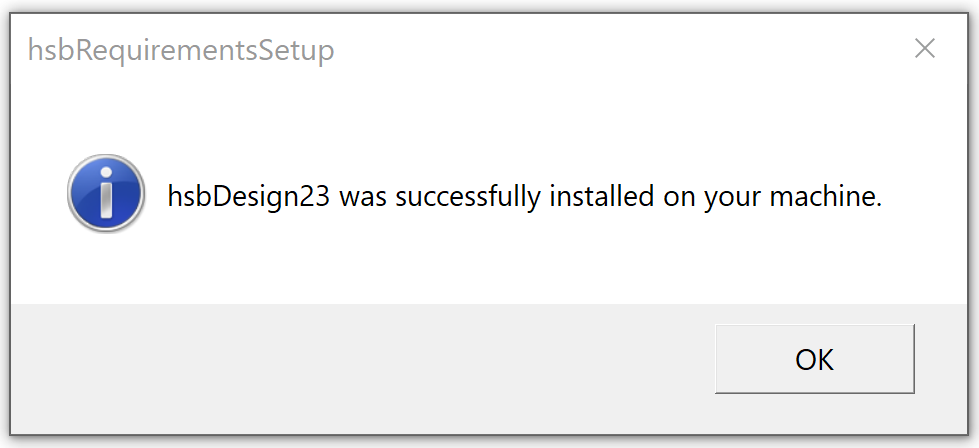
Following installation the following dialog box will notify you that your installation was successful.
Step 4: Launch Revit & Accept the 'Software License and Service Agreement'
Following installation, you can launch Revit on your PC.
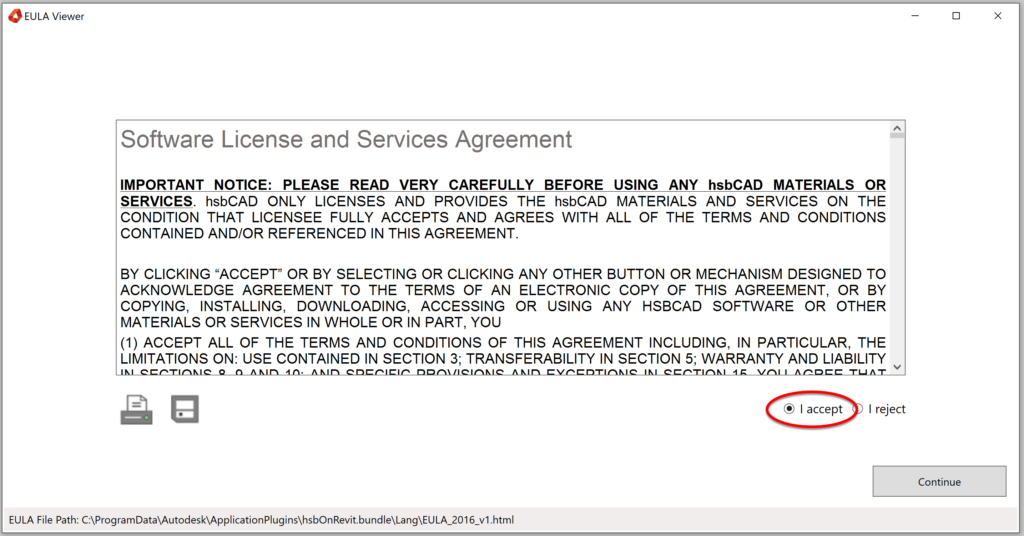
This will open the following dialog box and having read the Software License and Services Agreement you will then select I accept to continue the setup.
Step 5: hsbDesign23 for Revit Startup dialog box
After you have accepted the Software License and Services Agreement hsbDesign23 will be loaded in Revit and the following dialog box will open.
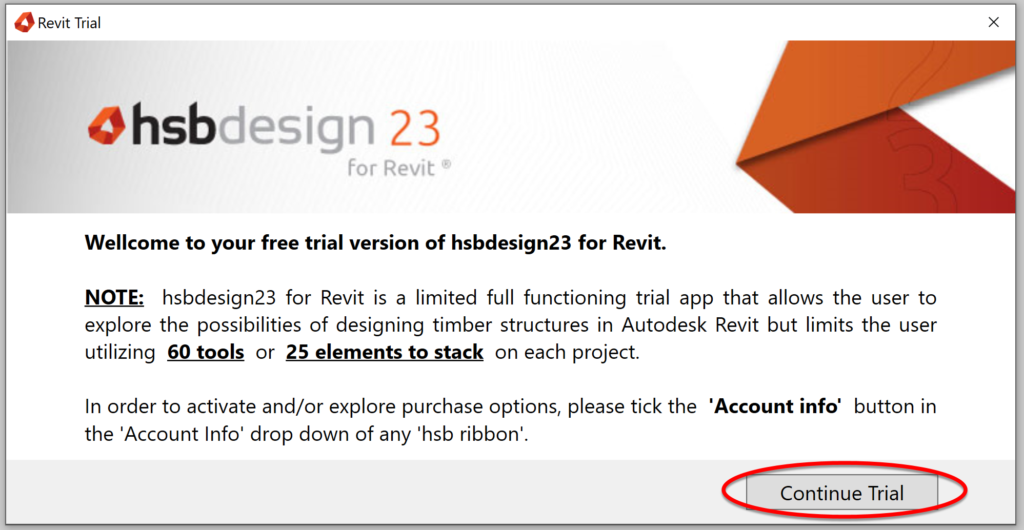
If you are happy to continue click Continue Trial.
BLOCK_ALERT_START
The fully functional trial version of hsbDesign23 for Revit is limited to the number of tool operations and elements that can be drawn for each project.
Purchasing options for hsbDesign23 for Revit can be found here.
BLOCK__END
Step 6: Using hsbDesign23
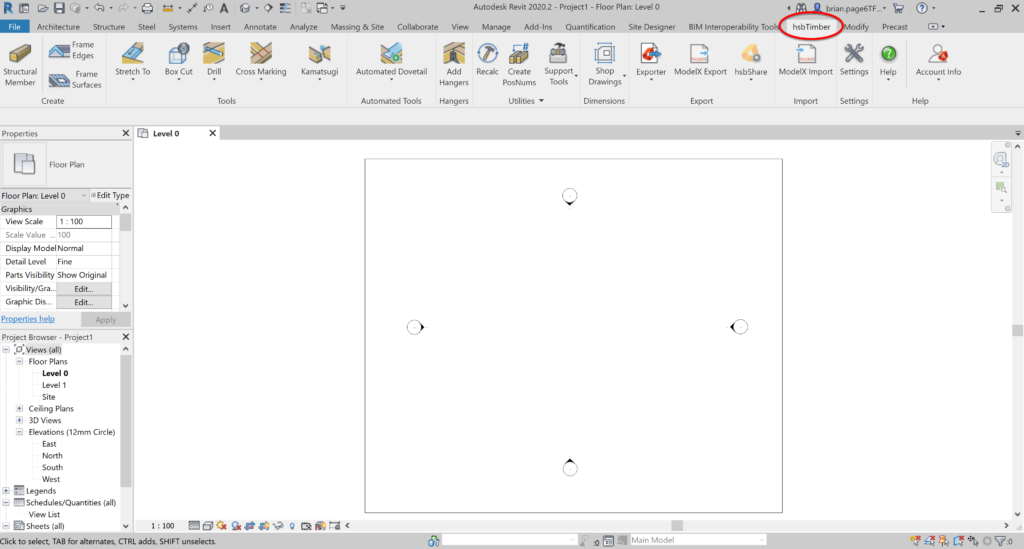
To use hsbDesign23 open an existing or start a new drawing and select the hsbTimber tab, highlighted in the red circle in the image below, on selection the tools available are shown in the ribbon below.
Step 7: Account Information & Login
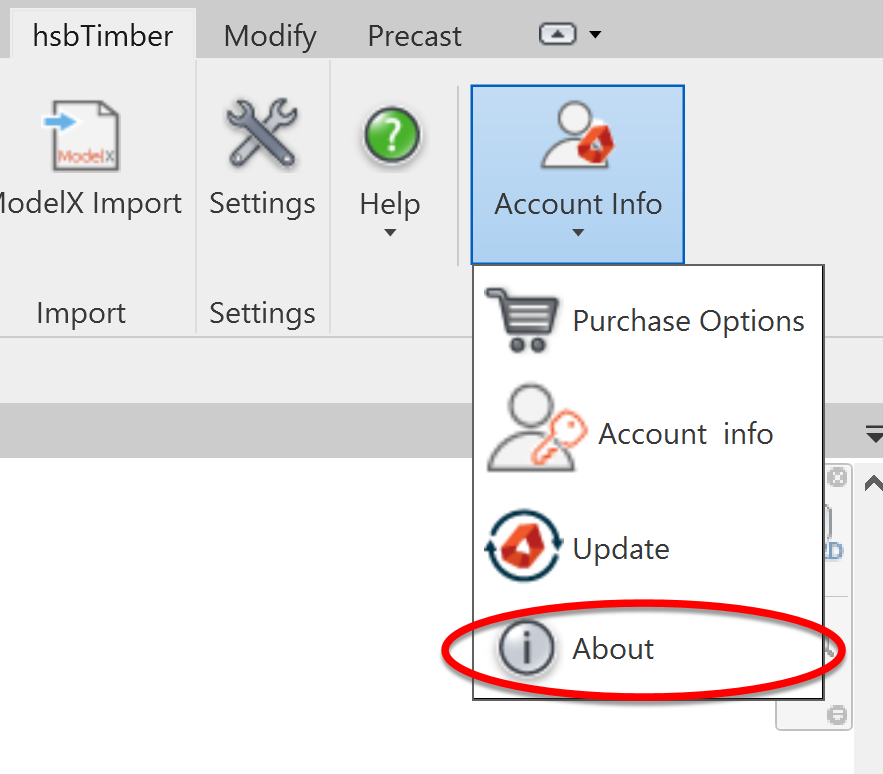
One of the tools available in the hsbTimber contextual tab is Account Info highlighted in the red circle in the image below, options associated with this tool are listed below.

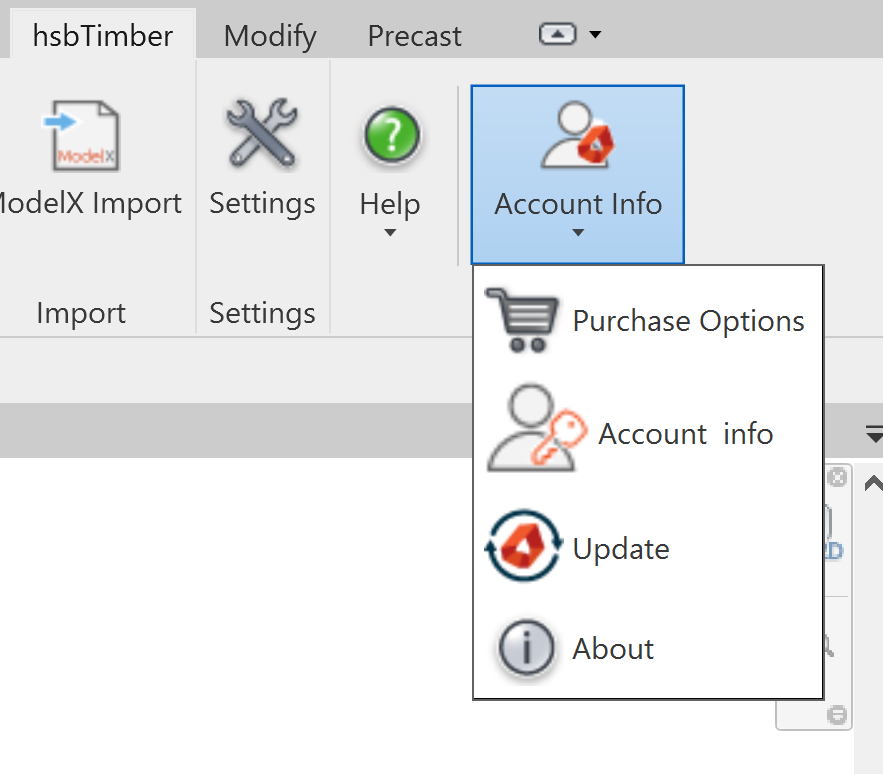
A. Purchase Options: This will redirect you to a web page where you can get in contact with hsbcad to discuss your requirements either by telephone, e-mail or a message form.
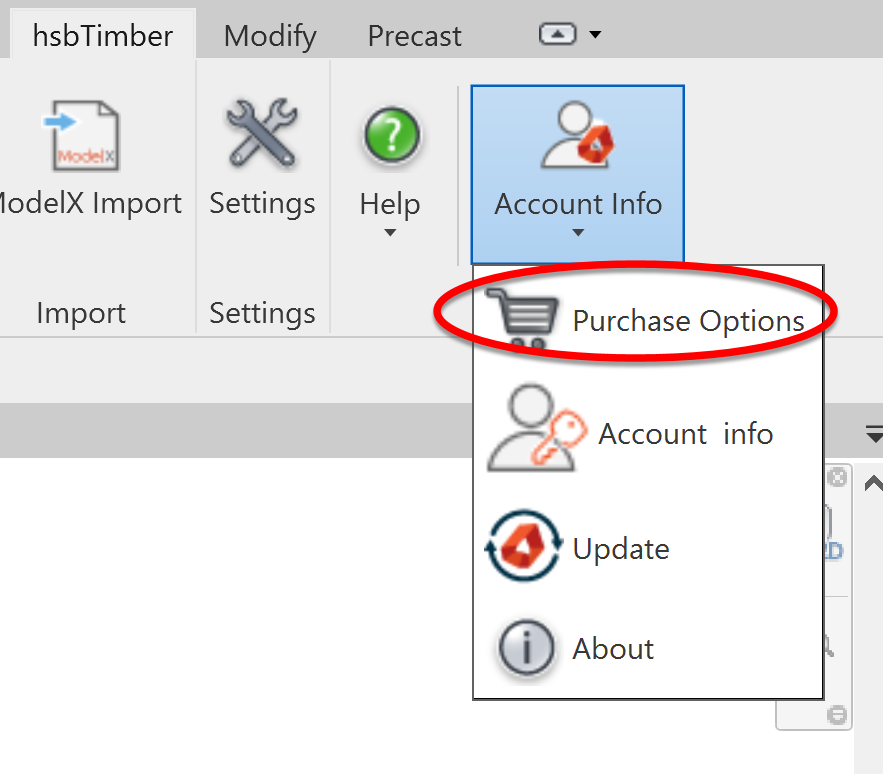
B. Account Information: Will display the 'hsbcad License Information' dialog box, where you can login or logout using your 'Myhsbcad.com' credentials. You will also be able to see your license connection status and the list of modules assigned to your license, as well as user/application information.
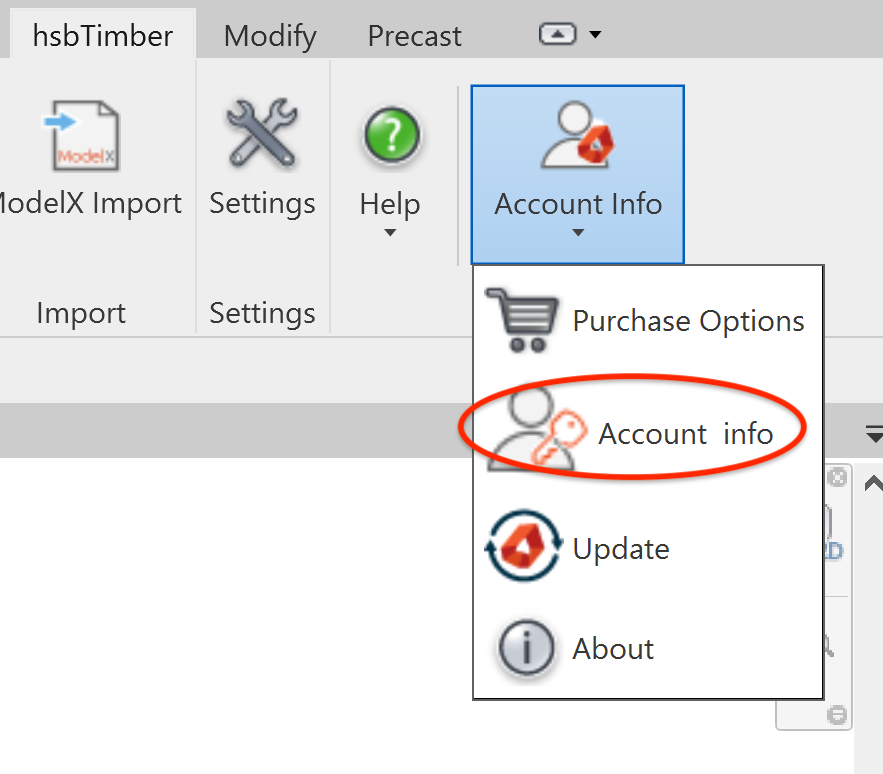

C. Update: by clicking the 'Update' option the following dialog box will open. This will allow you to apply any available updates for your hsbdeign23 for Revit Software. You can also perform a clean installation by clicking the 'Repair' button.


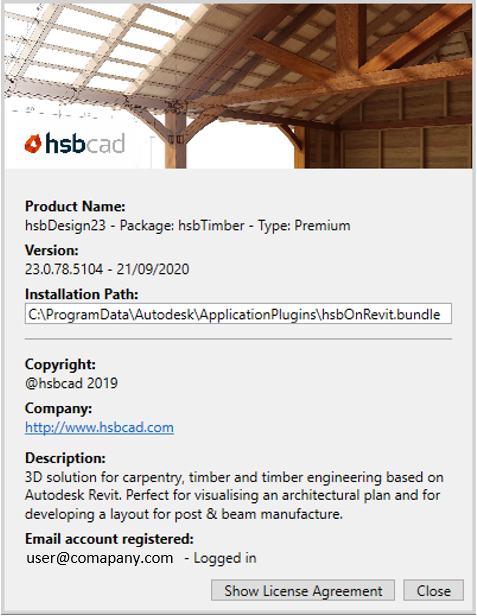
D. About: By clicking on the 'About' option the following dialog box will open. This dialog box will list the Product Name, Version Number, and the Installation Path for your hsbdeign23 for Revit Software. You can also view the registered e-mail account and view the license agreement.
