TSL | hsbStacking tsl
This document will explain how to use the hsbStacking / truck loading tsl's.
This is done by using an example project.
The workflow of how this example project was created is described in this document.
Neccesary tsls
The following tsl's are needed to use the hsbStacking application.
Step 1: Import a Truck
A truck can be placed by inserting the f_Truck tsl.
After inserting a dialog will pop up.
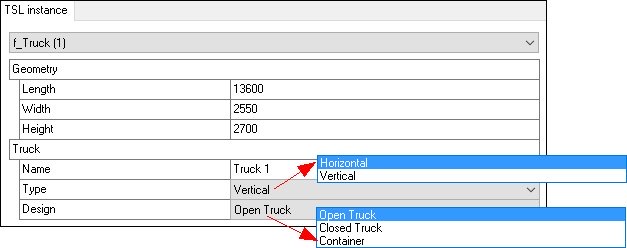
In the geometry properties you can specify the size of the truck.
Name - property will define the name of the truck that will be visible in the drawing.
Type - property will dine the way of stacking on the truck. Items can be stacked horizontal or vertical.
Design - property will specify the type of truck that will be used to transport the items.
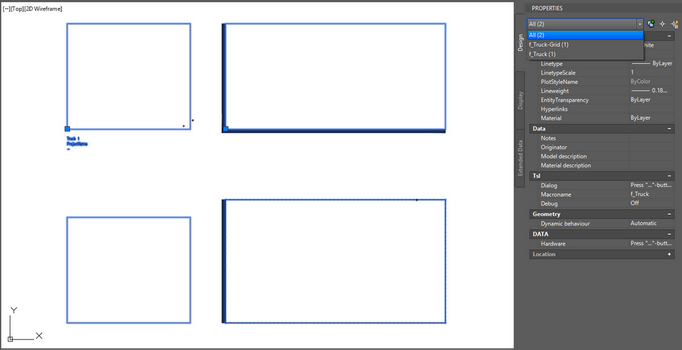
After selecting OK you can pick an insertion point in Model space for the tsl and it will visualize the truck and automatically place 1 instance of the f_Grid tsl.
Step 2: Make Items
The items that will be nested on the truck will be tsl’s called f_Item.
The item tsl’s are a visual representation of the model item (Element, beam, clt, sip, etc.) you want to stack on the truck.
Items can be created by inserting the f_Item tsl in the drawing.
Allowed Types - property you will be able to select witch objects you can select for Item creation.
Display set - property will allow you to assign a display set to the Item, the display set can be configured through the f_settings.xml file (hsbCompany\TSL\Settings).
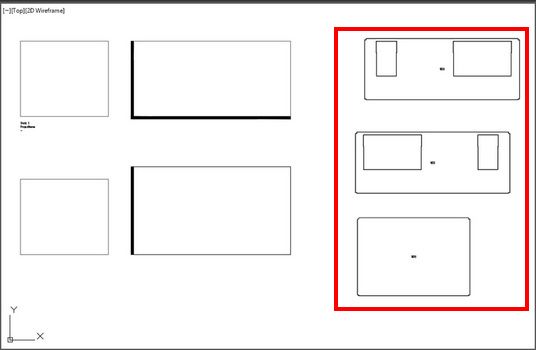
After selecting OK in the dialog you can select the model entities from which you want to create stackable items.
After selecting you then specify an insertion point where the items will be placed.
Item Settings
You can specify a name, a detail level, a dimstyle, a textheight, a colour and tags:
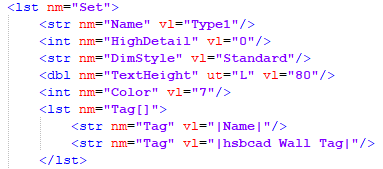
With the override property, you can specify your own tag, this can also be done afterwards by running the custom trigger Add override on the f_Item tsl. It will also give you a list of available tags in the command window:
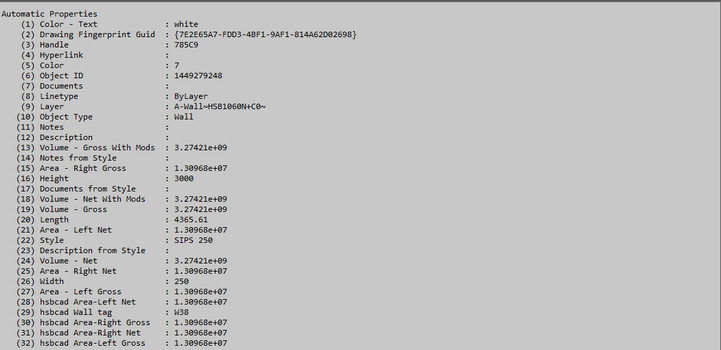
Step 4: Make a new Layer
On each instance of the f_Truck-Grid tsl a layer with multiple items will be created.
You can move the items to the desired location on the truck grid or nest them with a nester by inserting the f-Layer tsl.
In order to add the positioned items on a layer, select the truck grid (Right cliclk) and use the Add layer trigger in the custom menu or run the f_Layer tsl:
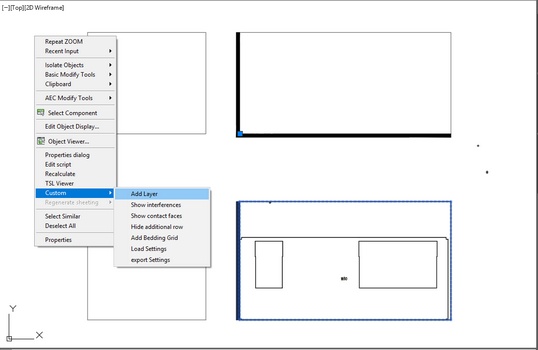
After selecting the items and specifying the bedding height, a layer is created (this is a horizontal example):
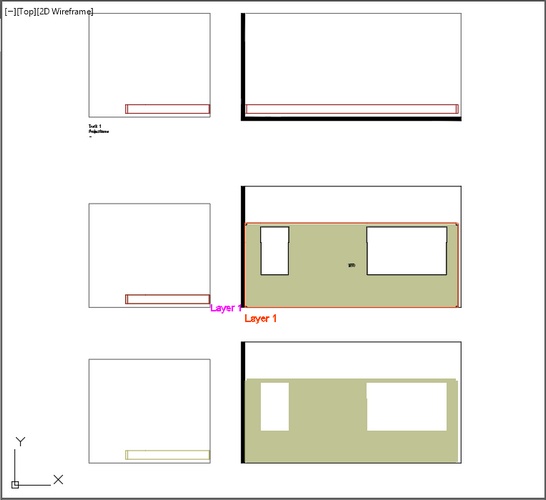
This can be done for multiple layers, after adding a layer, a new truck grid row is automatically created, with a visualisation of its previous surfaces.
This visualisation can be set up in the xml settings file. With the custom triggers, you can add or remove items from a layer.
The f_Truck-Grid tsl has a few custom actions:

With the trigger Show interferences - in the custom menu of the truck grid tsl you can show or hide interferences for items in a layer.
With the Show contact faces - you can show or hide the visualisation of the contact faces of the previous surfaces
With the Hide addition row - you can show or hide the last truck grid row that has been created automatically
With the Add Bedding Grid - you can add a grid for the beddings, you must specify the number of grids, from 4 to 14, you can also specify the edge offset after adding the tsl.
This will add a bedding grid on the rows of the truck grid:
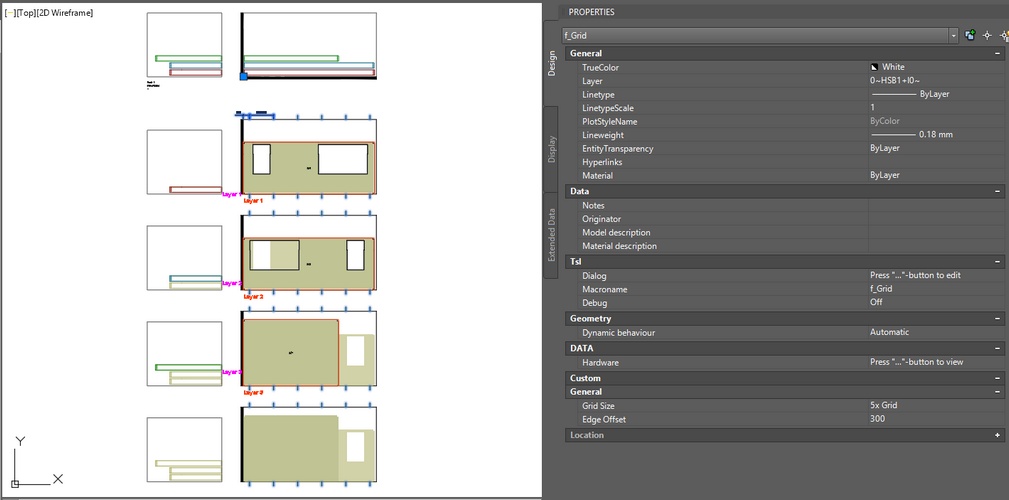
With the load and export settings - you can load or export settings from or to the f_settings.xml file (hsbCompany\TSL\Settings).
Settings
A large set of parameters of the stacking is stored in a configuration file.
One can create multiple configurations and load it on demand.
A base configuration is provided after the first creation of a truck.
Exporting and loading is done via a truck instance, in the custom menu there is a “load settings” and an “export settings” trigger.
In order to load the settings specify the index of the file (if there is only 1 file, the index will be 0)The file is stored in <company>\TSL\settings\ and named f_Stacking.xml.
Additional configurations must follow the naming convention f_Stacking<NAMEAPPENDIX>.xml, where <NAMEAPPENDIX> can be replaced by any unique string.
The settings are structured into entries regarding the truck-, layer-, and the item-instance.
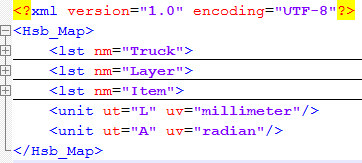
Truck Settings
The settings of the truck are structured into the following entries.
Vertical Type
Truck Design
Additional Parameters ‘Closed Truck’

Truck Layout

Truck Tag
A tag defines the display of a property at a specific location.


Besides the automatic properties of a TslInstance the following project properties are supported:
- Projectname
- ProjectComment
- ProjectNumber
- ProjectStreet
- ProjectCity
Item Settings
The settings of the item are structured into the following entries.
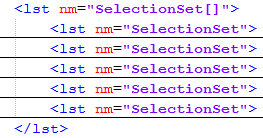
Item – SelectionSet
The SelectionSet[ ] can contain multiple definitions of selection sets. Each set must have a unique name.

Item - Grid
Tags
There is an option to visualize a property of the item on the front view of the truck with the tsl f_Tag.
This can be done by inserting the f_Tag tsl.
You can specify a dimension style, a text height and a colour.
When the colour is 0 or less, the colour from the truck will be taken.
When the Text height is 0 or less, the textheight will be taken from the dimension style.
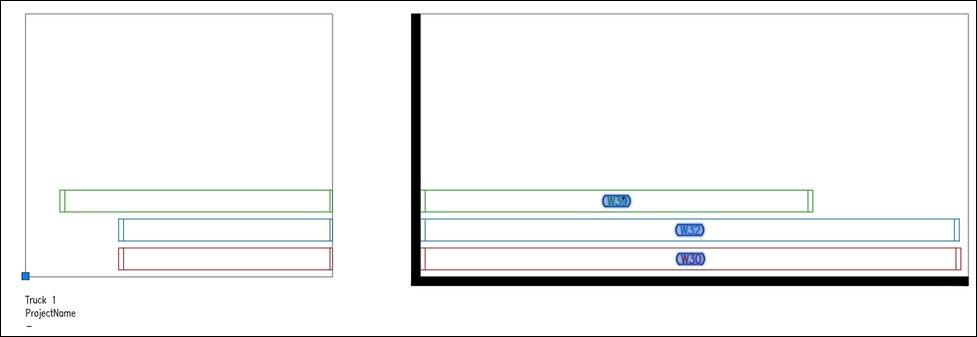
There is a “Recalc locations” trigger in the custom menu to recalculate the positions.
This will be useful when changes are made in the positioning of the items in the layers.
Export
In the custom menu of the truck tsl there is a trigger called “Run Export <EXPORTGROUP>”.
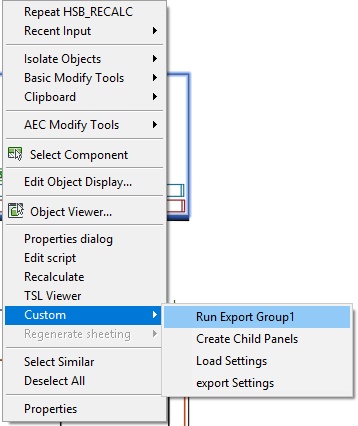
This will run the exportgroup specified in the settings xml file.
The export will run with the model entities associated to the items that are stacked on the truck.


