hsbExport | Validation Manager & Inspector in hsbDesign24 /25 /26
This document will show you how to perform checks in your model with the Valdidation manager and the Valdidation inspector within AutoCAD Architecture.
These validations can run anytime and will lead to fewer problems in your drawing.
The Validation manager is used to define groups of validation tests.
The Validation inspector is used as a controller (Inspector) the drawing.
Validation Manager
How to launch the Validation Manager
There are 2 ways in Launching the Validation Manager.
- Type the command hsb_Validationmanager in the command line in Autocad.
OR - Open the Manager directly from C:\Program Files\hsbCAD\hsbdesign..\Utilities\hsbValidation\hsbValidationManager.exe’ folder.
BLOCK_INFO_START
The first time you create a validation, a folder Validation will be created in your hsbCompany\Validation folder
BLOCK__END
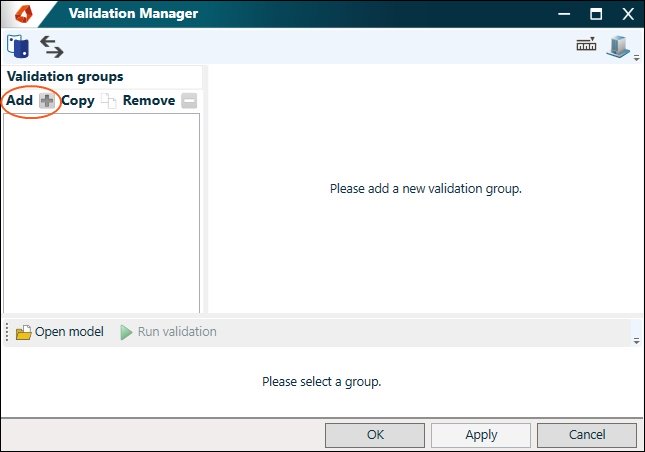
The Validation Manager dialog box will appear.
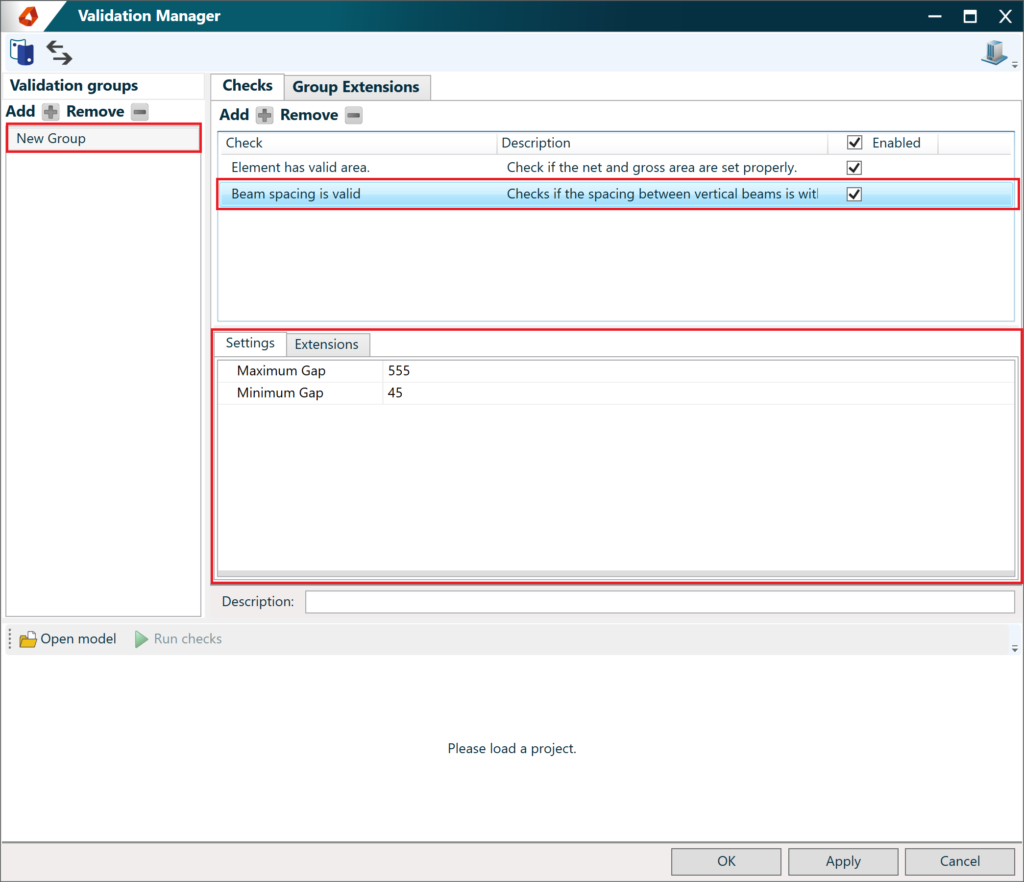
- You first need to Add a Validation group, select the Add button on the left hand side of this dialog box.
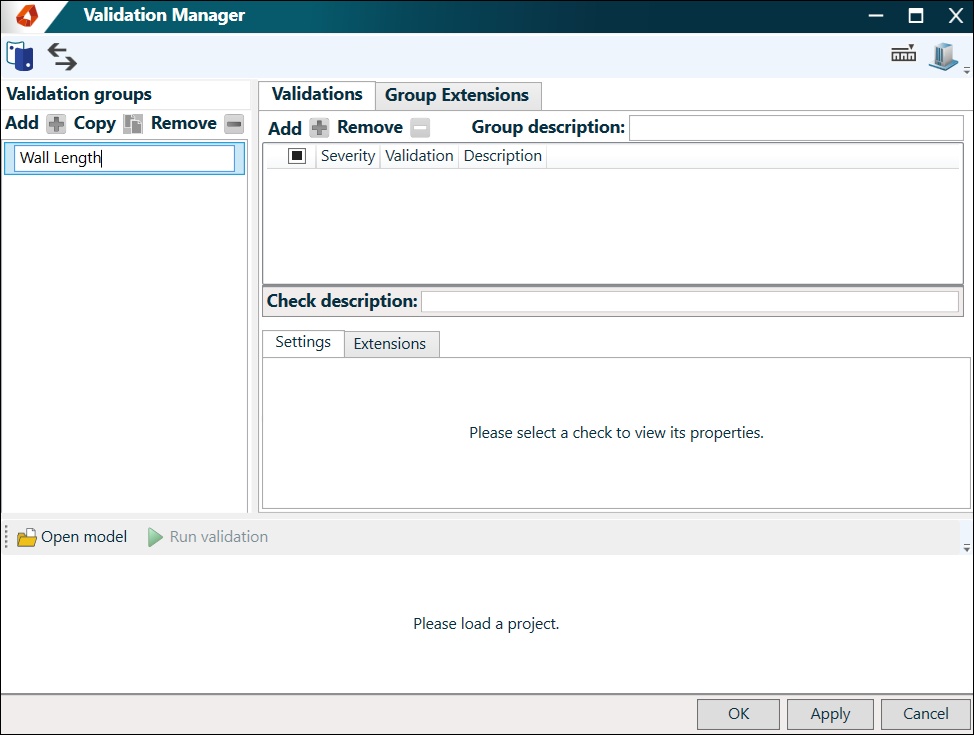
- Double click the New Group to rename it, in this case we renamed it to Wall Length
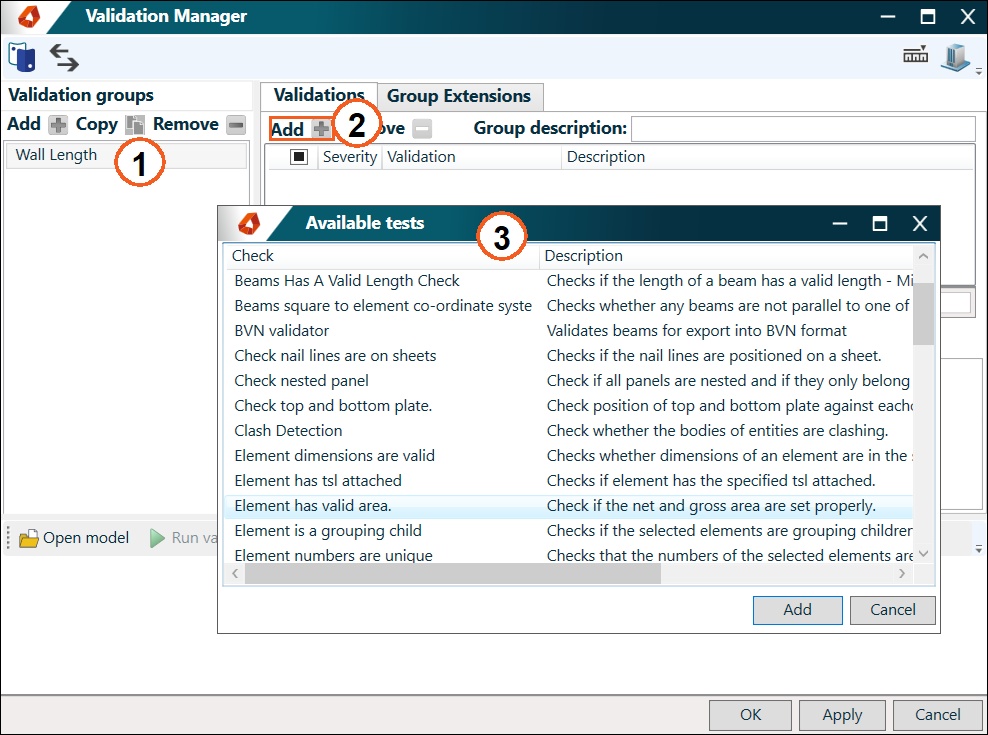
- Select the validation you want
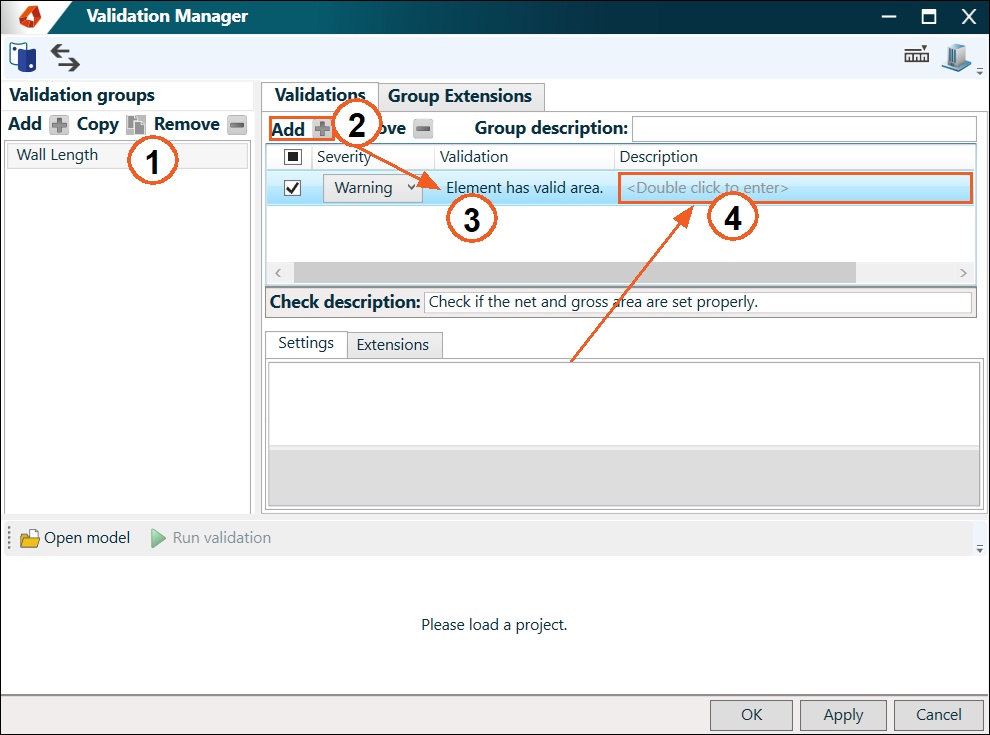
Import and export validations
Normally your validations are stored in your hsbCompany\Validation folder. See Saving the changes.
BLOCK_INFO_START
The first time you create a validation a folder Validation will be created in your hsbCompany\Validation
BLOCK__END
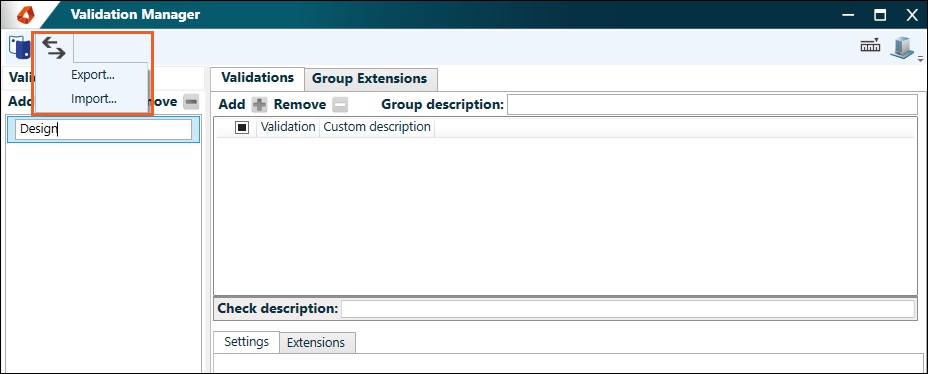
You can also import and export your validation settings with our tool.
The result of such a file will be a *.settings file.
Alias manager
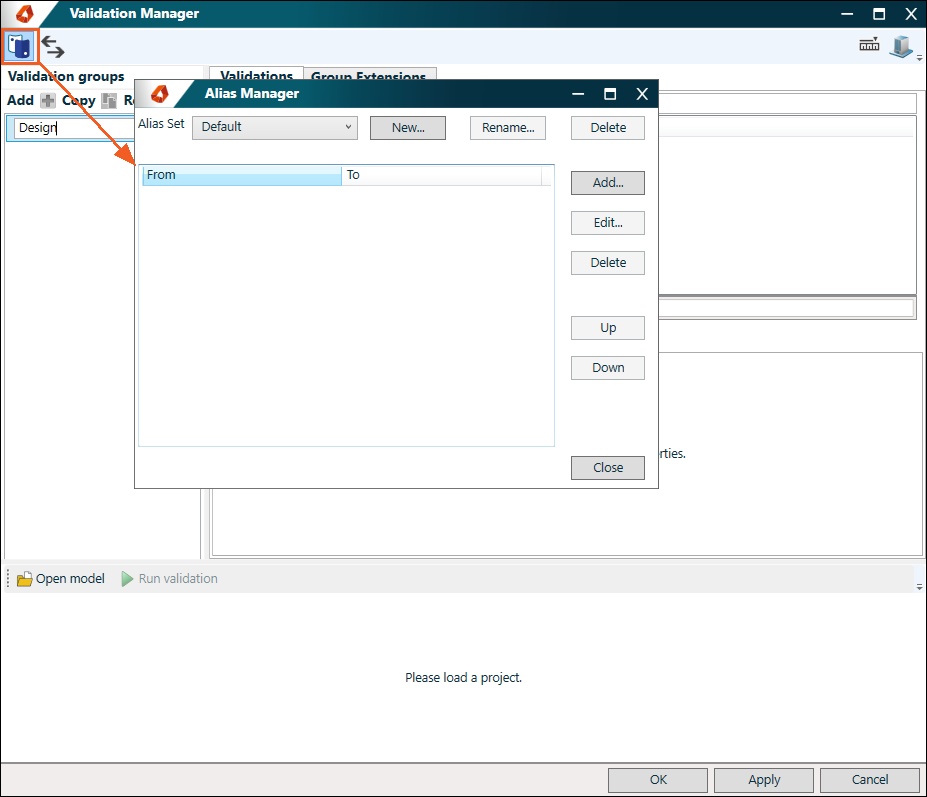
You can open the hsbcad Alias Manager to use it in your validations.
For more information, you can go to the Alias Manager article. Alias Manager
Create new validations
- Create a new validation group by selecting the Add + in the left column.
- Then double click the New group and give it a name to add checks to.

- Select Add + on the right-hand side in the Checks section.
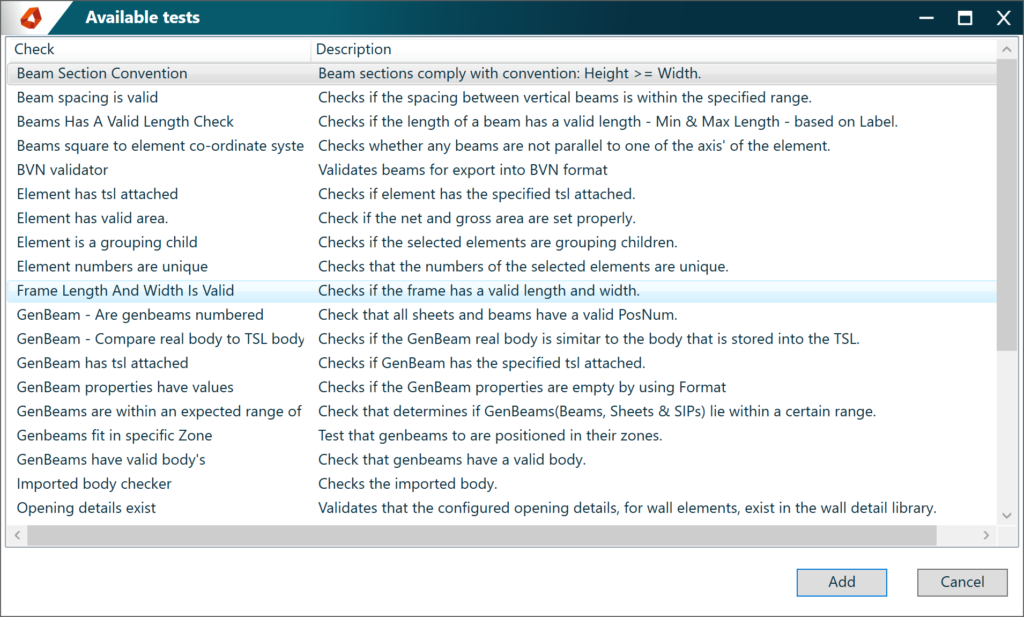
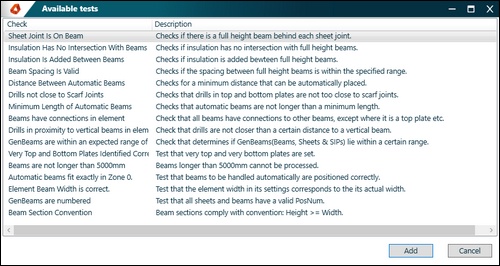
- When adding a test, the user can choose from a list of available tests. By Default, we have multiple tests as shown in the image below.
- This list contains general validation tests, it is possible to have customer-specific validation tests.
- Adjust the available settings when needed.
Validation settings
If settings are present, they can be implemented in two different ways:
- A property grid, the available settings will appear in the Misc section, by selecting one of the checks of the current group.
- Or a Custom UI, with multiple properties.
Saving the changes
The created groups, with the configured tests, are automatically saved in the current hsbCompany\Validation folder.
Run checks
Before you start, you need to make a Model file (hmm or hmlx) of your drawing using the Exporter.
A validation group has to be selected, this group will run the enabled checks in that specific group on the model.
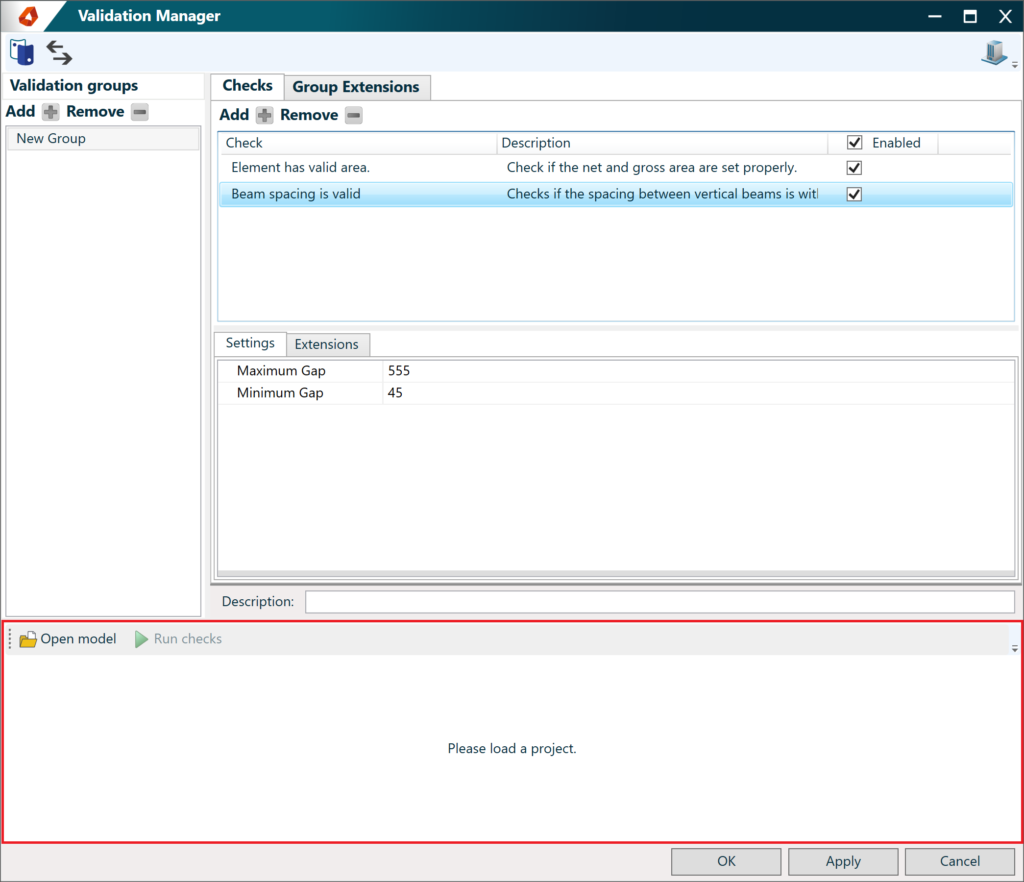
- Open model.
- Select an *.hmm or *.hmlx file
- Run Checks.
- A list of results will show the result.
Commands available in the Validation Manager
A short description of the available commands:

Validation inspector
The validation inspector is a tool to run a set of tests specified inside a validation group.
How to launch the Validation Inspector
There are 2 ways in Launching the Validation Inspector.
- Import the tsl hsb_ValidationInspector (Program Files\hsbcad\hsbcad20...\Content\General\TSL)
- Launch true command hsb_Validationinspector.
Run a validation group
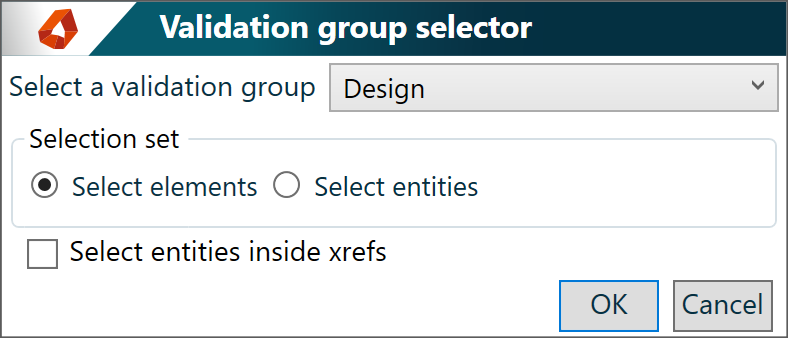
You can select a validation group in the settings of the ‘hsb_ValidationInspector’.
Once that is done, you can select a set of entities as input for the validation tests.
Validation results
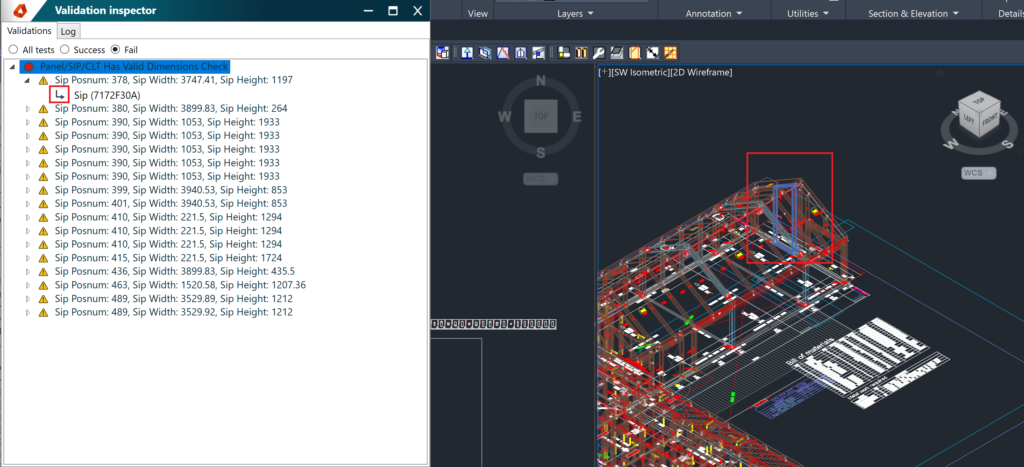
The validation inspector runs the test specified in the group on the selected entities.
You can see the results.

The user can analyze the failed test results by clicking on the arrow in the validation inspector, e.g. ‘Sip (7172F30A)’. Your model will centralize the entity on your screen (using the current zoom-factor and UCS) and select it.
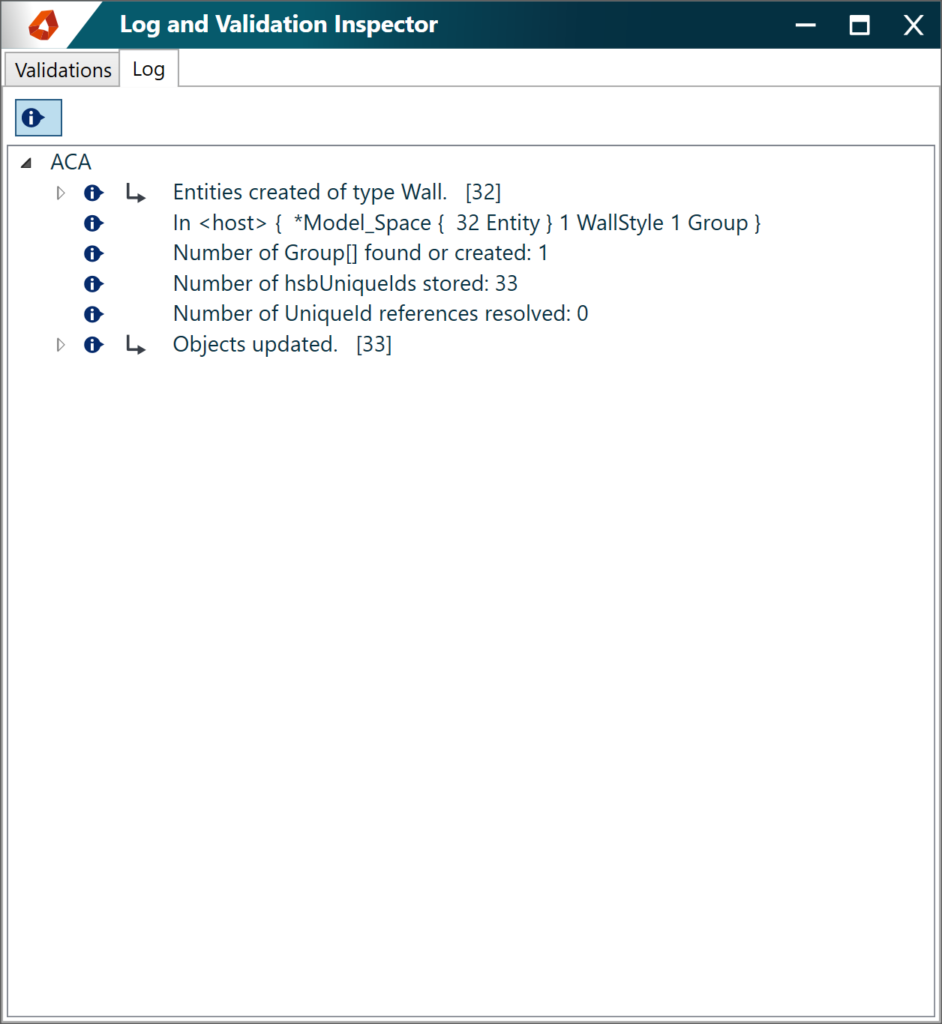
When you do an import, this window will also be shown and the Log tab will show you information on how the import went.
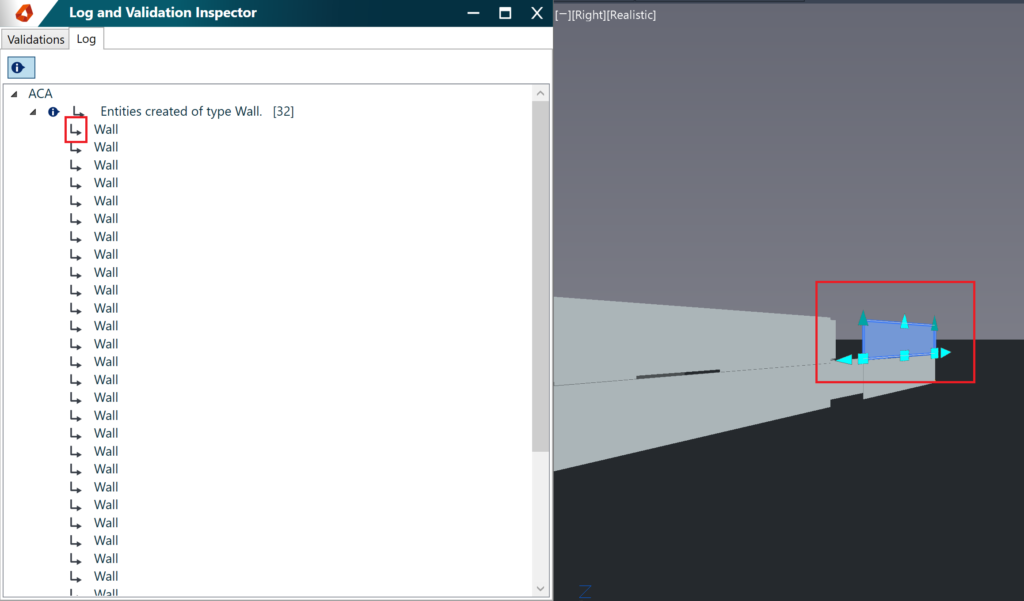
The user can analyze the import result by clicking on the arrow in the Log inspector, e.g. ‘Wall’. The entity will be centered on your screen (using the current zoom-factor and UCS) and selected.
Commands available in the Validation Inspector
A short description of the available commands:


