How to install the hsbDesign Components standalone
This article will guide you through the setup and installation of the hsbDesign Components The hsbDesign Components setup supports the installation of a stand alone version of the hsbExporter, hsbMultiWall Composer and hsbBOMLink.
Step 1: Download hsbComponents Setup File
BLOCK_INFO_START
Before you can download the setup file you will need to create an account at www.myhsbcad.com.
BLOCK__END
BLOCK_INFO_START
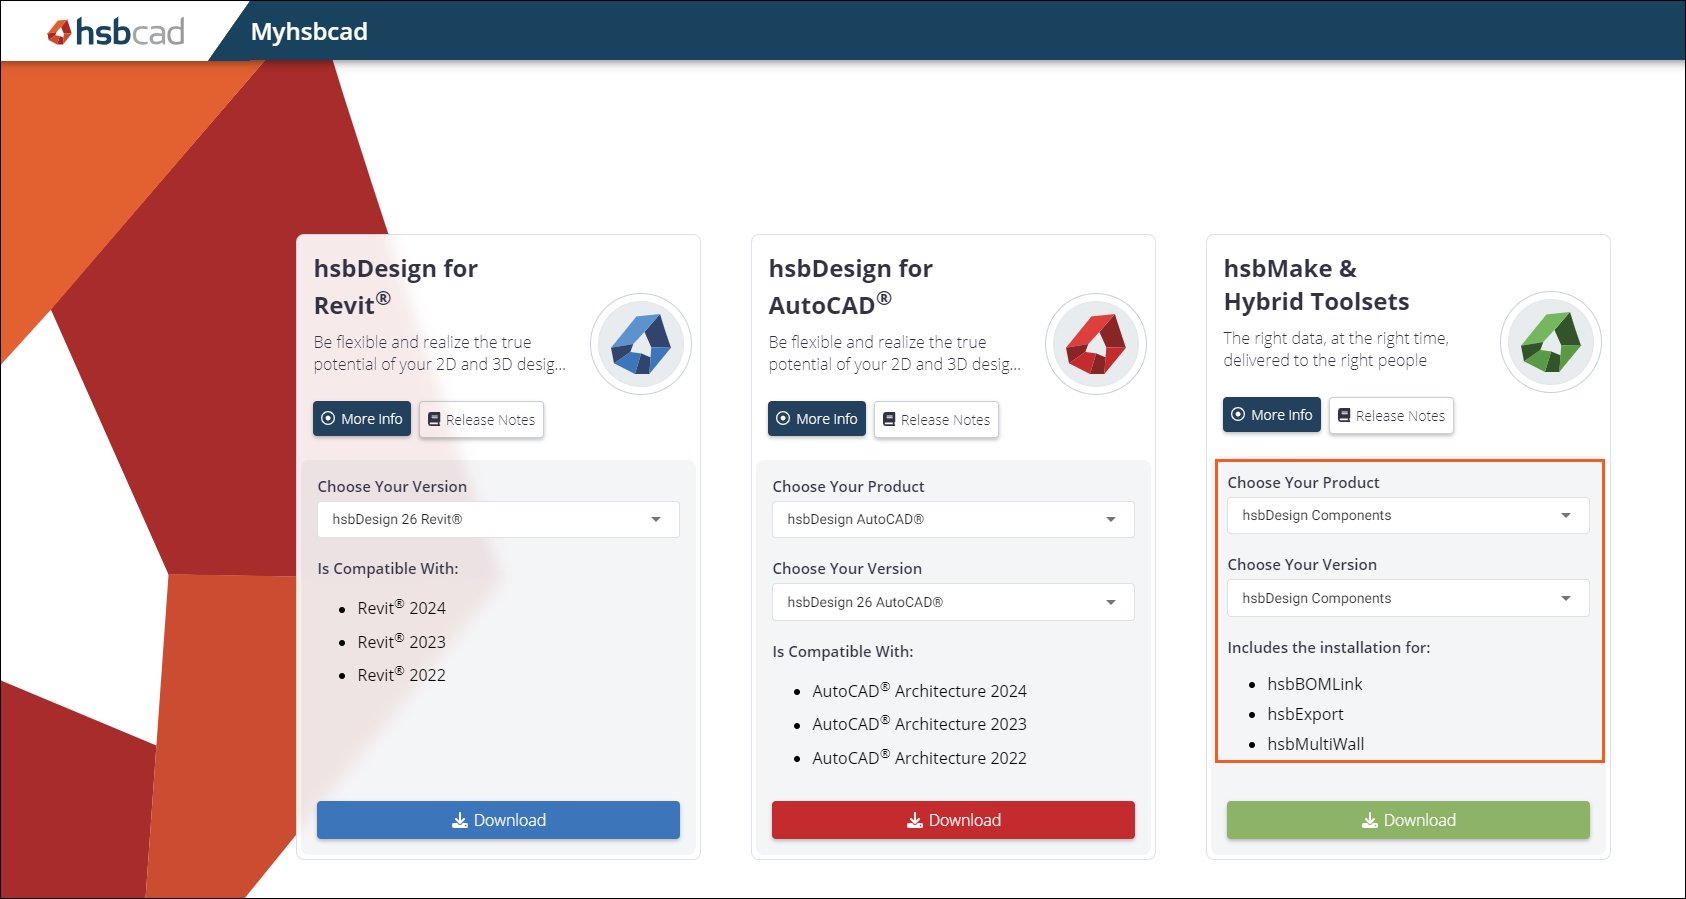
After you have created your Myhsbcad.com credentials, you can download the hsbDesign Components setup file in Myhsbcad downloads.
BLOCK__END
Step 2: Start the Installation
Once you have downloaded the hsbDesign Components setup file, select the file, right click and select Properties, select the Unblock Option

Select the downloaded setup file, open it, and your installation will begin.
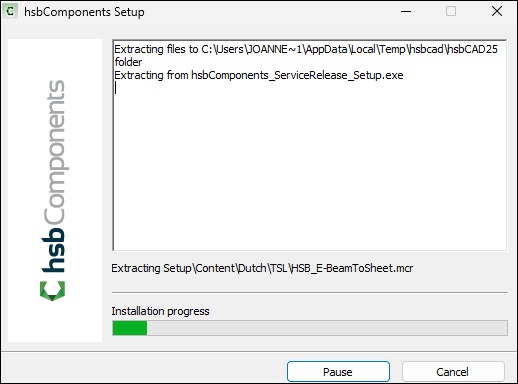
You will see the dialog box that confirms the extraction of the installation files.
Step 3: Setup Options & Software License and Service Agreement
After the extraction is complete, this will open the following dialog box: Setup Options & Software License and Services Agreement.
You will need to make a few choices prior to the setup and installation, which are as listed below.
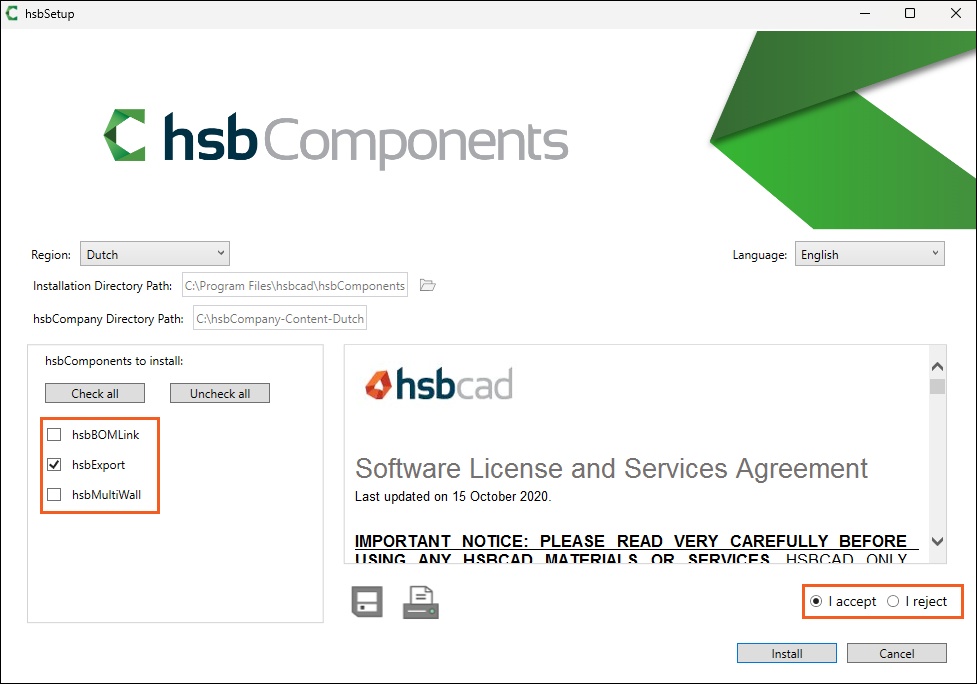
- Region: You will need to pick your region. This will load the necessary content.
- Language: You will need to select your language.
- Installation Directory Path: The hsbComponents installation has a default location path, shown in the image above. You have the option to change this file path location.
- Install hsbCompany Folder:
BLOCK_WARNING_START
If hsbComponents detects an existing hsbCompany folder in your C:\ drive the following dialog box will appear.
You can choose to overwrite by selecting yes, or no which will continue the installation process without changing the existing hsbCompany folder.
BLOCK__END
- Accepting the Software License and Services Agreement: Once you have chosen all the options for your setup you can then accept the terms and conditions laid out in the Software License and Services Agreement.
You do have the option to print or save these terms and conditions if you choose too as shown below.
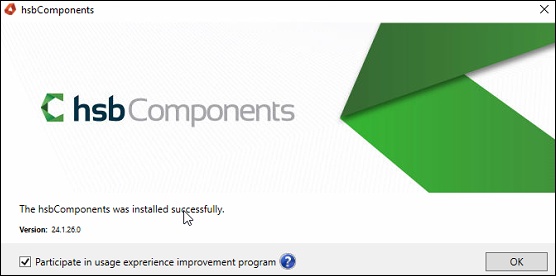
Once the installation is complete this will open the following dialog box to let you know that the installation was successful as shown below.
Step 4: Starting hsbComponents Software
On your desktop, an hsbExport Manager or an hsbBOMLink Configuration shortcut will be installed. (See Image Below)
Double click this icon to start your hsbComponents software.

Step 5: Logging in to hsbComponents
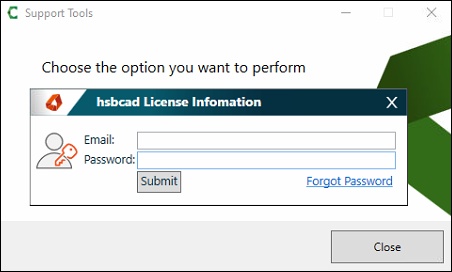
When you first launch the hsbComponents the following dialog box will appear which will start the login process.
This is where you will enter your credentials.
Step 6: How to manage your license and Update the software after you have logged in.
After you have logged in and you would like to manage your license.
Create a desktop shortcut of the hsbSupportTools.exe found in your C:\Program Files\hsbcad\hsbComponents\ hsbSupportTools
This will then open the following dialog box.
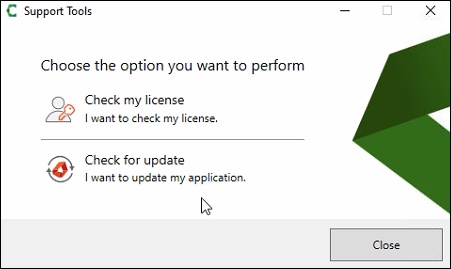
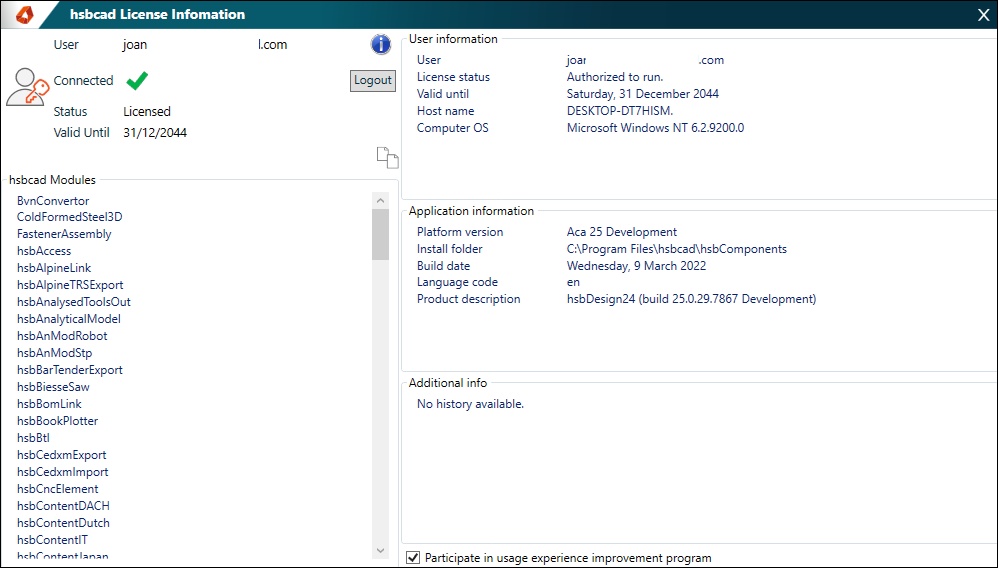
After you selected the Check my license option, the following dialog box will appear giving you your license information, which will include your license connection status, list of modules, user information, and hardware information.
