hsbCLT | How to create a hsbCLT panel
This article will show you how to create and define hsbCLT panels.
Style manager
In the style manager you can define the basics for creating hsbCLT panels.
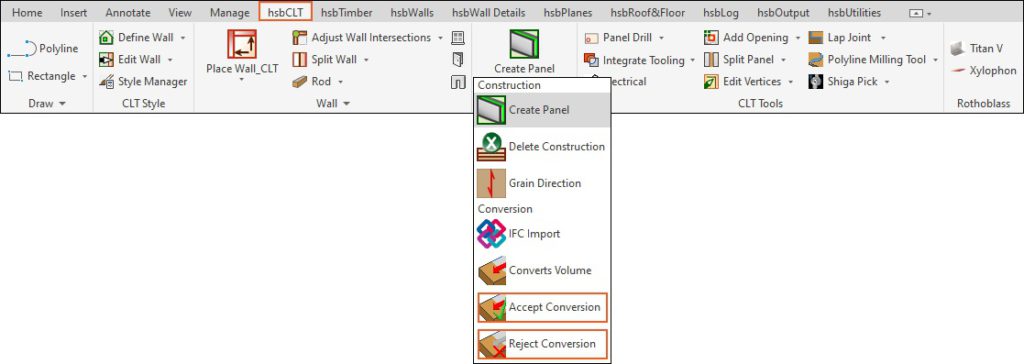
You can find the Style Manager in the hsbCLT tab
BLOCK_ALERT_START
When working with the Style Manager, make sure that you are in the drawing in which you want to apply the definitions.
BLOCK__END

How to define a ''hsbcad panel style"
No matter which option you choose to create a hsbCLT panel, you must first create a Panel Style in the Style Manager.
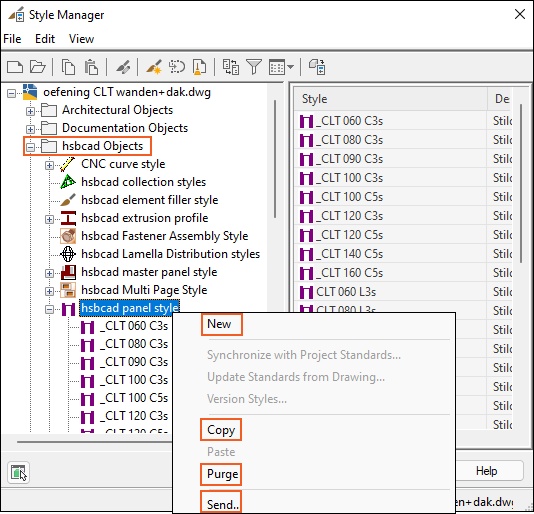
The Panel Styles can be found under the hsbcad Objects\hsbcad panel style tab.
Right click the hsbcad panel style, you can create a new Panel Style, copy or clean up (Purge=delete) an existing one and use Send dwg file.
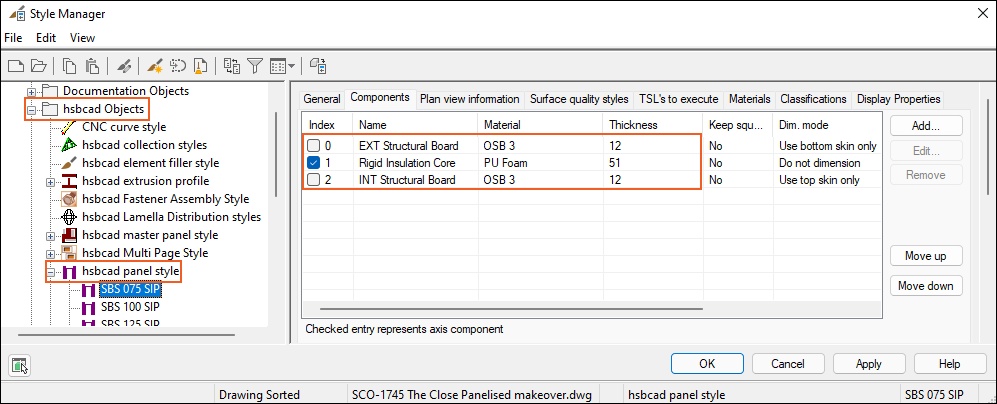
The width of the Panel Styles is defined through the Components tab.
You can either define a component as the overall thickness of the wall, or you can define the individual layers of the wall and thus define the overall thickness.
How to define a "roof definition" and a "wall definition"
In order to be able to convert walls or roofs into hsbCLT panels, you must create roof and wall definitions and assign them to the roofs and walls.
You can define various default settings for how walls and roofs should behave, for example, with openings or component connections.
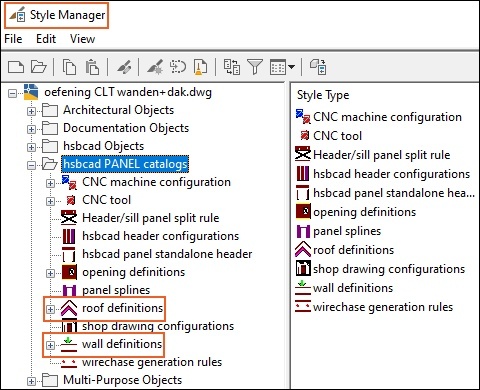
The wall and roof definitions can be found in the style manager under the hsbcad PANEL catalog\roof definitions and wall definitions tab.
How to create a hsbCLT panel from a wall
You can create a hsbCLT panel from an AutoCad Architecture wall in two ways.
1. You can Place a hsbWall through the hsbCLT tab, for this a group must be selected in the hsbConsole.
2. The hsbCLT panel can then be created using the Create Panel command.
The Panel dialog box opens in which you can define the panel style, surface quality and distribution of the panel.
BLOCK_INFO_START
It is recommended to create a wall style with the panel thickness in the style manager.
BLOCK__END

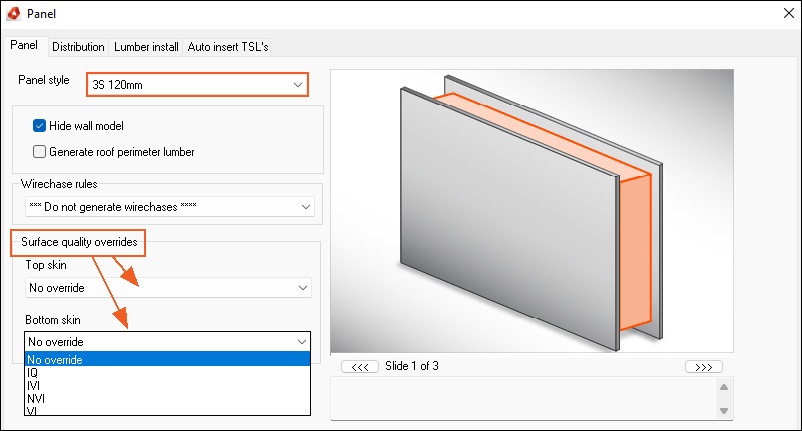
You can also create a hsbCLT panel on an existing ACA wall.
To do this, select the Define wall command.
You can assign the wall definitions created in the Style Manager to the wall, you must select a group the hsbConsole.
The hsbCLT panel can then be created using the Create Panel command.
The Panel dialog box opens in which you can define the panel style, surface quality and distribution of the panel.

How to create a hsbCLT panel from a roof or hsbPlane
You can also create a hsbCLT panel from a hsbRoof or a hsbPlane.
To do this, select the Define Roof command.
You can assign the wall definitions created in the style manager to the wall, for this a group must be activated in the hsbConsole.
The hsbCLT panel can then be created using the Create Panel command.
The Panel dialog box opens in which you can define the panel style, surface quality and distribution of the panel.

How to create a hsbCLT panel from a closed polyline
You can create a hsbCLT panels from closed polylines.
for example rectangles, polygons or free forms.
BLOCK_CHECK_START
NOTE: the polyline needs to be closed (Closed=Yes) in the Properties field.
BLOCK__END

The hsbCLT panel can then be created from the polyline using the Create Panel command.
The Panel dialog box opens in which you can define the panel style, surface quality and distribution of the panel.
Once you have defined all the parameters, select the OK button, select the polyline and confirm your entry.
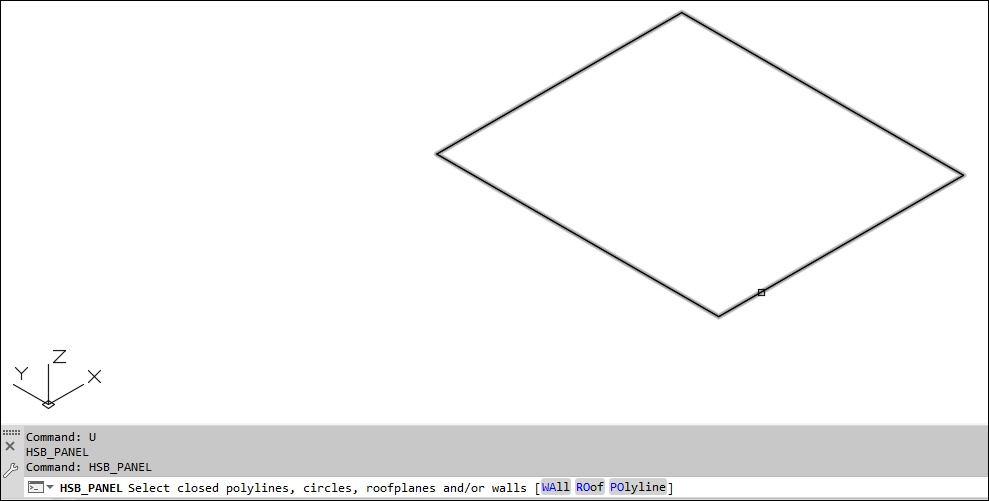
How to create a hsbCLT panel from a solid (Volume)
You can convert solids to a hsbCLT panels.
BLOCK_CHECK_START
What is important for converting solids into a hsbCLT Panel is, you need to created a Panel style that matches the thickness of the solid.
BLOCK__END
Select the solids you have drawn and the the Convert Volume command in the ribbon.
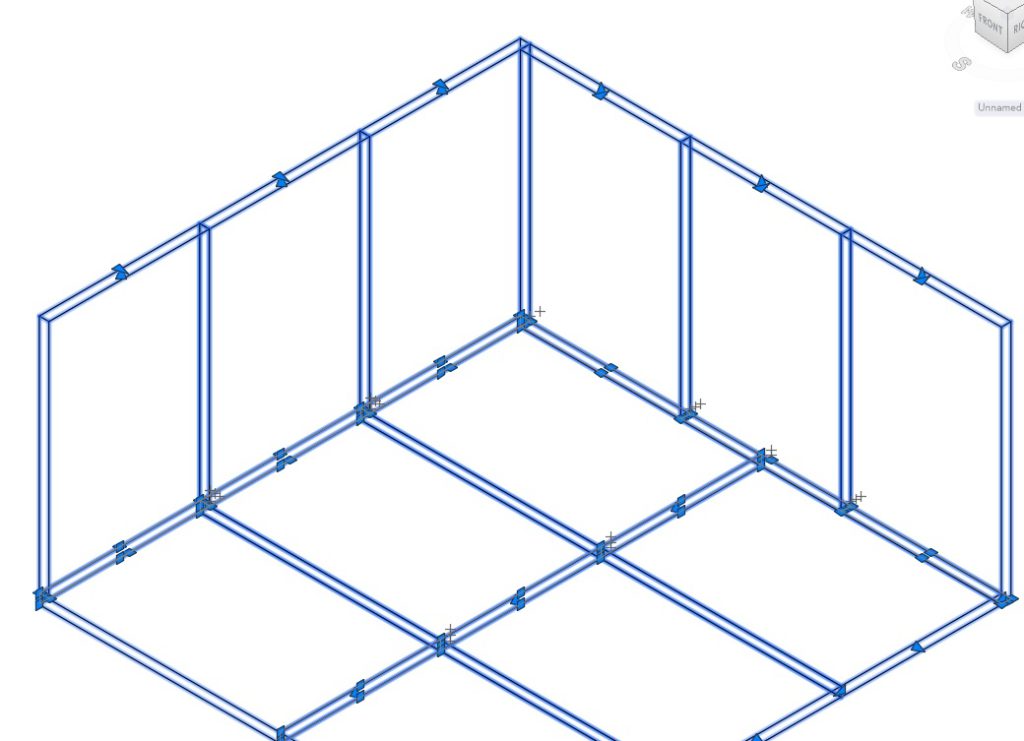
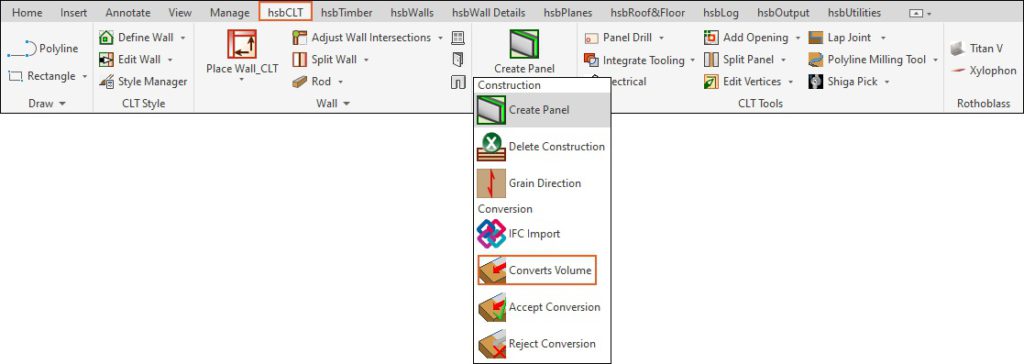
You will get a conversion preview and can still edit the grain direction and reference side.
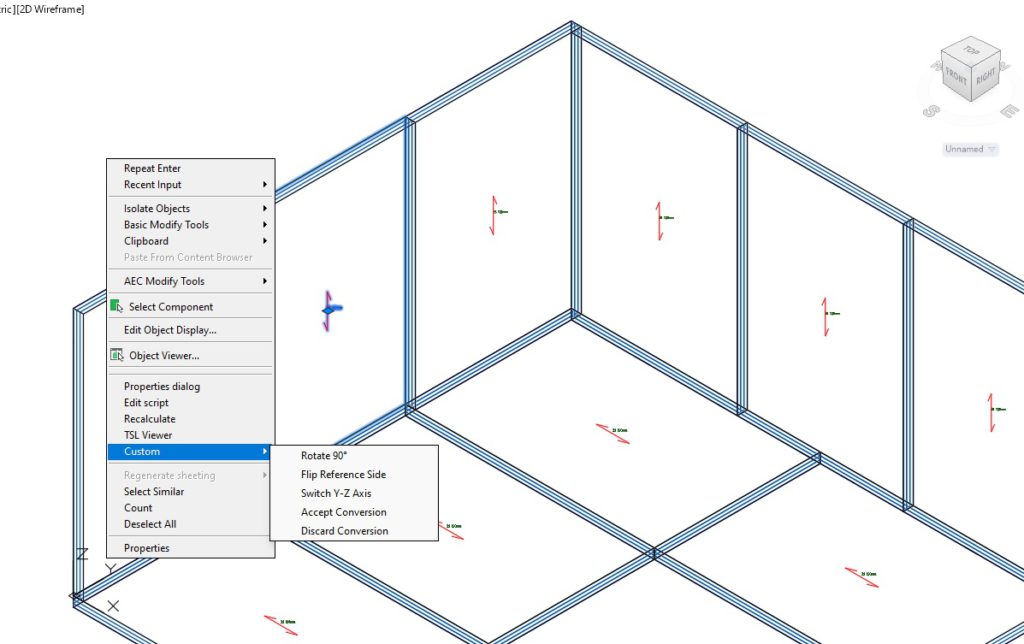
The Accept Conversion command accepts the conversion preview and generates the hsbCLT panels.
The Reject Conversion command rejects the command and discards the conversion preview.
