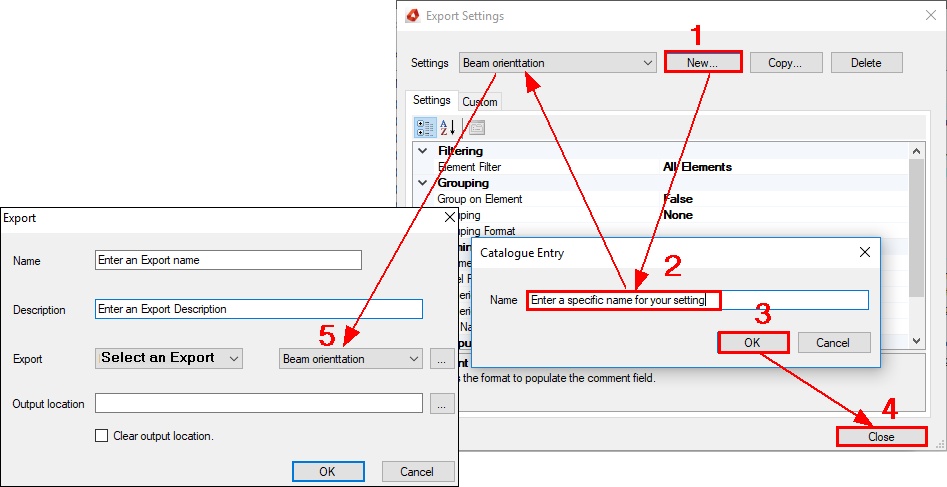
hsbExport | Export to WHM Framemaker
For general export settings please read the hsbExporter document first.
Before you start exporting don’t forget to number all your entities. More information about numbering entities can be found in the article: Add numbering. > hsbInOutput\Apply Numbering
- Select the option hsbCAM\Element export\Cnc Exporter.
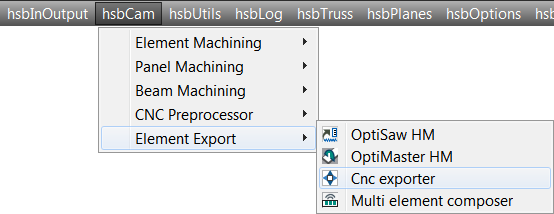
- OR select the Exporter in the Ribbon

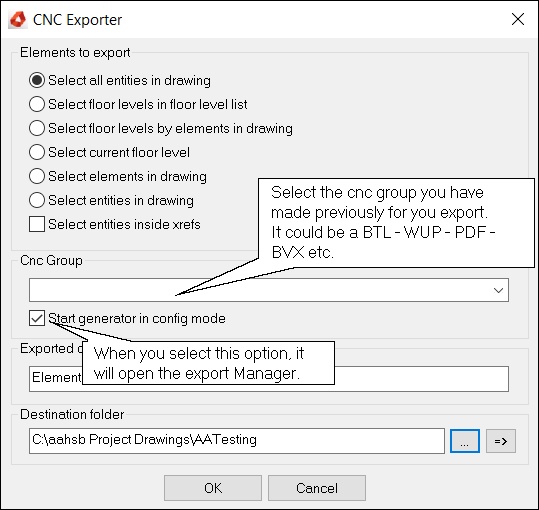
This will open the CNC Exporter dialog box.
- Select all Entities in drawing option to export.
- The destination location (default is will be stored in the folder where the drawing is situated).
CNC group
- Select a Cnc Group(if you haven’t made a group yet see ‘’How to create an Export\group” in the hsbExporter document).
- Deselect the Start generator in config mode (config mode means that the Export manager will open, in the Export Manager you can set all your settings and create a group, you don’t need to select the config mode (Export manager) all the time) Read the hsbExporter document.
- Select the destination location (default it will be stored in the folder where the drawing is located)
- Select OK.
- Your csv file has been created in the folder of your destination.
Destination folder
BLOCK_INFO_START
Optional: set the destination location (by default the export will be stored in the folder where the drawing is located).
BLOCK__END
- Your csv file has been created in the folder of your destination.
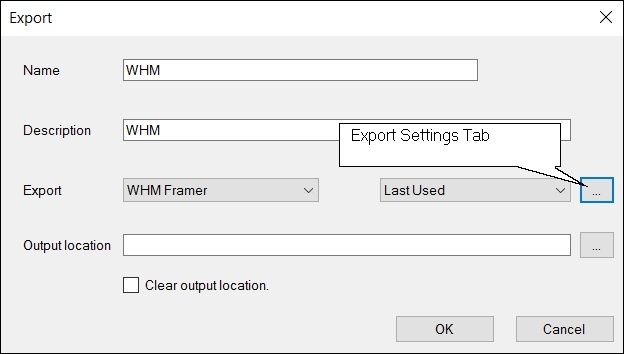
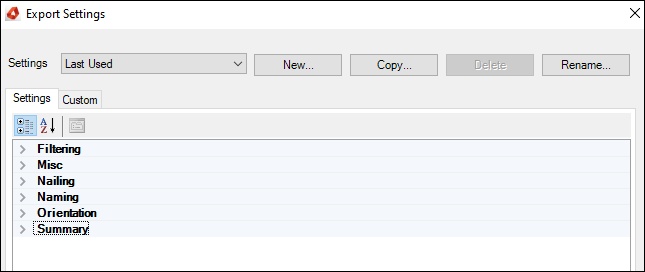
Settings Tab
In the Export Settings tab you can find all kinds of information about the machine export.
You can set your specific options.
Filtering
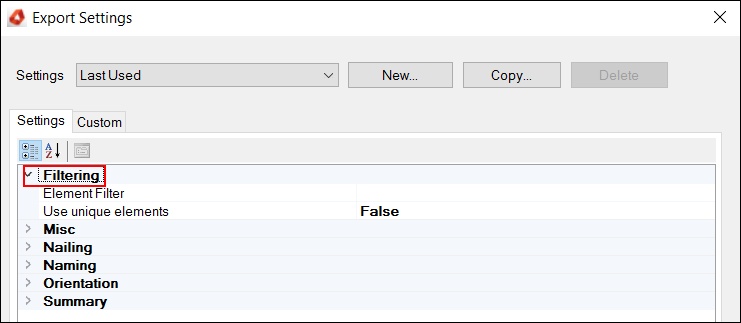
Element Filter
Filter to specify what elements should be processed.
Use unique elements
Specifies that an element will only be processed once e.g. where a wall is included in a multiwall it will not be included on its own.
Misc
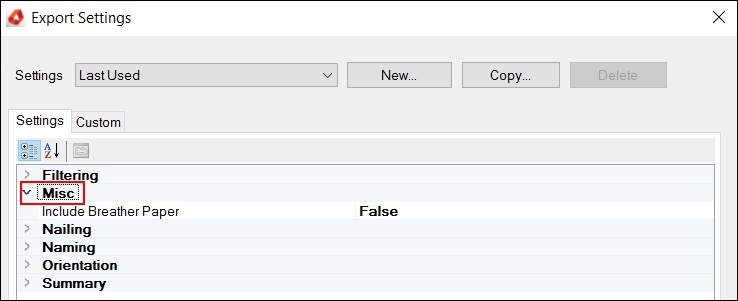
Include Breather Paper
Specifies whether breather paper should be included on the wall.
Nailing
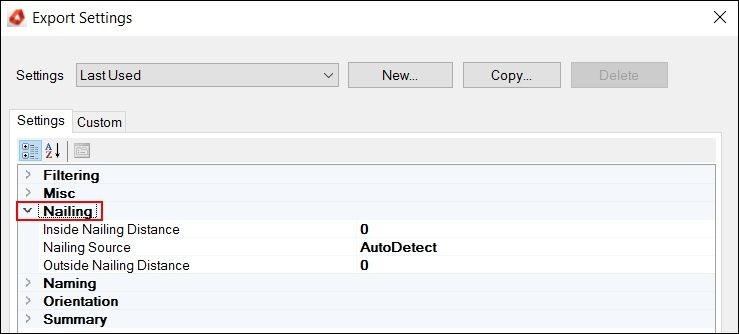
Inside Nailing Distance
Specifies the distance between nails around the inside of the wall.
Nailing Source
Specifies where the nailing setting comes from.
Manual = use value in settings
Design = use value from the drawing.
Auto Detect = use drawing value if they exist otherwise use settings
Outside Nailing Distance
Specifies the distance between nails around the outside of the wall.
Naming
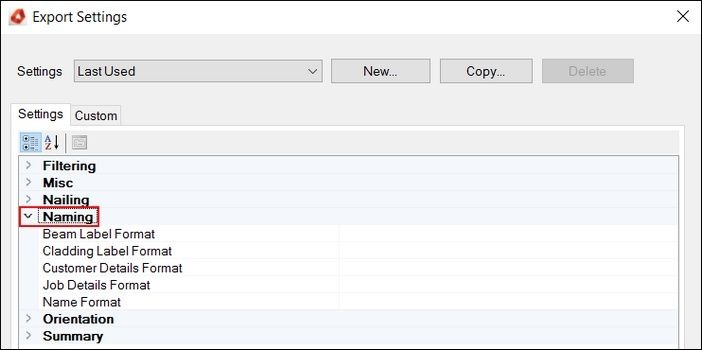
Beam Label Format
Specifies how the label for the beam will appear. If blank this defaults to the beam name.
Cladding Label Format
Specifies how the label for the cladding will appear. If blank this defaults to the cladding name.
Customer Details Format
Specifies how the customer details will appear. If blank this defaults to the project name.
Job Details Format
Specifies how the job details will appear. If blank this defaults to the project number.
Name Format
Specifies the format for the names of the output files.
Orientation
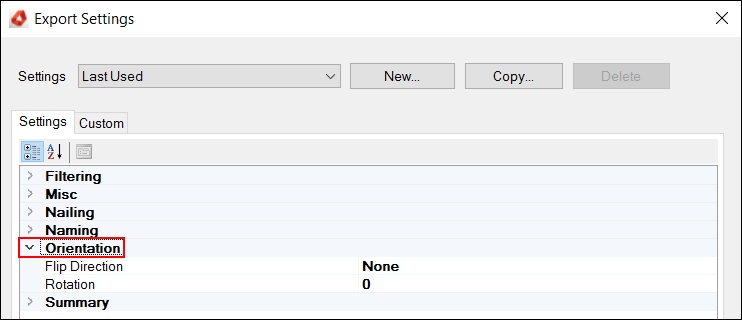
Flip Direction
Direction to flip element
Rotation
Anti-clockwise rotation around Z axis
Summary
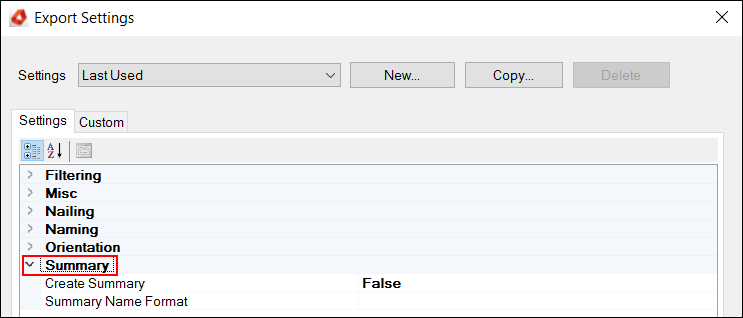
Create Summary
Specifies whether the summary file containing the list of all the elements is created.
Summary Name Format
Specifies the format used for the name of the summary file. If blank the drawing name is used-@(DwgName)
Custom Tab
In the Custom tab you can add extra settings, like Beam Filter.
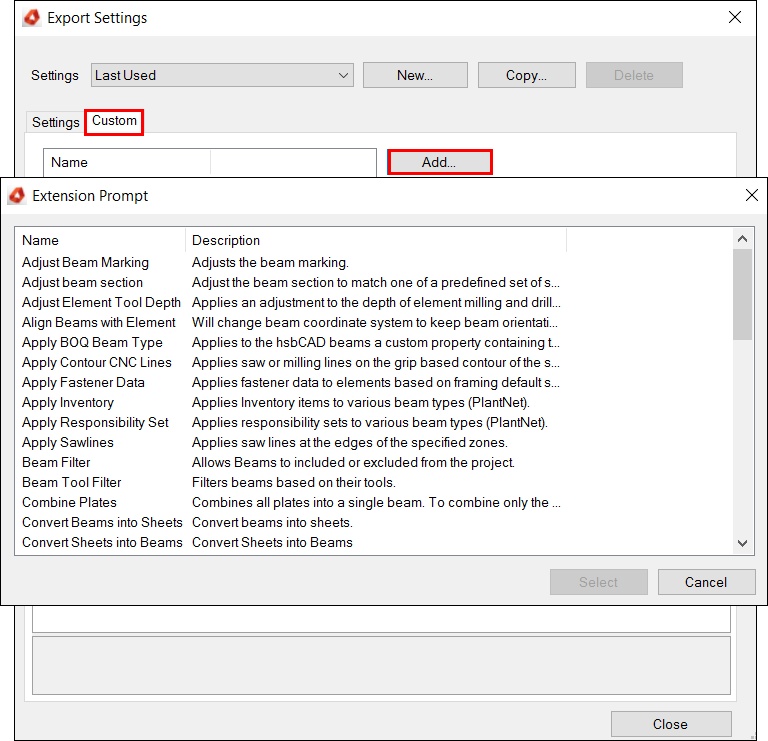
Once you have set everything in the Setting/Custom/Tool Modifiers tab you can save these settings and recall them later on in the Export Settings dialog box. (See Save your Settings)
Save your Settings
Once you have set everything in the Setting/Custom tab you can save these settings and recall them later on in the Export dialog box.
Step 1. Select the New button and the catalogue Entry dialog box will open, enter a specific name to your settings.
Step 2. Select OK and the Entry will appear in the Export Settings dialog box.
Step 3. You can create several exports if you want.
