hsbShare | hsbLogistics workflow

This document will show you how to work with hsbLogistics.
hsblogistics is a mobile app for the wood construction industry, which allows the user to monitor the location of prefabrication elements.
BLOCK_CHECK_START
It can be downloaded from the App Store (hsbLogistics)
BLOCK_CHECK_END
The elements are scanned using QR codes and grouped into packages.
The packages can then be placed in areas, on trucks or in delivery destinations.
The application allows you to quickly scan a package and determine where it resides, change its location, or have an overview of the locations of the prefabrication elements.
This mobile app only works complementary with the hsbShare Cloud Service and can be downloaded in App Store on your mobile device
Create an account in hsbShare first in www.hsbshare.com
BLOCK_WARNING_START
Follow the next steps to start to learn how to work with hsbLogistics and hsbshare.
BLOCK_WARNING_END
Login
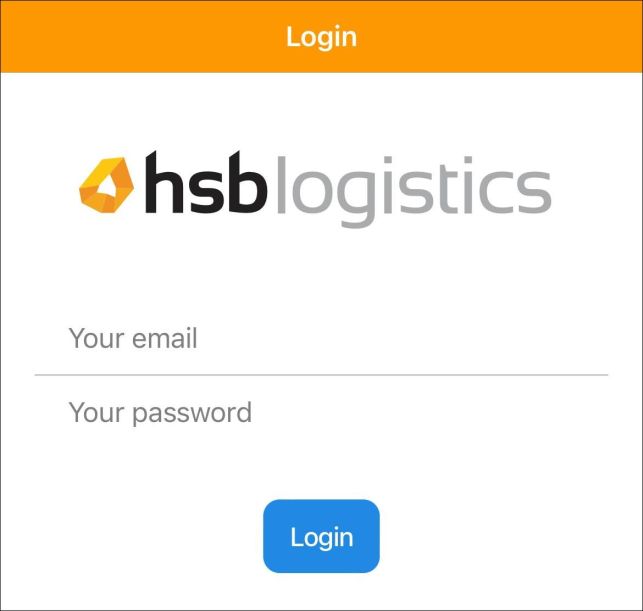
When you open the application for the first time, it will require your hsbShare account information.
Your email and your password information is identical to the account information created on the hsbShare website.
This Toolset needs to be added to your License, for more information get in contact with the hsbcad office you are dealing with.
Set up your application
Once you have logged in, you will be requested to select a Team
The Team is a team you can choose from the list.
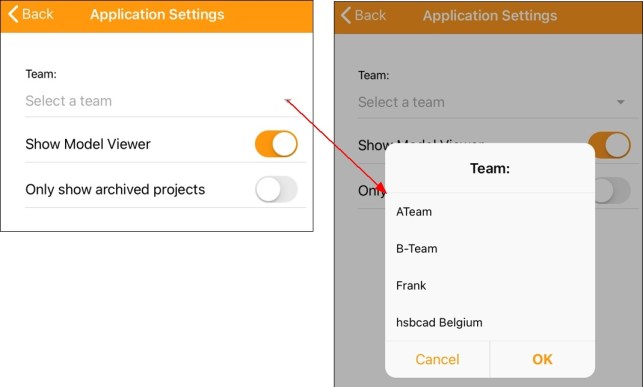
Show Model Viewer –
Only show archived project –
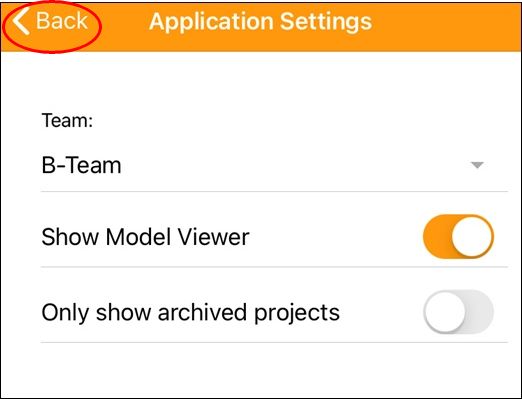
After you have selected a Team select the Back button in the left top corner of your screen.
You will see the Choose an Action screen.
This will be the starting point for actions.
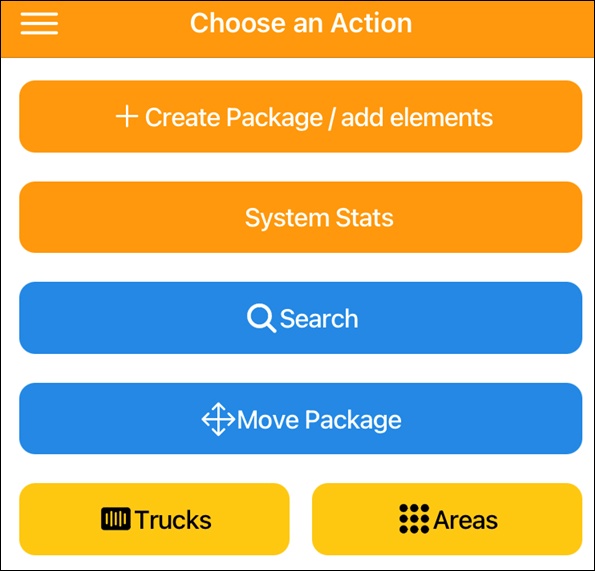
The Menu can also be accessed by selecting the 3 strips in the upper left corner.
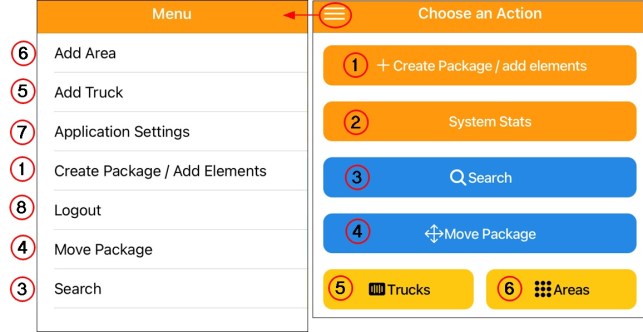
List of actions
Create a Package and add elements
The following two steps are needed to create a package and add elements to the packages.
Step 1:
- Select the first button
+ Create Package / add elements and then the next button - +Scan and Create Package
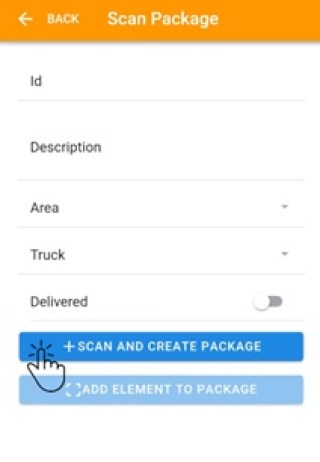

After you scanned your package and element you can add the package to the specified Area on site, to the specified truck it is loaded onto or check the delivered status as delivered.
Step 2: Add Element to Package
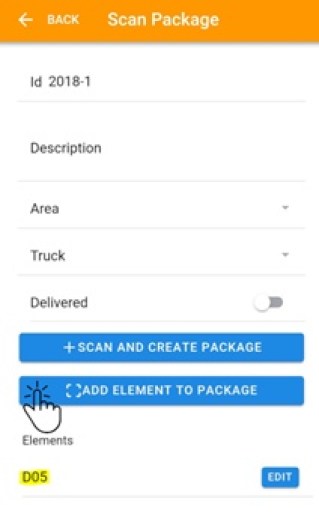

To add a package the best thing is to use the QR codes from uploaded projects and elements.
The project number is being used while uploading a project and the element number is being used as element code.
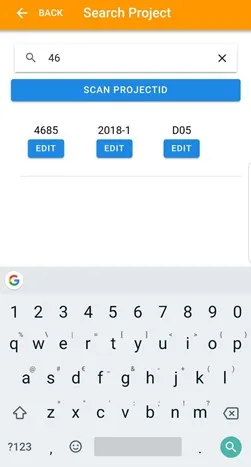
Search
With the Search you can look up Projects, Packages and Elements
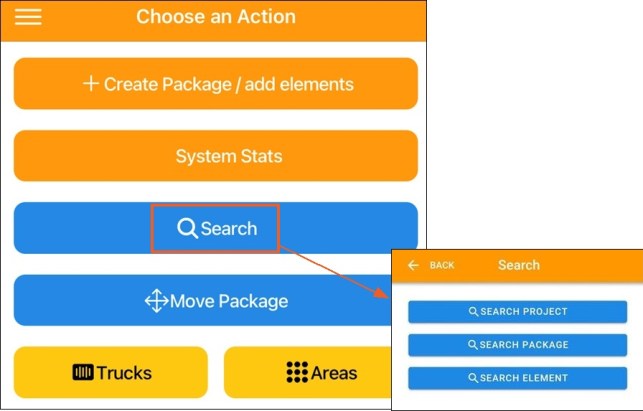
Search by either typing in Projects, Packages or Elements names or scan the QR code. Open the Project, Package or element by tapping Edit.
A project will not be visible if no package has been created for that project. Even when it has been uploaded correctly with the exporter.

3D model viewer
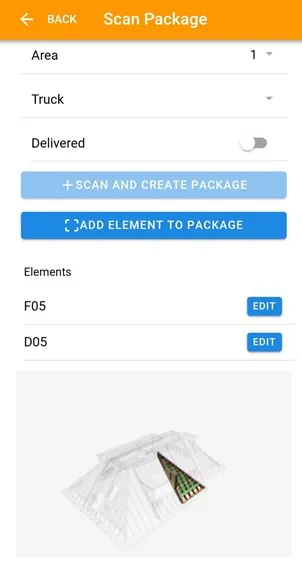
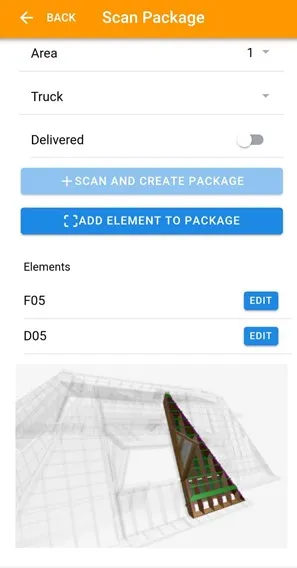
The model viewer shows the project in 3D, you can rotate the element by dragging
Rotate = drag with 1 finger
Move = drag with 2 fingers
Zoom in = pinch inwards with 2 fingers
Zoom out = pinch outwards with 2 fingers
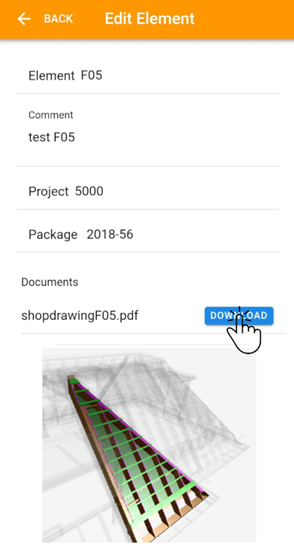
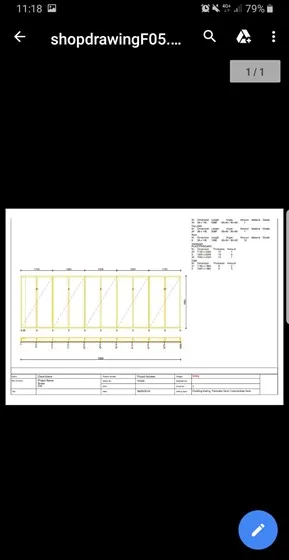
View Element documentation
Search an element and view documents. For example, ShopDrawings:
System Stats
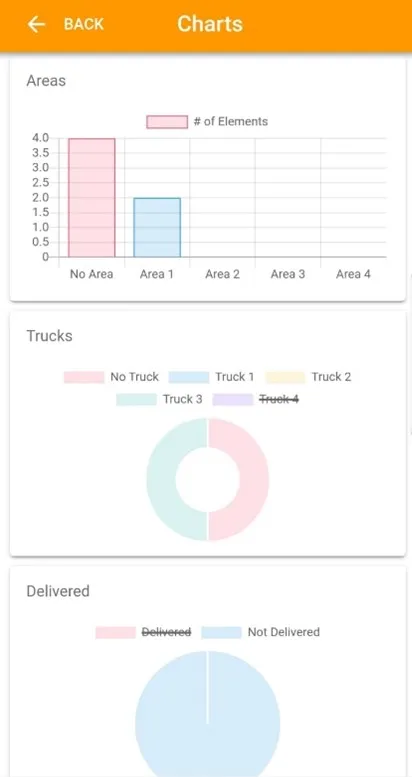
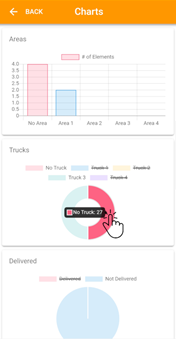
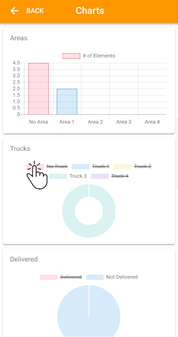
System Stats gives you an overview of Areas, Trucks, and Delivered status. Tapping on stats gives more information about a specific amount. Tapping on a specific legend item leaves the information out of the diagram.
Add and delete Trucks and Areas
The method for adding or deleting Trucks is identical to adding or deleting areas.
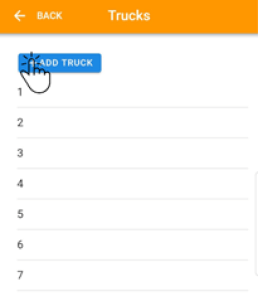
Add Truck or Area by tapping “add Truck” or “add Area”
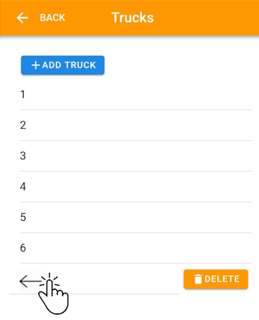
Delete Truck or Area by swiping to the right and tapping on delete
QR code format
el =element identifier
pj =project identifier
pk =package identifier
sample element: el; F05
sample projects: pj;4585
separator semicolon ;
separator between elements and projects coma ,
Example: elements and projects:
el;D05,pj;4585
For a package the only separator needed is a semicolon ;
The format is:
Year-sequential number
Example: Package:
pk;2018-1
pk;19-1000
BLOCK_ALERT_START
If this format is not used the application will NOT function properly.
BLOCK_ALERT_END

