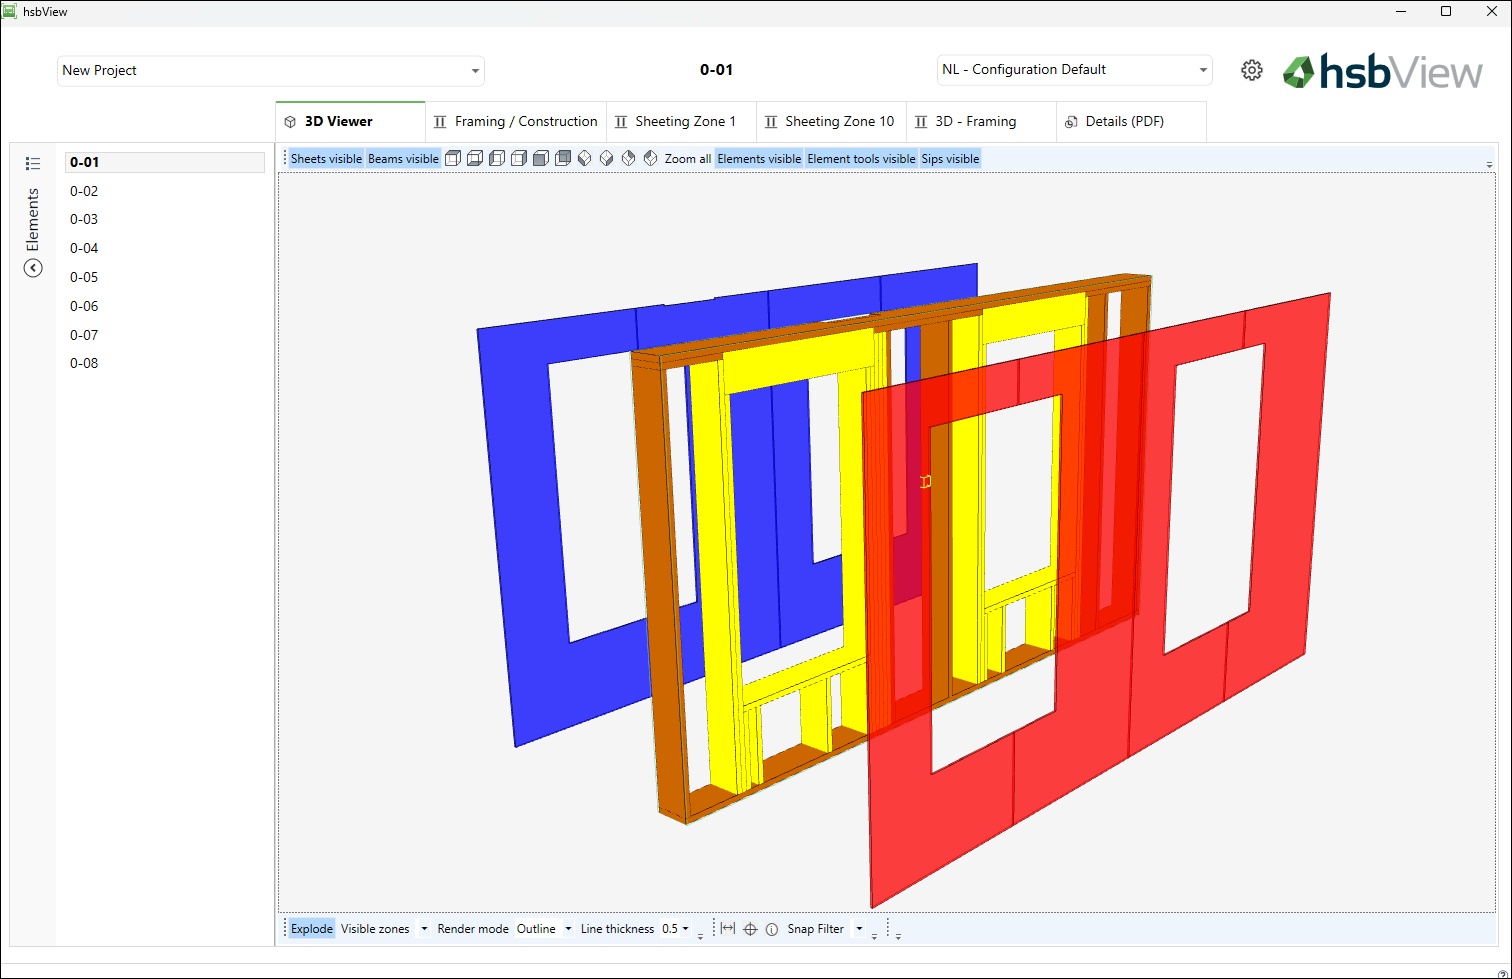
hsbView | How to install and Configure hsbView
This document will show you how to install hsbView correctly.
1. Installing hsbView:Follow these steps to install hsbView correctly.
Step 1. Download hsbView
1. Go to Myhsbcad and set up your account. (Skip the step if you already have an account)
2. Login with your account credentials.
In the meantime, you should have received an invitation to make a Myhsbcad Account
If you can’t see the mail in your inbox, please check your spam mail or go to Myhsbcad
3. Select the Downloads option.
4. Select hsbView under the hsbMake, Hybrid & CAM Toolsets
5. Select the Version
6. Select the Download button
Step 2. Install hsbView
7. Open the download file hsbView_Setup.exe
8. In the hsbSetup installation wizard:
- Select the preferred language
- Choose the installation location
- Read and accept the Software License and Service Agreement by selecting I accept
- Select Install to begin the installation
9. Once the installation is complete, a confirmation message will appear.
Select OK to finalize the setup
Step 3: Desktop Shortcuts
After installation, two shortcuts will be created on your desktop:
- hsbView – Opens the software
- hsbSupportTools for hsbView – Allows you to manage your license and update hsbView
2. Configuring hsbView:
The first time you start hsbView, you must set up the project references and configurations.
If you get a warning saying: Your license does not contain the required 'hsbView' module to run this application.
Then get in contact with hsbcadd to get your license for hsbView activaded
You can choose between standard settings or a custom configuration provided by hsbcad (this is a charging option).
Step 1: Open Settings
1. Launch hsbView
2. Click on Go to data settings
Step 2: Set Project Reference
3. Under Projects, click on Browse.
4. Navigate to the following folder:
C:\Program Files\hsbcad\hsbView\hsbViewProjects
5. Select Select Folder
Step 3: Set Configurations
6. Under Configurations, click on Browse.
7. Navigate to the appropriate configuration folder, for example:
C:\Program Files\hsbcad\hsbView\hsbViewConfigurations\Dutch
(Each hsbcad office has its own standard configuration. In this example,
the Dutch configuration is selected, but you can choose another configuration
as needed.)
8. Select Select Folder.
Step 4: Save Settings
9. Return to the main screen by clicking the Left arrow at the top left (next to Settings).
hsbView is now successfully installed and configured!
3. Configuring hsbView
Settings in hsbExporter:
To correctly use hsbView in combination with hsbDesign, follow these steps.
Step 1: Start your Revit or AutoCad Architecture
1. Open a project where hsbDesign is active.
Step 2: Open the hsbExporter
2. Select hsbOutput in the Revit / hsbCad Ribbon.
3. Select Export(er) to open the Exporter.
Step 3: Configure hsbView Settings
4. In the hsbExporterManager window, select the Tools button.
5. Select Import Settings
6. Select the hsbView export settings (provided by hsbcad (this is a charging option)) and select Open
Step 4: Configure hsbView Settings
7. Select the hsbView export settings in the list and select the Import button
Step 5: Launch export
8. Select the imported hsbView export and click on Run
With hsbView the export will create individual .hmlx files. Every file will be shown in the element list in hsbView.
9. You can move exported files to a project folder in the project folder.
C:\Program Files\hsbcad\hsbView\hsbViewProjects\NEW PROJECT
Step 6: Launch hsbView
10. By restarting hsbView, the new project folder should be shown in the project list.


