Revit® | Blocking


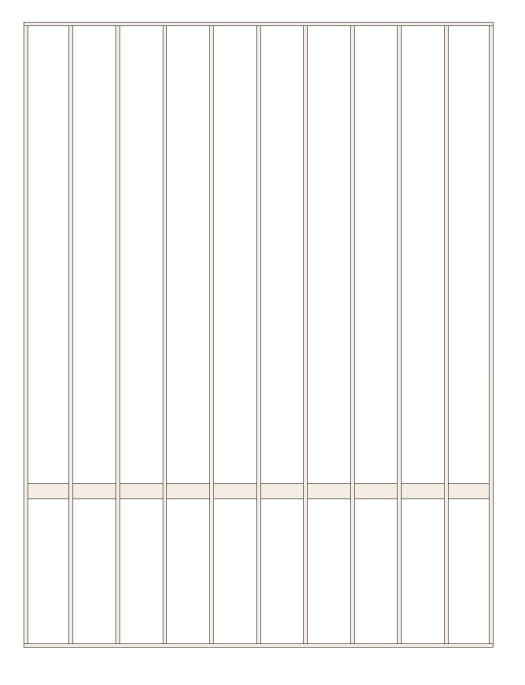
You can create blockings between studs with this tool.

Insert
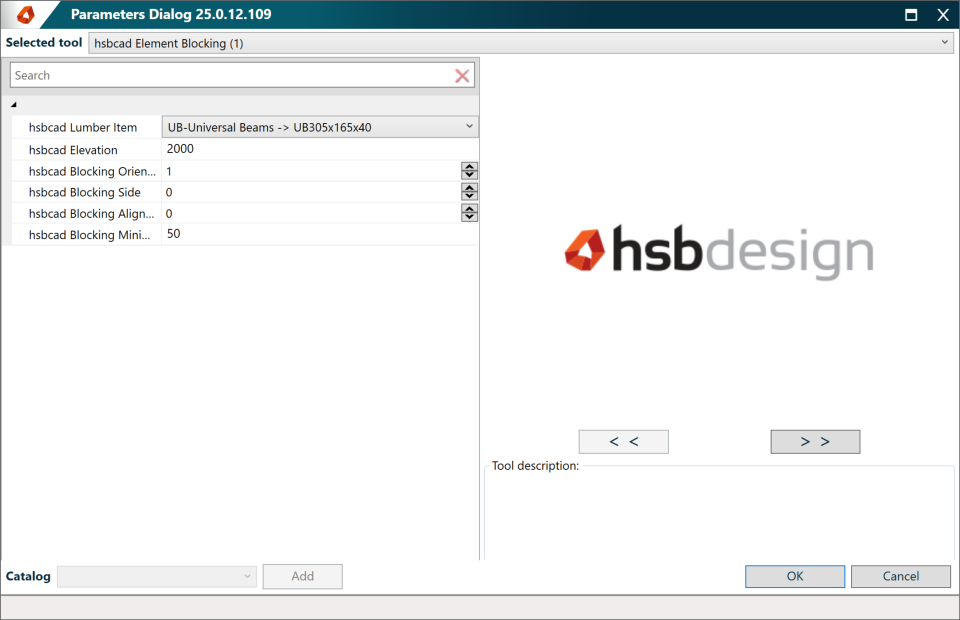
You can insert the blocking by selecting the command in the ribbon which will open up the settings window, which you can view below.
Go to the top view of your item container and set your workplane to that view.
Select the point where you want to start the creation of the blocking and after that select the endpoint.
Select the item container and your blocking will be automatically created.
The difference between Structural blocking and Section blocking is that structural blocking is inserted throughout the entire wall. For the section blocking, you can select two points on the wall to create a blocking between these two points.
Behaviour
You can still modify the blocking tool after you have inserted it into the drawing by selecting the tool and changing the instance properties of the tool which will react to these changes.
Instance Parameters

- hsbcad lumber item: You can select the timber you would like to use for the blocking.
- hsbcad Elevation: The height of the insertion of the blocking
- hsbcad Blocking Orientation: The orientation of the blocking beam.
0 = horizontal orientation
1 = vertical orientation - hsbcad Blocking Side: This places the blocking at the interior or the exterior side of the item container.
0 = Interior
1 = Exterior - hsbcad Blocking Alignment: The alignment of the blocking as opposed to the hsbcad Elevation parameter.
0 = Center
1 = Above the hsbcad Elevation
2 = Underneath the hsbcad Elevation - hsbcad Blocking Minimal Length: The minimal length between studs that is needed to acquire a blocking.

