TSL | TSL Stacking solution v27
Stack Item

Filter: This allows to use painterfilters for the creation of stack items. You could filter for example only for panels. The tool will then only create stack items for panels.
Sorting: This will presort the stack items based on the painter grouping.
Alignment: this will either place the items horizontally or vertical
Spacer Height: This will create an extra thickness on the item, based on the value. This can be used to place spacers inbetween the objects.
Format: Any valid formatting can be used to be displayed on the stack item
Resolution: this defines how detailed the stack items will be represented
Projection Display: allows to project the smallest possible rectangle envelope to the StackItem

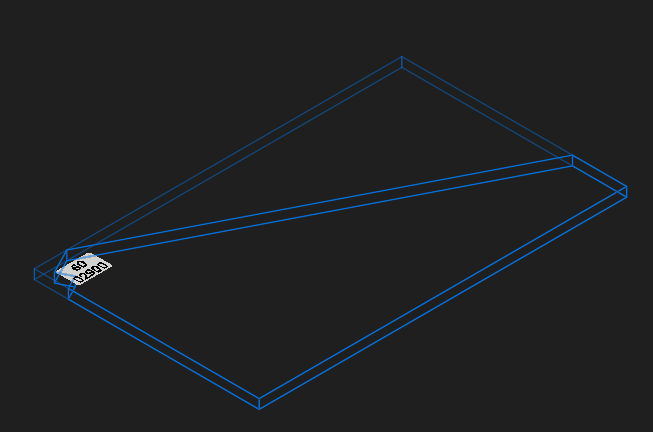
You can pick objects from the 3D Model, from a nesting or from an xref.
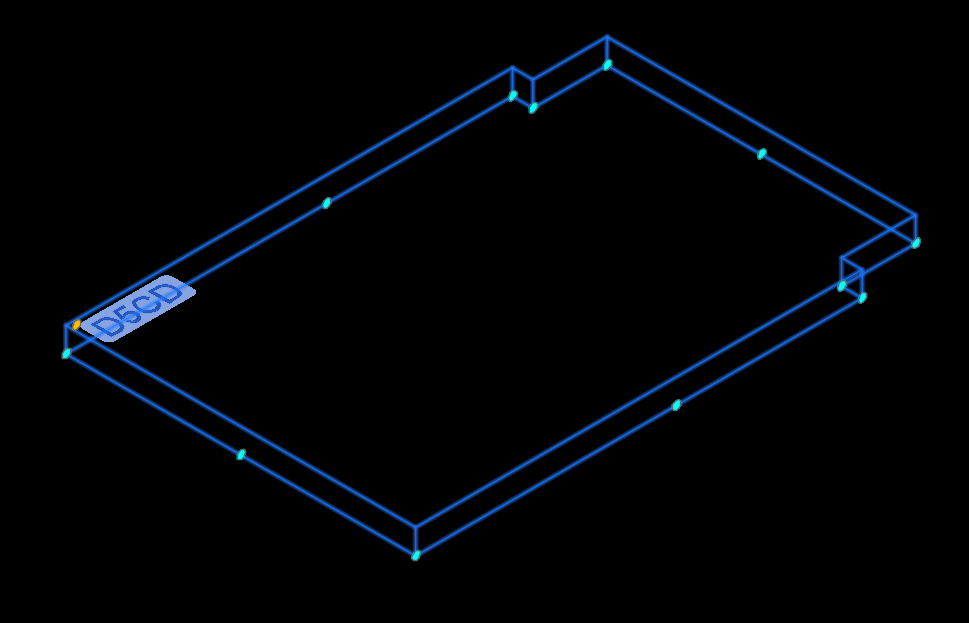
Once the stack items are placed, you can move them with drag & drop on the points, or use the default ACA commands.
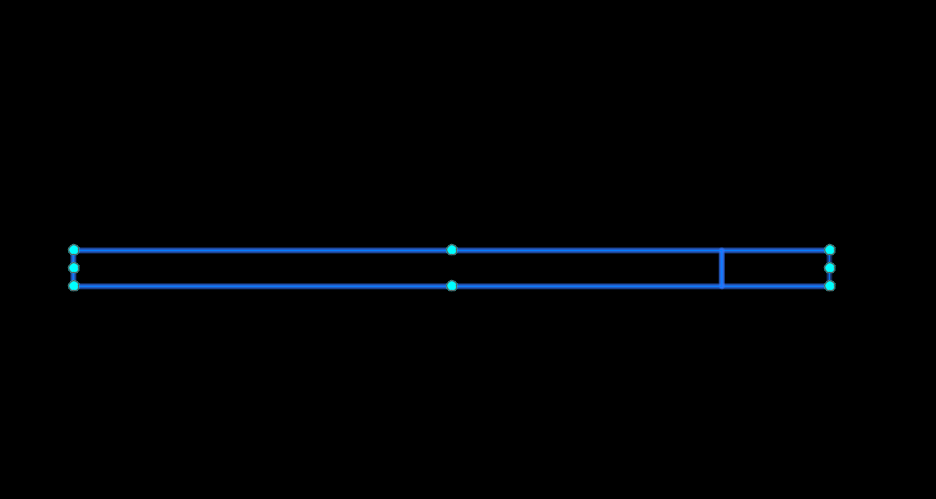
The drag points are, based on the view you are using, placed differently.
3D or Top View:
Front or side view:
You can use the contextmenu to rotate or flip the items.
Stack Pack
The stack pack can be used to create different packages that in the end can be loaded to a truck.

Description: creates a string in the description property
Number: creates an unique pack number
Item mode:
- Edit: all stacked items that are in the pack are visible
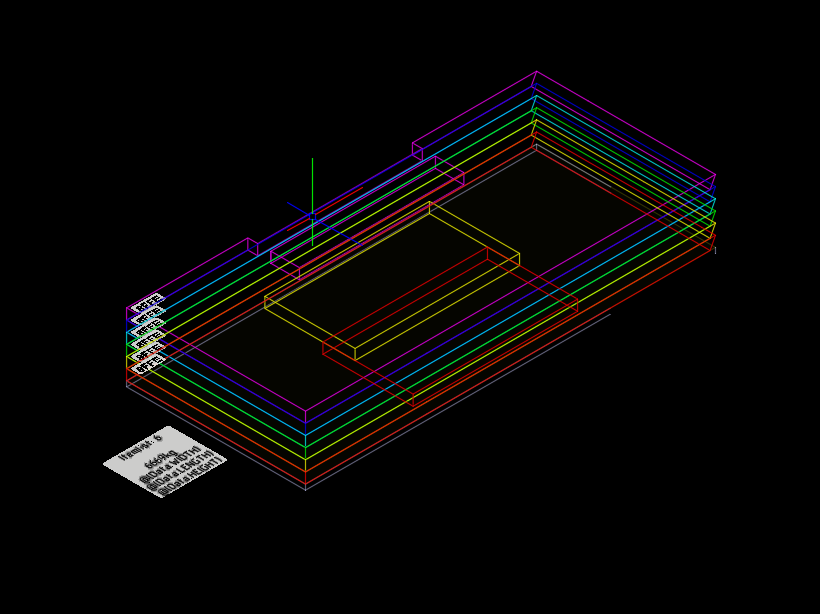
- Hidden: only the outlines of the pack are visible
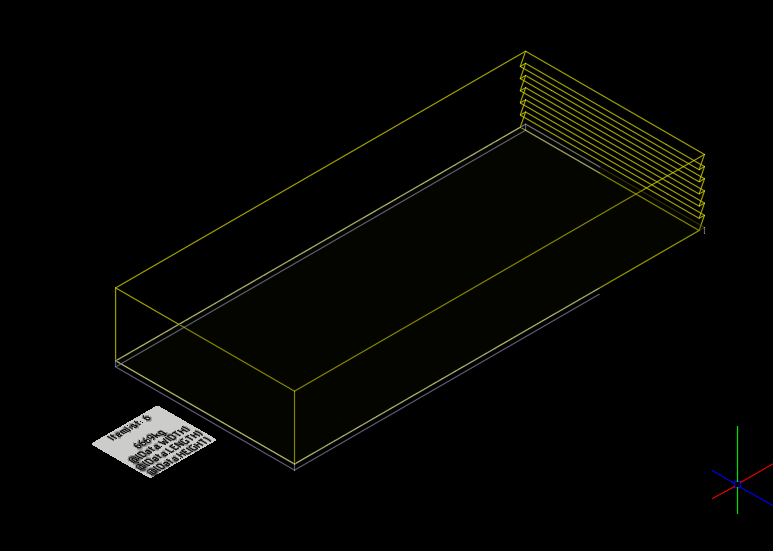
- Hide in shopdrawing: The pack is in editmode, but it will be show in hidden mode in a shopdrawing
Geometry: defines the default size of the pack
Spacer height: This will create an extra thickness on the pack, based on the value. This can be used to place spacers inbetween the objects.
Format: Any valid formatting can be used to be displayed on the stack item
Once the pack is placed in the drawing you can drag & drop the Stack items into the pack or use the contextmenu of the pack to add items.
BLOCK_INFO_START
Tipp: If you already have prestacked the objects, select them all and make the drag points hot by pressing shift and selecting them. The dragpoints will turn red once they are active. This allows you to drag&drop multiple objects at once.
BLOCK_END
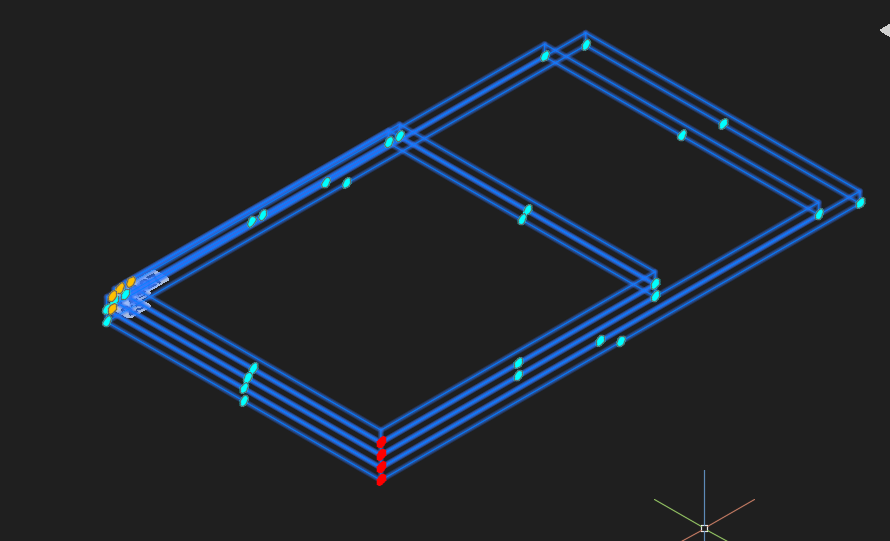
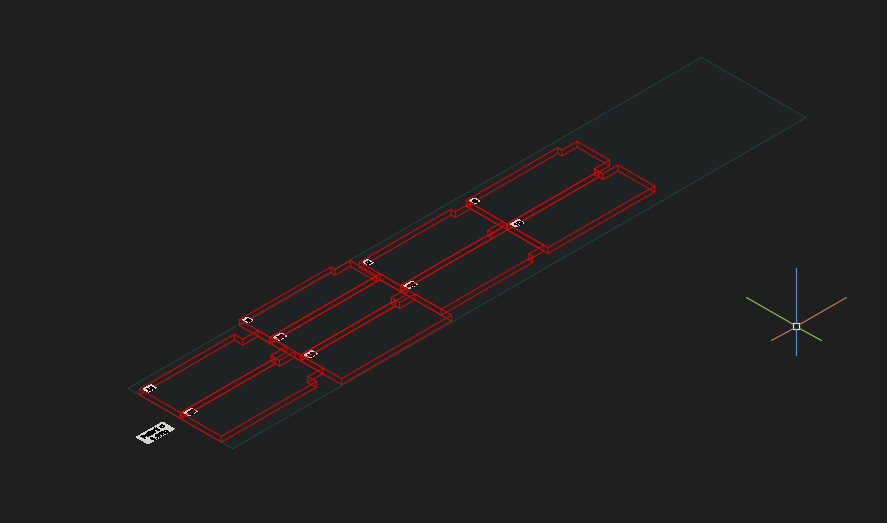
In the context menu of the pack, you can find the option “add nested items”. This will use the geometry of the pack and try to fit the selected objects into the pack.

Result:
If you want to remove items from the pack, you can simply drag them out, or use the context menu of the pack to remove them.
You can also find the option “show shrink pack” which will shrink the default pack size to the minimum size, based on the loaded objects.
Once the pack is completed, you can use the same workflows to put it on a truck, the so called stack entity.
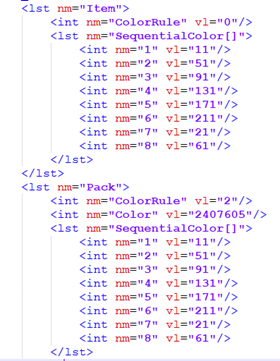
Color strategy:
For items you can choose between byLayerIndex (0) , byPackNumber(1) or byPackILayerIndex(2), packs support byPackNumber(1) or byPackILayerIndex(2)
The settings can be modified via context command

In addition to this, one can use sequential colors to override the indices (currently restricted to ACA colors)


BLOCK_INFO_START
Please note that the time needed to for modifying settings are dependent from the amount of entities.
BLOCK_END
Stack Entity

Description: creates a string in the description property
Delivery: creates a string in the delivery property
Number: creates an unique truck number
Definition: All found truck styles can be found here
Format: Any valid formatting can be used to be displayed on the stack item
Tara: Defines the Tara weight of the Truck
Gross Weight: Defines the gross weight of a truck
How to define your own truck?
Select an existing truck definition and place it somewhere in the drawing
Select “Edit definition” in the custom section of the context menu
Define the properties, such as Truck definition, the weight and the height:

Length and width are not important since they are defined in the next step.
To change the size, simply stretch the Polyline to the size you want to have your truck. You can also use multiple closed polylines to define more than one load profile. You can find “add load profile” in the contextmenu of the stack entity.
It’s also possible to add a body representation of the truck. We would advise to keep that as simple as possible, since the shopdrawings will not look good otherwise.
It’s possible to add ACA Solids or beams for the representation of the truck. Just add them and select “set truck display” from the contextmenu.
Once you are done with that, you can save the definition in the contextmenu. Your truckdefinition is then saved and can be found in the StackEntity tool.
To stack items or packs on the truck, you can use the same workflow as shown in the pack.
Format hierarchy - Datalink
Sadly it is not possible to get the format in various tsl with the autocomplete format, but you can use the datalink manually.
If you want to get the informations from the truck, you can use:
@(datalink.stackentity.number)
@(datalink.stackentity.delivery)
@(datalink.stackentity.colorindex)
@(datalink.stackentity….)
For the stack pack it would be:
@(datalink.stackpack.number)
@(datalink.stackpack….)
Example on Center of Gravity:


