Essential Guide to Integrate Autodesk Revit® to AutoCAD®Architecture with hsbDesign
Introduction
Revit to AutoCAD® Architecture link provides a means to allow this early design to begin in Autodesk Revit® but final detailing of production drawings to be completed with hsbDesign for AutoCAD® Architecture, without having to redraw the entire model again.
The main objectives are:
- Create a link between hsbDesign for Autodesk Revit and hsbDesign for AutoCAD®Architecture
- Set-up model extensions
- Set-up validation rules
- Dynamically log data during the import process
- Dynamically validate data during the import process
hsbshare in Autodesk Revit
hsbshare is used to create the link between Autodesk Revit and AutoCAD®Architecture. We will link the model and it will store your project in the cloud.

- Open the hsbshare console in Autodesk Revit.*** Ensure you are logged in to hsbshare.
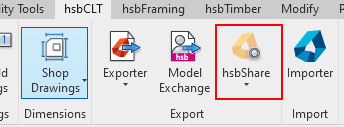
- Create a new project in the hsbshare console by selecting the + icon
- Name your project in the Project name field
- Select the team to collaborate
- Pick Create Project
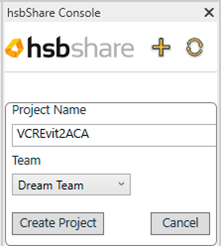
You will now have the opportunity to add the model to your hsbshare project
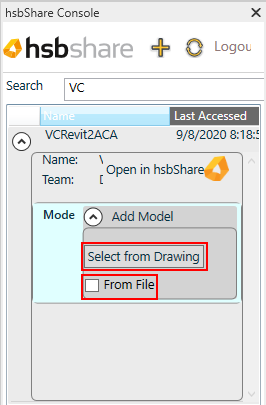
- Select the drop down icon to Add Model
- To select entities to add to the hsbshare project you have two options. For this tutorial we will use Select from Drawing
BLOCK_CHECK_START
Select from Drawing – Select the entities within the current Autodesk Revit® session open. When selecting objects for CLT, use the filter selection hsbcad Elements. When selecting objects for Stickframe, use the filter selection ‘Architectural Items (Wall/Roof/Floor)
BLOCK__END

BLOCK_CHECK_START
From File - Select a file from an external placeholder on your PC. Examples of file type are .ifc, .rvt and .hmlx.
BLOCK__END
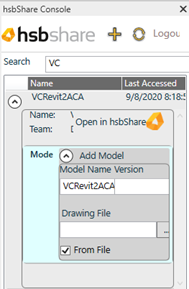
- Select the entities in the model and pick Finish button. You have now uploaded your project
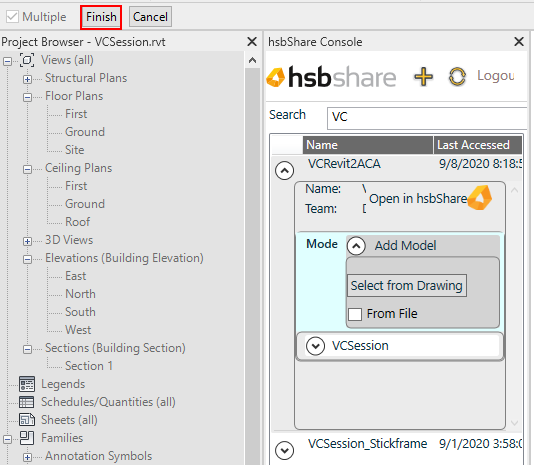
hsbshare
You can view the uploaded model in hsbshare, and decompose your model into manageable imports using model selections. For example a five storey building, could be imported floor by floor.
- Login into hsbshare with your username and password – www.hsbshare.com
- Ensure the widget Import Selection Set is on
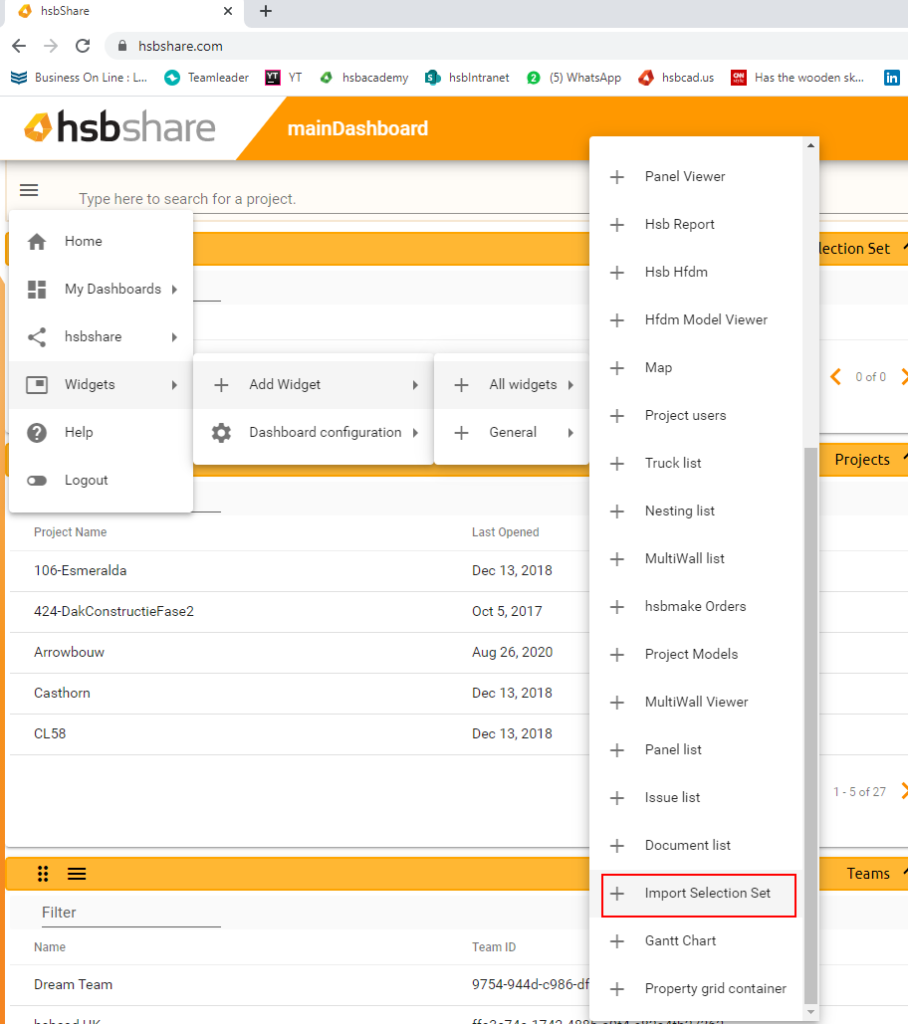
- Open your project in hsbshare, by typing the name in the search field
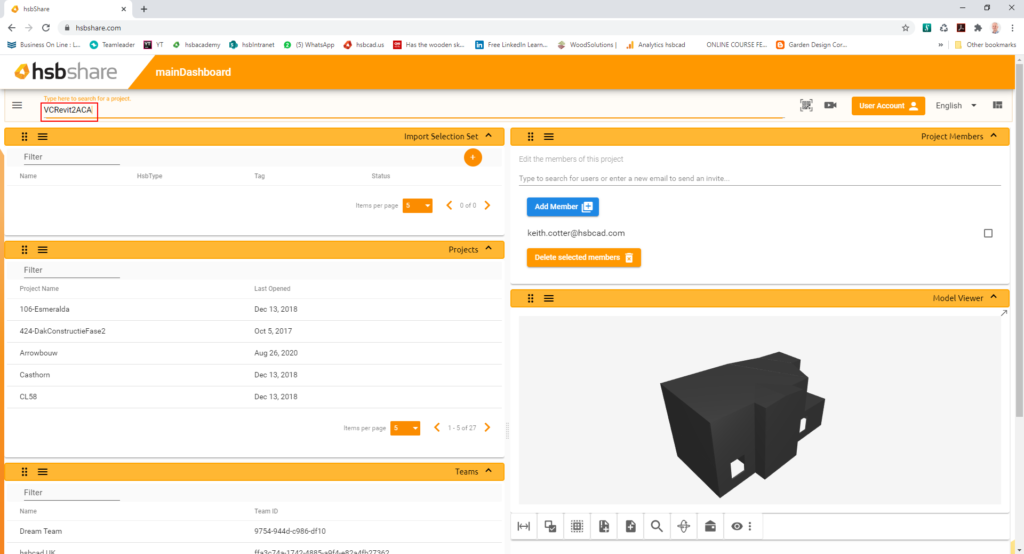
- Enlarge the Model Viewer widget by selecting the arrow in top right corner
- Select the search magnifier glass and create a search filter on Object Type, Property Name and Property Value. In the example below, we are filtering on CLT panels that have a surface quality called IVI
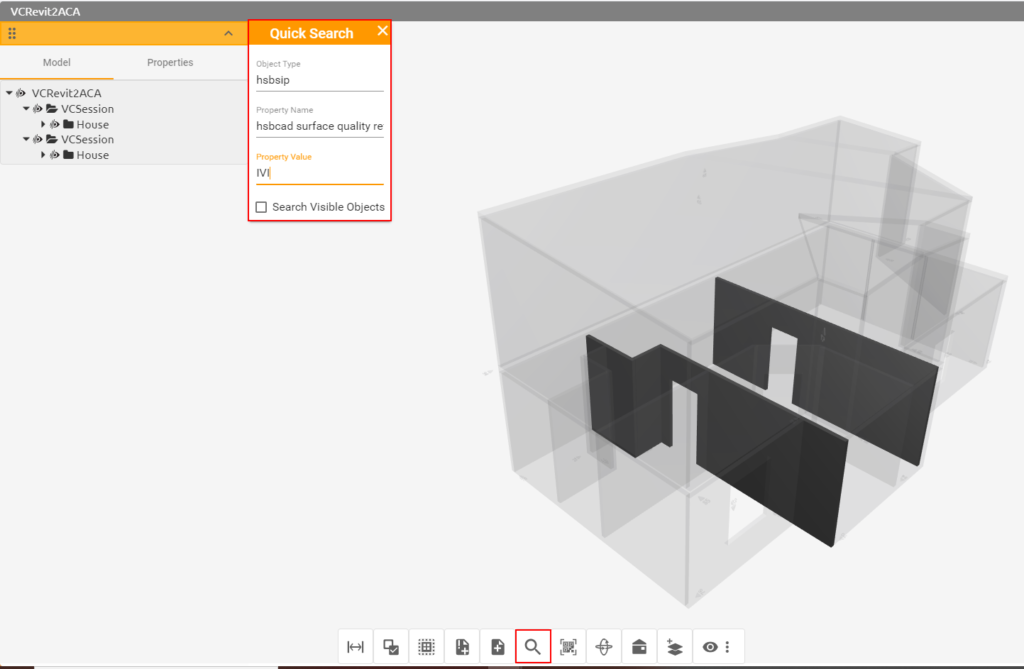
- Select the Add Import Selection Set icon, and provide a Name for the selection Set
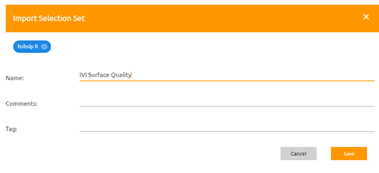
- Close the enlarged Model Viewer widget by selecting the ‘X’ in top right corner
- Note in the Import Selection Set widget , the selection set has appeared

Template setup in AutoCAD® for architects
Prior to linking a model into AutoCAD® Architecture it is important to define the template with key data. During the linking process, various objects will be mapped in AutoCAD® Architecture, and thus this data needs to reside in the template. Depending on the model type been linked, the following data must be in the template
- CLT
- hsbcad company folder correctly set in the template
- Panel styles defined
- Grain Direction catalog defined
- Surface qualities defined
- Stick Frame
- hsbcad company folder correctly set in the template
- Opening catalog defined
hsbshare in AutoCAD® for architects
hsbshare is used to create the link between Autodesk Revit® and AutoCAD® Architecture. We will link the model from hsbshare.
- Open hsbshare in AutoCAD® Architecture be selecting hsbshare icon or typing ‘hsbshare’ on the command line

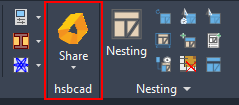
- Type the project in the search field in the hsbshare console
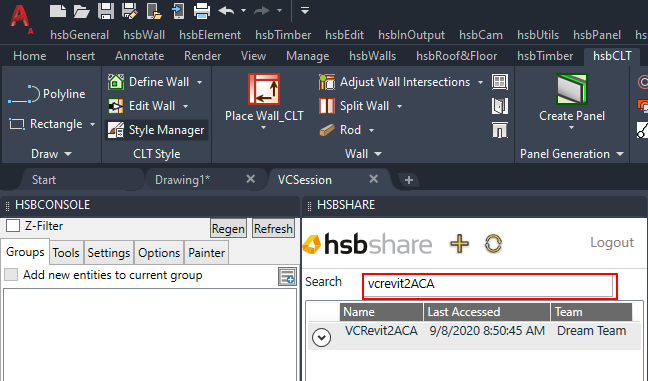
- Select the drop down arrow next to the project name
- Select the drop down arrow next to the model name
You will now be presented with possibilities to import either the full model or the selection set as defined in hsbshare

- Select the ‘Import’ button
Importing ModelX
Importing a model from Autodesk Revit will have different object representations than objects in AutoCAD® for architects. However proprietary to both platforms, the same format structure is used called hsbDesign ModelX, that is used when importing. Importing this, it is split into two sections:
- Model Translation Rule Set (Plugin Group) - allows you to map and create objects in AutoCAD® Architecture from Autodesk Revit®
- Validation Group – allows you to validate the data imported to AutoCAD® Architecture is correct and an accurate representation
BLOCK_CHECK_START
For more information on the functionality of validation group, see here
BLOCK__END
BLOCK_CHECK_START
For more information on the functionality of the model translation rule set, see here
BLOCK__END
- Select the following three options when importing
- resolve entity handles in drawing
- resolve entities by hsbUniqueids
- store hsbUniqueids of newly created entities
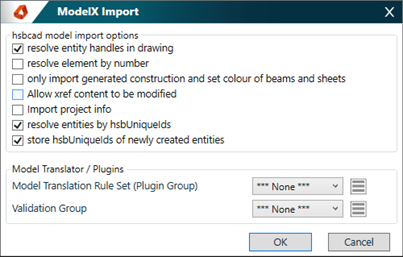
BLOCK_CHECK_START
For more information on ModelX import options, see here
BLOCK__END
Model Translation Rule Set
Allows you to map and create objects in AutoCAD® Architecture from Autodesk Revit®
- Pick the 3 bar button for Model Translation Rule Set (Plugin Group)
- Add a new name for the extension group, picking the Add + button, and naming the group. For this purpose, lets call it VCRevit2ACA
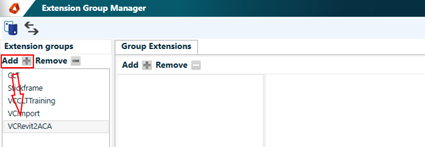
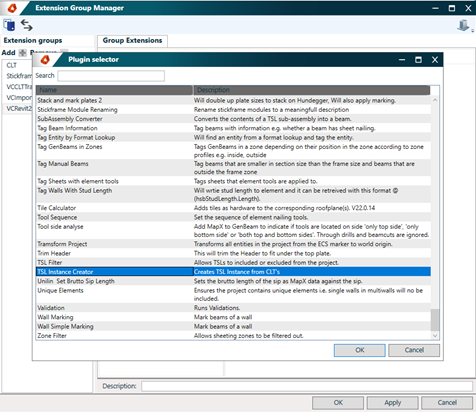
- Add a new group extension type, picking the Add + button, and selecting from the list of group extensions.
BLOCK_CHECK_START
Selecting the specific group extension types depends on the model type you are importing, thus will require different extensions. For example a model of stick frame has different extensions to that of a model of CLT.
BLOCK__END
CLT Model Import
Select the following extensions and parameters in the group extensions as shown below when importing a CLT model
- TSL Instance Creator – Maps objects to TSL instance objects in AutoCAD® for architects. The catalog name can be different in your own case, depending on the catalog name you used in the template in AutoCAD®

- Property Mapper – Maps properties of objects to properties in AutoCAD® for architects. Select the drop down to select the type, Sip and ElementWallSip simultaneously and select the green + to add. In each section of type Sip and ElementWallSip, it is possible to map the entity field in AutoCAD® to the mapping field in Autodesk Revit®
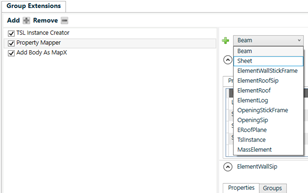

- Add Body As MapX – Creates a body representation of the Autodesk Revit® body in AutoCAD®for architects. This can be used later to compare the linked body in AutoCAD® with that of the body created on export, which is a representation of the object in Autodesk Revit®
Stick frame model import
Select the following extensions and parameters in the group extensions as shown below
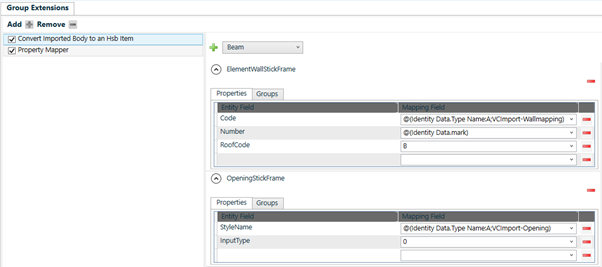
- Convert Imported Body to an Hsb Item – Converts the body representation from Autodesk Revit® to a body outline in AutoCAD® for architects

- Property Mapper – Maps properties of objects to properties in AutoCAD® for architects. Select the drop down to select ElementWallStickFrame and OpeningStickFrame simultaneously and select the green + to add. In each section of type ElementWallStickFrame and OpeningStickFrame, it is possible to map the entity field in AutoCAD® to the mapping field in Autodesk Revit
- Select Apply and OK button
Alias Manager
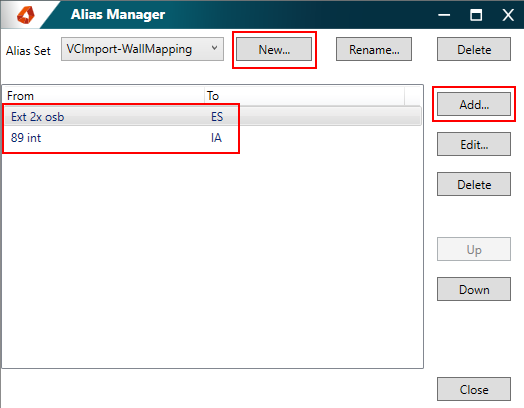
The Alias Manager allows you to manage multiple connections from a single location. You can assign an alias to each connection.
- Select the alias manager button
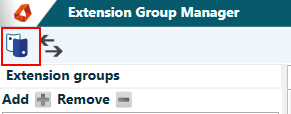
- Select the New button and give the alias a name
- Select Add button and create the connection mapping for ‘From’ and ‘To’.
BLOCK_CHECK_START
Earlier we created a property set mapping for code as follows @(Identity Data.Type Name:A;VCImport-Wallmapping). This is a mapping that calls on the alias manager, to use the wallmapping alias and map these to the code field in AutoCAD® Architecture
BLOCK__END

